15
3. TRANSMISSION REMOVAL (9 × 3 and HST)
1) DISASSEMBLY
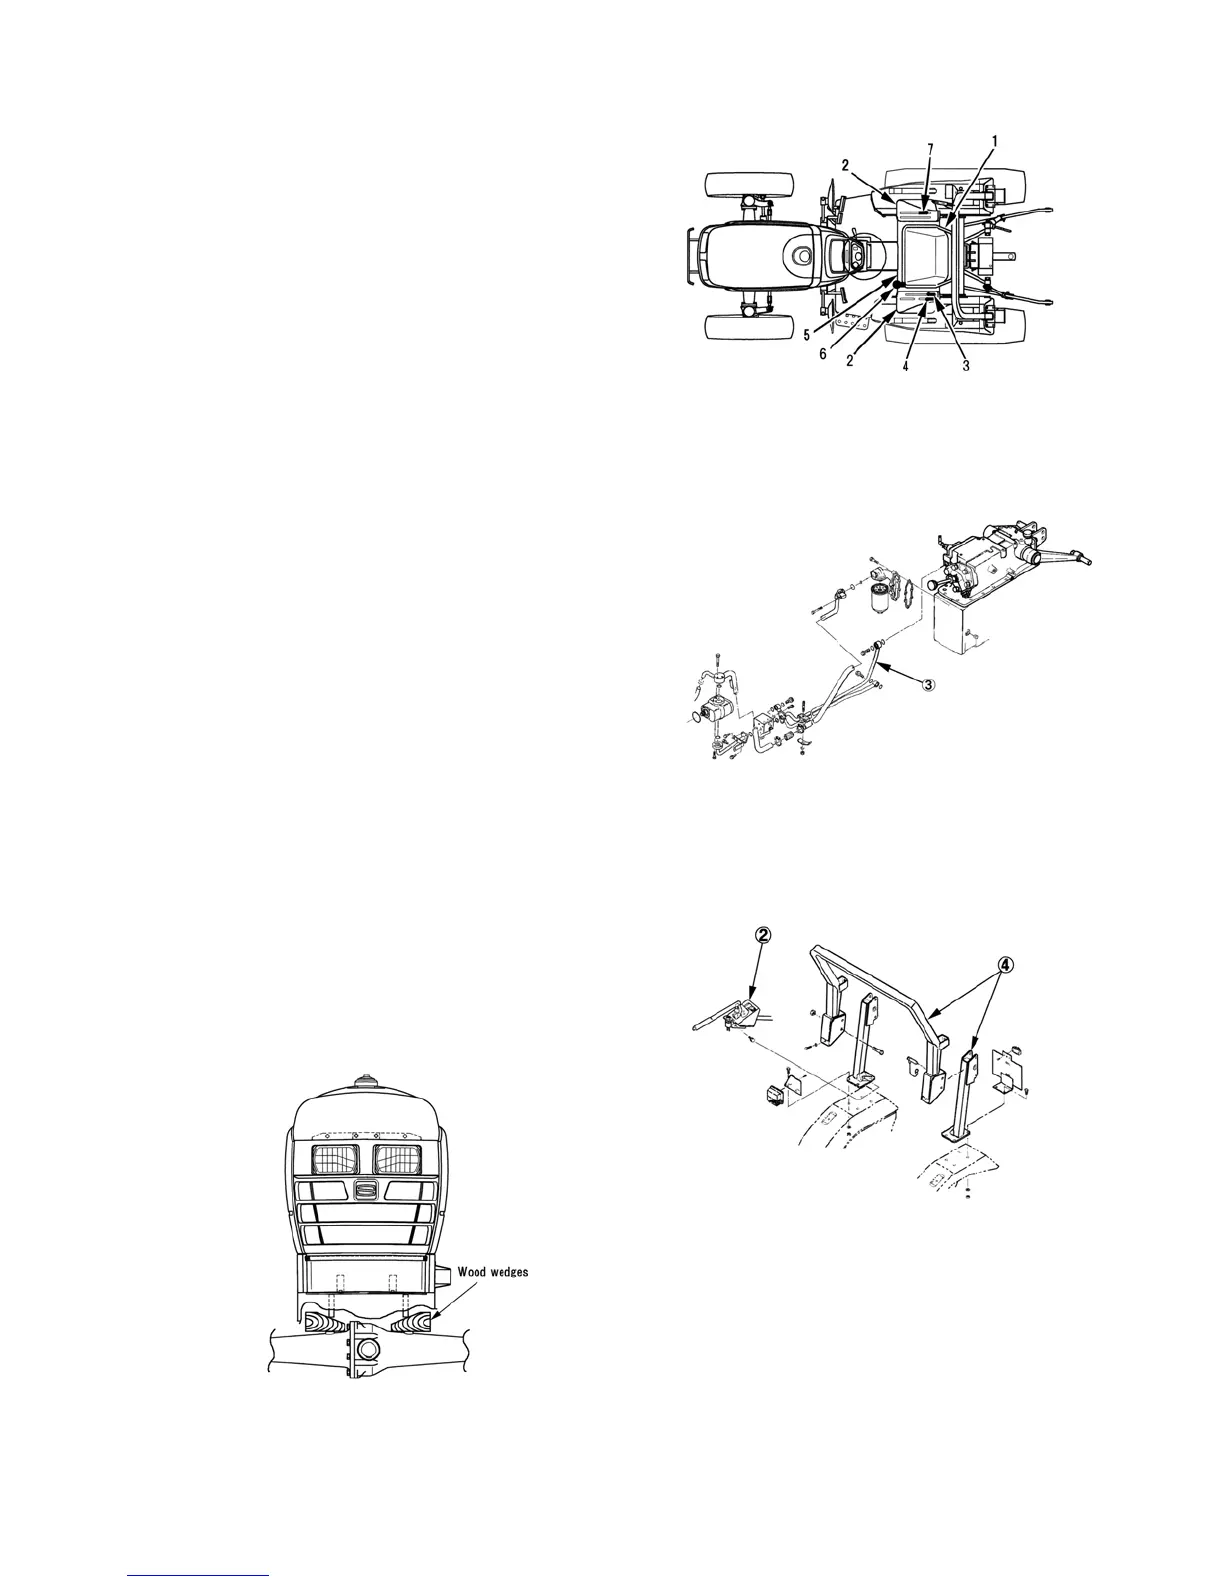
(1) SEAT ∙ SEAT TRACK · GRIP · LEVER GUIDE
➀ Remove the seat assembly.
➁ Remove the grips from the hydraulic control lever,
FWD control lever, transmission speed range lever.
➂ Remove the lever guides from the fender.
➃ Place a safety support jack under the rear of the clutch
housing.
027Y
1. Seat Assembly 5. Side Panel – Front
2. Lever Guides 6. FWD Lever
3. Range Lever 7. Hydraulic Control Lever
4. PTO Lever
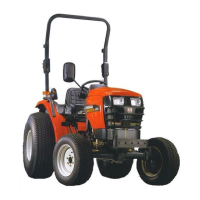
(2) FRONT SIDE COVER
HIGH-PRESSURE INLET TUBE
① Disconnect the FWD shaft from the transmission, see
ENGINE REMOVAL.
② Open the hood and remove the front side cover.
③ Disconnect the high-pressure inlet tube, from the valve
cover and plug the openings.
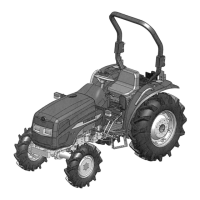
(3) ROPS · REAR WHEEL
① If not separating the front axle and engine, place the
wood wedges, between the front axle support and front
axle to prevent the engine from tipping.
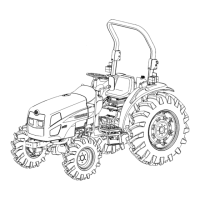
② Remove the hand brake assembly from the ROPS.
③ Disconnect the rear light wire connectors.
④ Remove the ROPS bar.
⑤ Using a moveable hoist and sling, support the rear
transmission and center housing.
⑥ Remove the tractor rear wheels.
029Y
028Y
030Y