General Information Windows (Applicable Features / Operations)
21
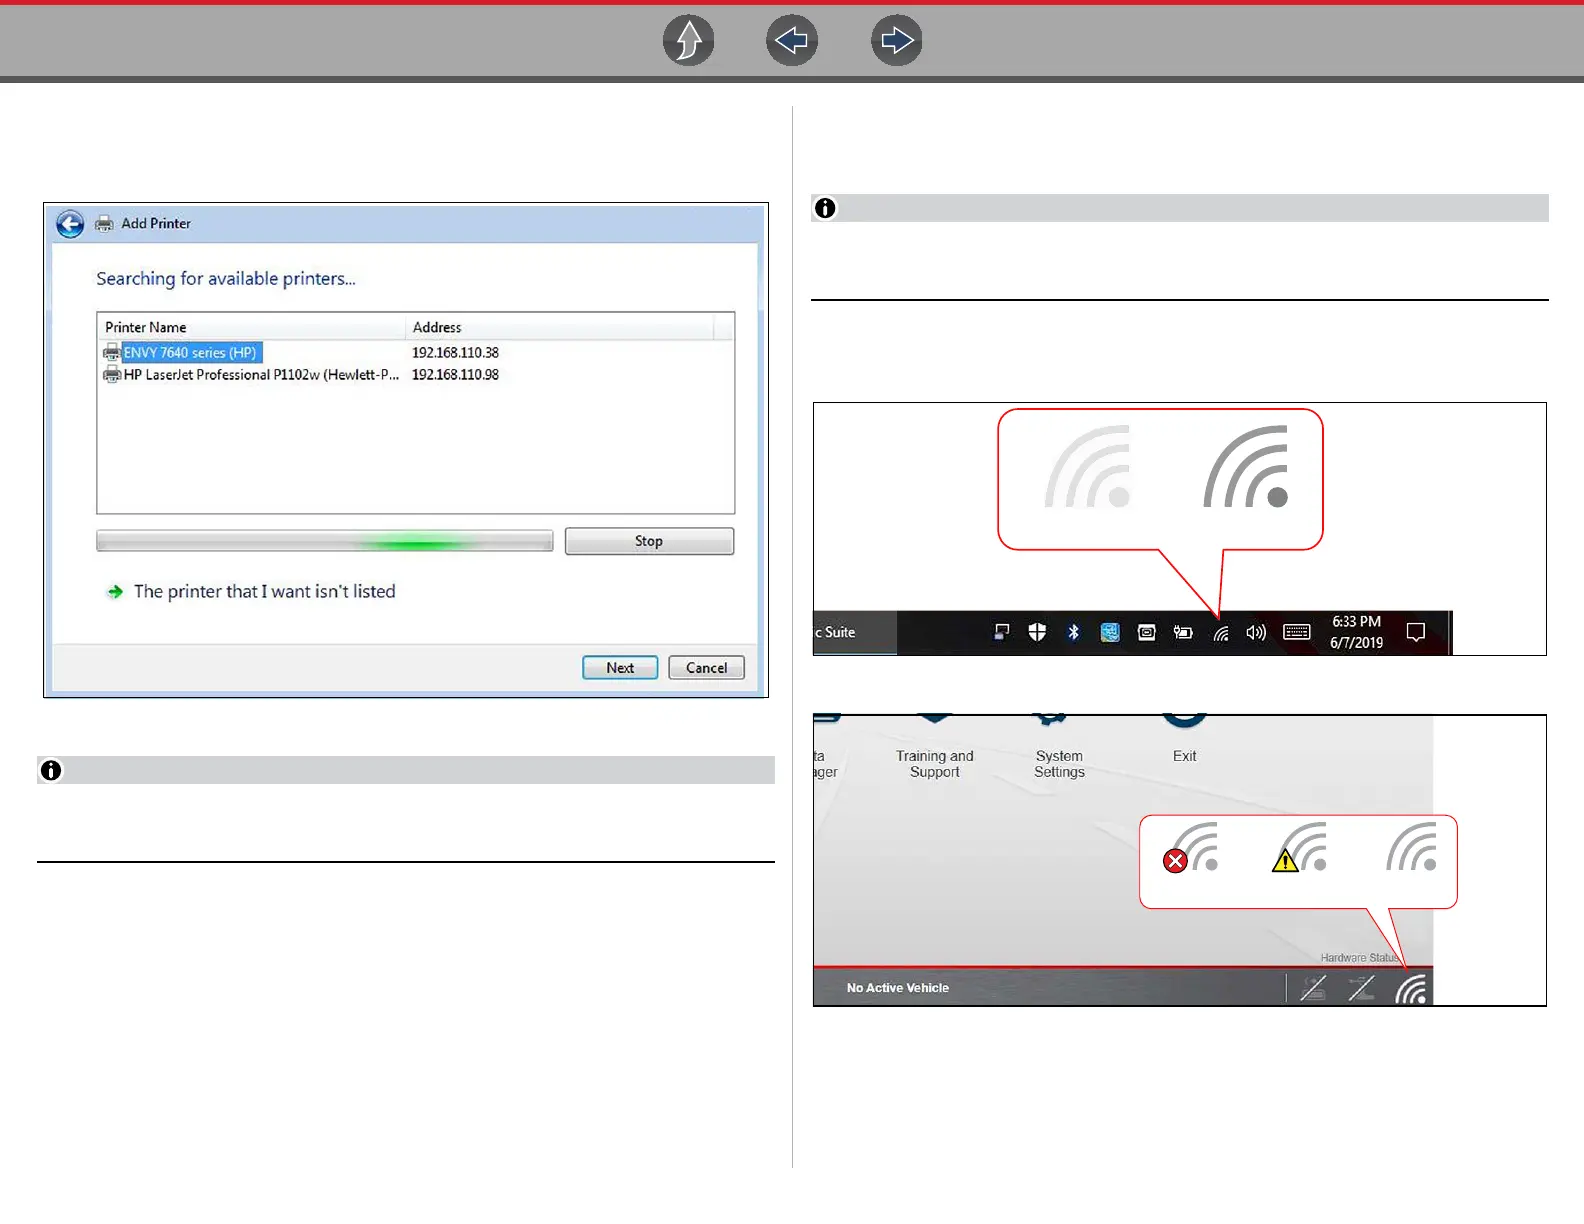
7. Follow the onscreen instructions to search, locate and install your printer.
Windows automatically searches for available printers on the network
(Figure 1-17).
Figure 1-17
If other devices are discovered on the network, connect to the printer with the
matching IP address from step 2.
It is important that you install the printer driver files when prompted, during setup.
Printer driver files may be supplied with the printer (e.g. CD or memory stick), or
check the printer manufacturer’s website to download the files.
8. Set the printer as the default printer. See Default Printer Setting on page 22.
Direct Wi-Fi Connection
Use the following instructions (as a guide) if your printer supports direct connection,
and you choose to connect the diagnostic tool directly to the printer.
1. Turn your printer on and make sure it is setup per the manufacturers
instructions for direct connection. The printer must be able to be wirelessly
detected by the diagnostic tool.
You can only connect to one network, therefore when connecting to your
wireless printer, any other active wireless connection will be disconnected.
2. From the diagnostic tool, click the Wi-Fi icon in the System Tray (Figure 1-18),
or from the Diagnostic Suite lower toolbar (Figure 1-19).
Figure 1-18
Figure 1-19
3. Choose your Wireless Printer from the list of available networks, then select
Connect (Figure 1-20).
ConnectedNot Connected Connected /
Not Connected to Internet