9-14 Sysmex XP-300
Quality Control
January 2012
(7) Read each of the bar code in the Assay Sheet in the same way as
(4).
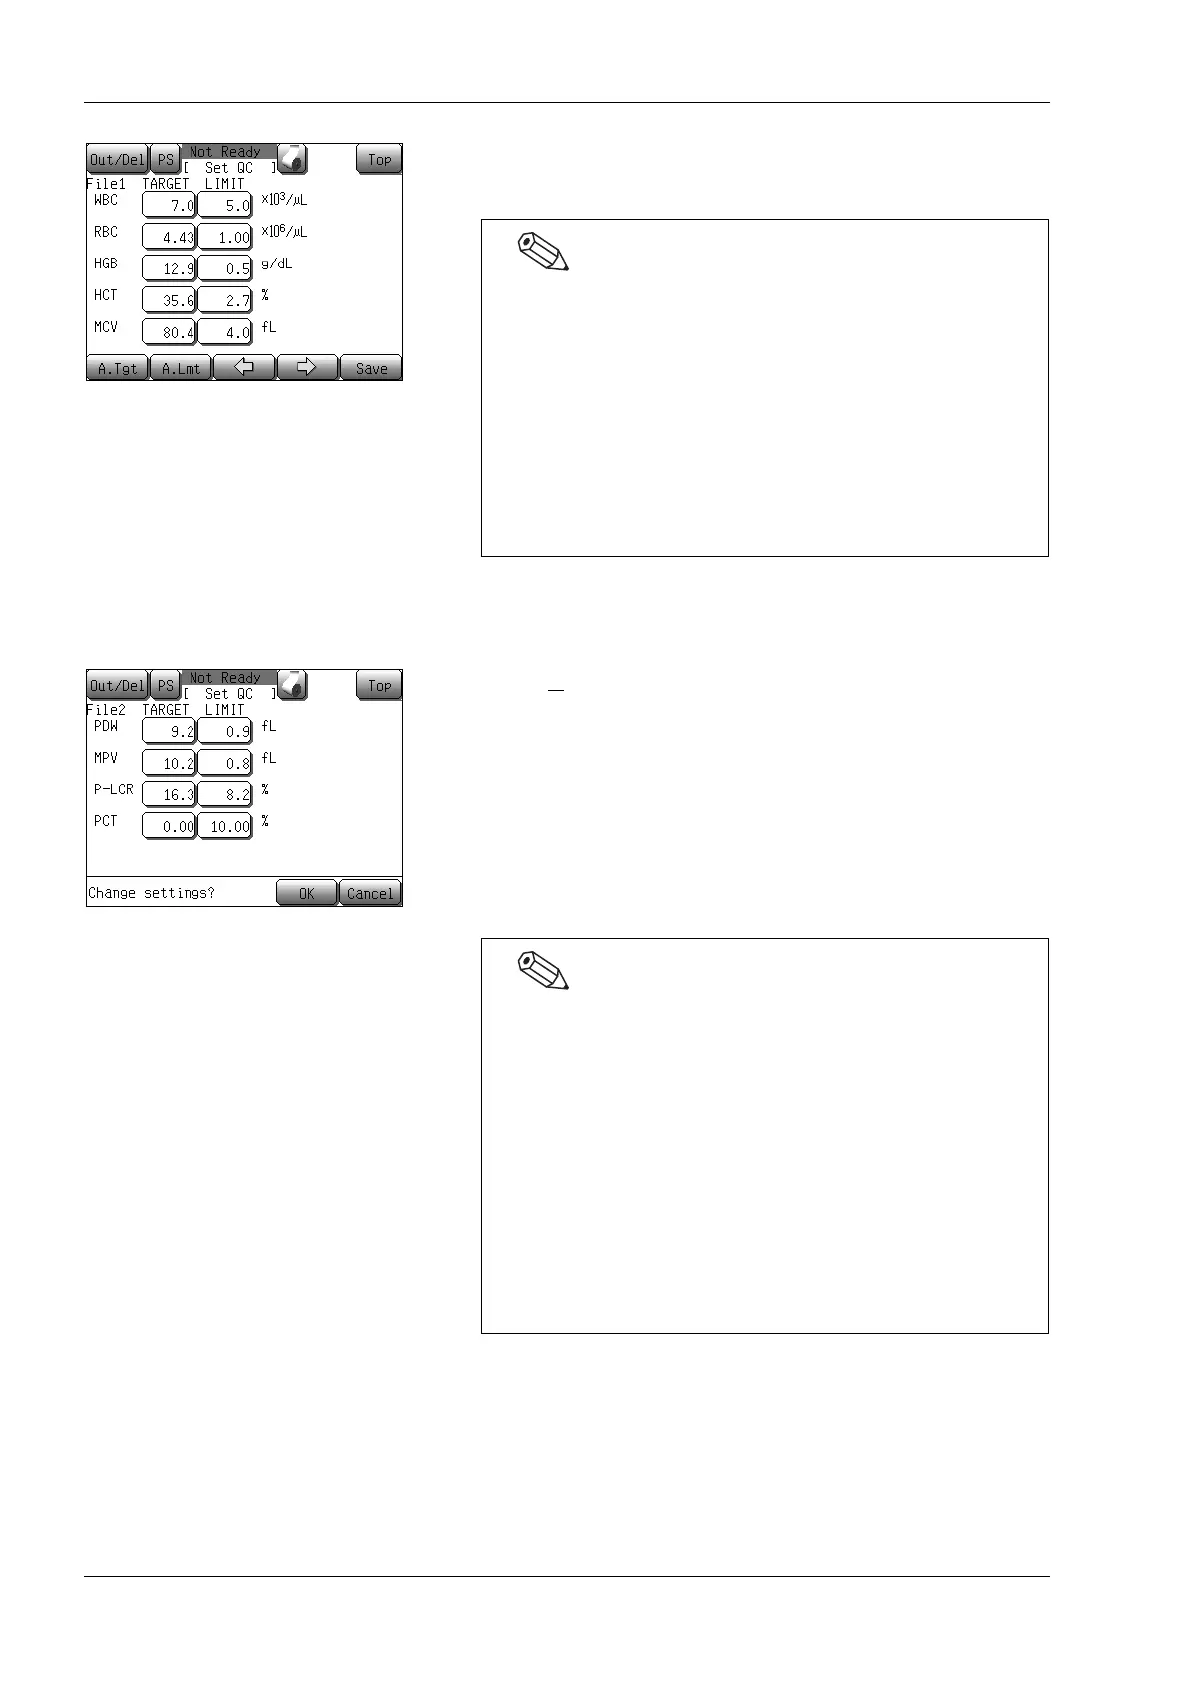
(8) When the setting is completed, press the [Save] button.
The quality control setting storing confirmation dialog will
appear.
• Press the [OK] button to store the setting value, and either
the X
first analysis start screen or the L-J analysis starting
screen will appear.
• Press the [Cancel] button to close the dialog.
* In the quality control setting storing confirmation dialog,
pressing the [Top] button will display the quit confirmation
dialog. Press the [OK] button to return to the Main screen
without changing the settings. Press the [Cancel] button to
close the dialog to continue the settings.
• In each parameter, bar code has the information of
TARGET value and LIMIT value.
Only the item that appears in the display can be input.
When all parameters are input in the screen, switch the
screen by using the [→] button to continue input.
• When 2 or more plots are present in the base QC data, the
TARGET value and LIMIT value can be calculated
automatically. For details, see “Automatic settings of the
TARGET value and LIMIT value” in “9.5 Settings for
control blood information (QC files)”.
• To clear all of the set information, press the [Clear] button
on the first QC file setting screen.
The deletion confirmation of quality control setting
message will be displayed.
• Press the [OK] button to return the control data to
default and to close the dialog.
• Press the [Cancel] button to cancel control data
deletion and return to the previous screen.
• Pressing the [IP] button on the first QC file setting screen
prints out the current file’s lot ID, expiration date,
TARGET value and LIMIT width of each parameter in the
quality control printing format.