9-18 Sysmex XP-300
Quality Control
Revised February 2013
The Analyzing screen will appear.
After completion of a single analysis, the results are displayed on the
LCD screen.
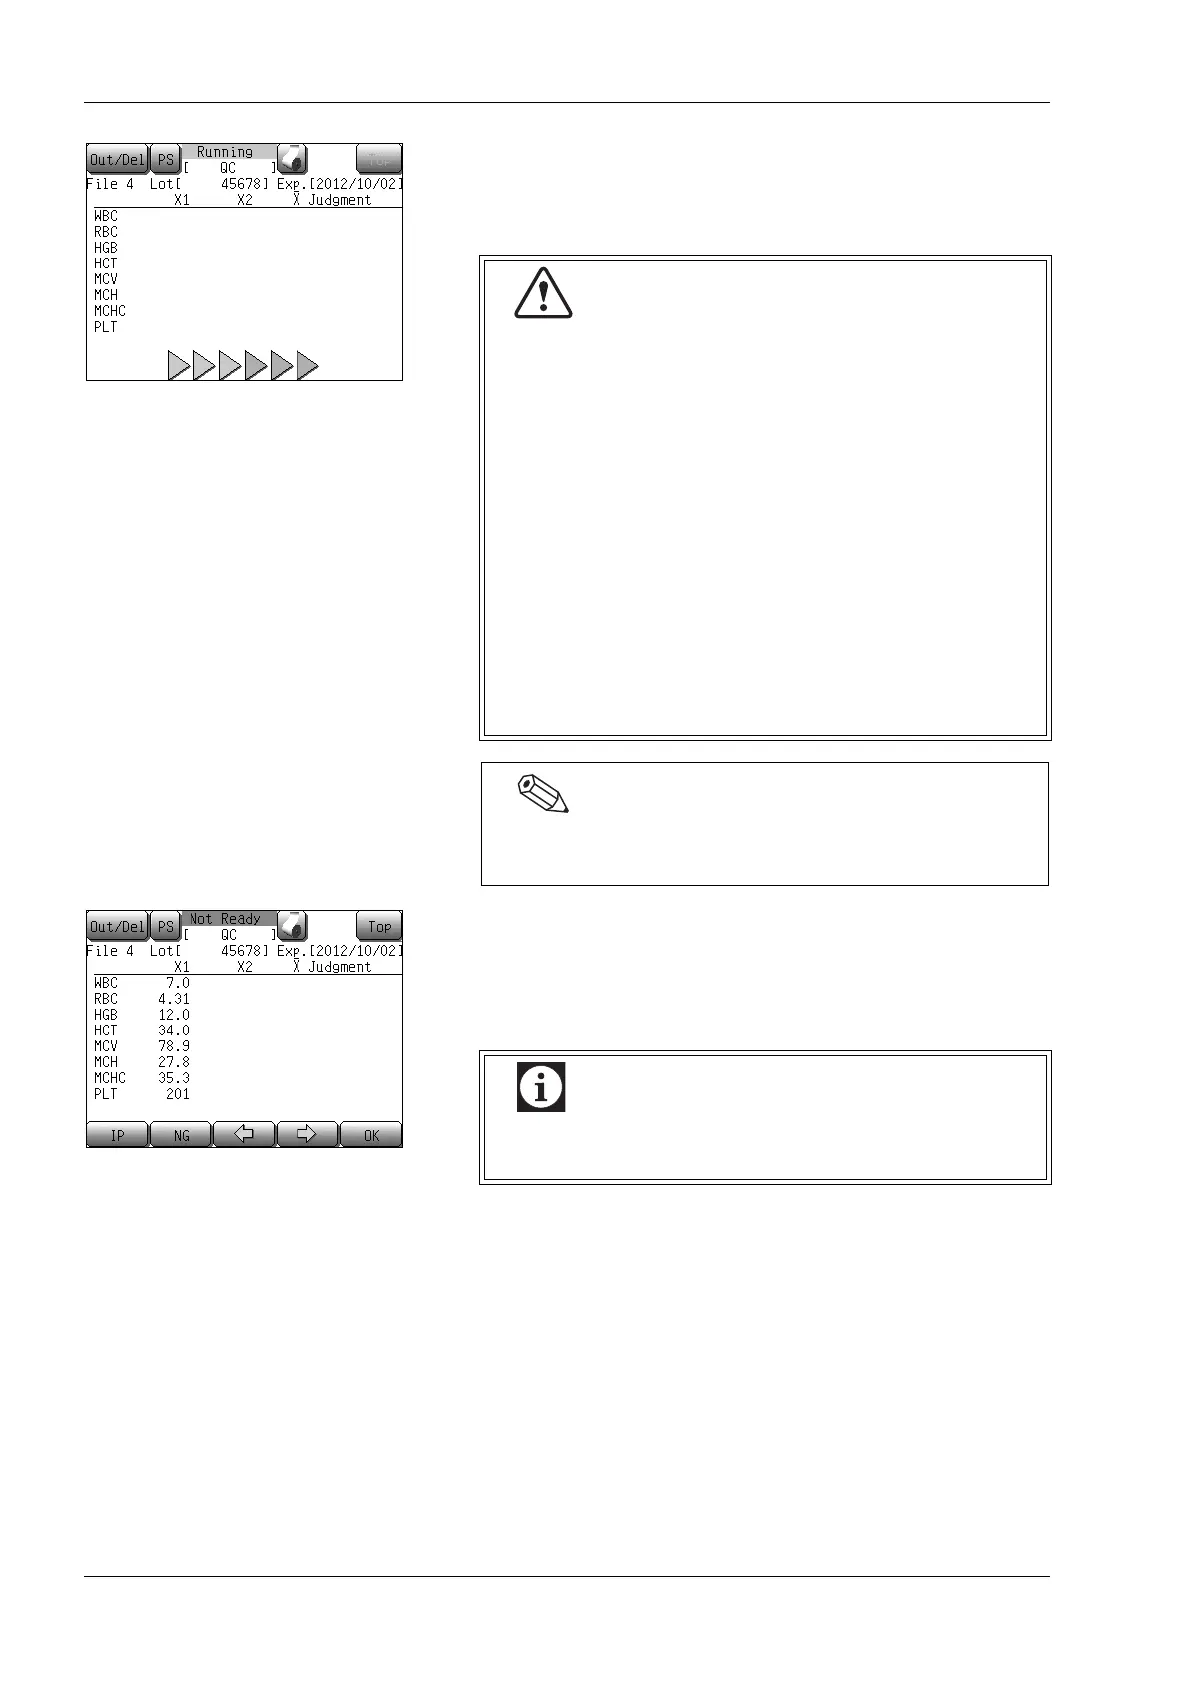
After completion of the first analysis, these analysis results will be
displayed in the [X1] column on the analysis result screen.
Use the [←] or [→] button to scroll the screen pages.
• Press the [IP] button to print the results from the first analysis.
• Press the [OK] button to accept data from the first analysis and
perform the second analysis. If the analysis results are not to be
accepted, you can perform a new analysis by pressing the [NG]
button. In either case, remove the control blood, close the cap,
and mix well.
Then, remove the cap again, set the control blood to the sample
probe, and press the start switch of the instrument.
• When analysis starts, the status reads [Aspirating].
When sample aspiration is completed, the status
display [Aspirating] changes to [Running]. When
[Running] is displayed, the control blood container
can be removed safely.
Do not remove the control blood container from the
sample probe while [Aspirating] is displayed.
Otherwise, there is a possibility that proper aspiration
cannot be performed.
• Several seconds after the buzzer sounds “beep,
beep” and [Running] appears on the screen, the
rinse cup lowers. Remove the control blood container
by that time.
• To remove the container, lower it straight down. Take
care not to bend the sample probe.
The sample probe is automatically rinsed, so there is no
need to wipe it clean.
The print format is used for quality control analysis
only and cannot be changed.