C H A P T E R 5 – G E T T I N G S T A R T E D
AT5600 User Manual 98-119 issue 14 Page 63
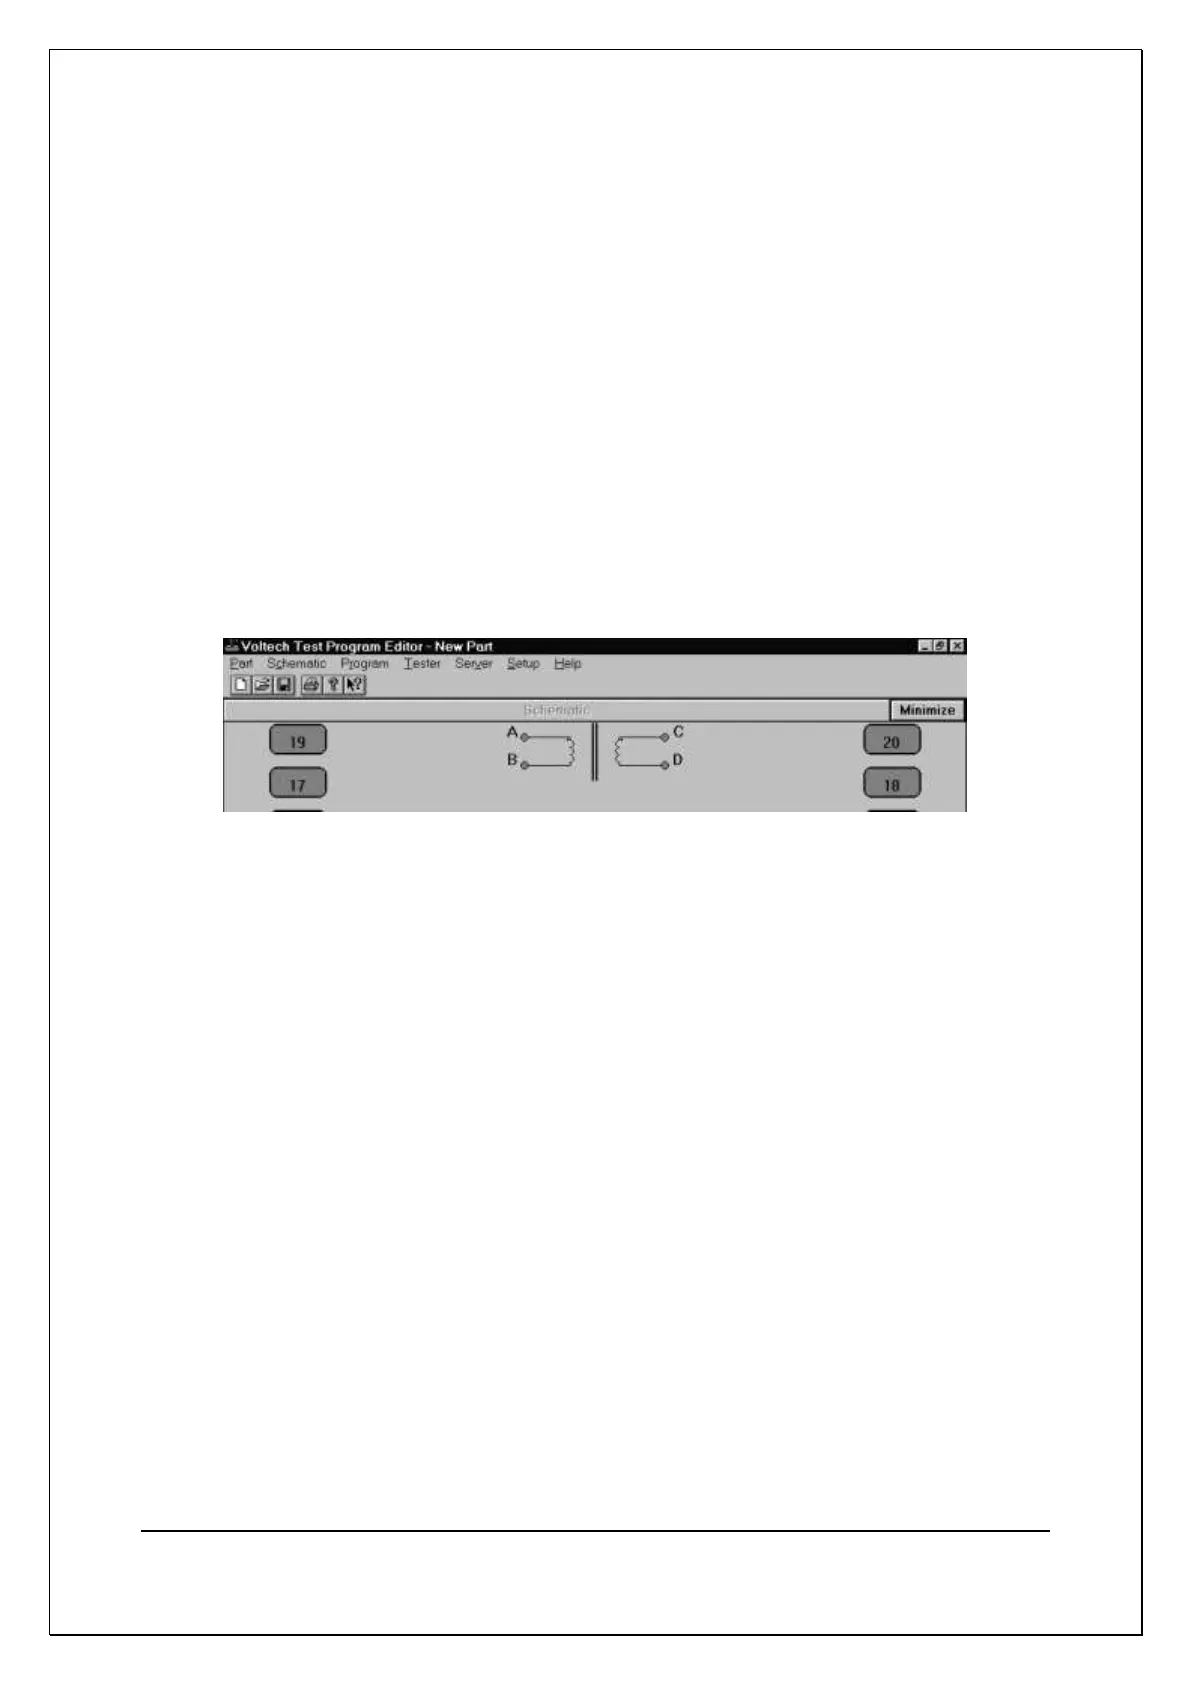
1. Using the left mouse button, click on ‘Schematic’ on the Top-Level menu bar,
and select ‘Add Winding’ from the menu.
You will now see a winding with two terminals, floating below the mouse
pointer. Place the winding on the left-hand side of the screen and press the
left mouse button.
2. A dialogue box will ask you to name the terminals of the winding; the cursor
will be in the box for Terminal 1. Type the name of the Terminal 1 (e.g. ‘A’).
3. Press TAB to move to the Terminal 2 box or right click on the Terminal 2 box
and type the name of the second terminal (e.g. ‘B’) in that box. Then click OK
or press [Enter].
Repeat steps 1-3 to create a second winding.
This time place the winding on the right-hand side of the screen, a mirror image of
the first winding, and use different terminal names (e.g. ‘C’ and ‘D’). The screen
should then look like this: