Troubleshooting
Service Manual 8-15
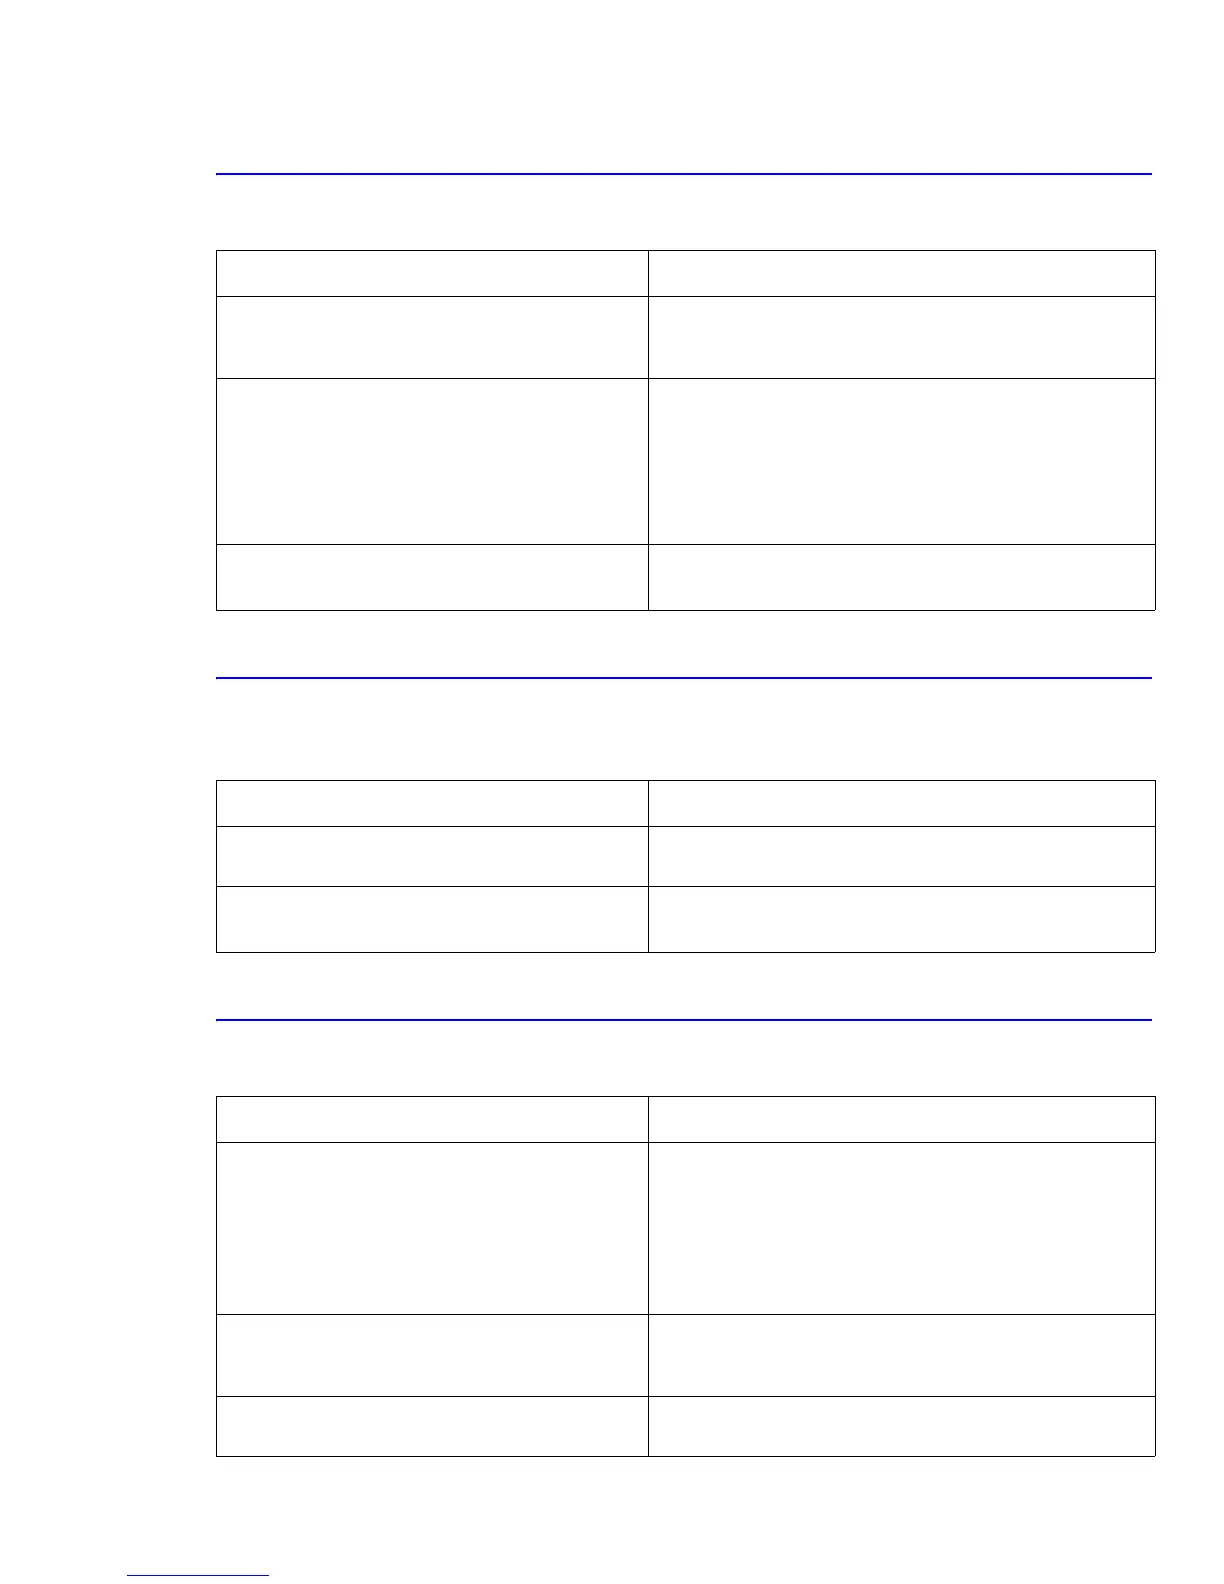
8.4.7 Cover Open Not Detected
Symptoms: “Ready” is displayed on the control panel when a cover is open.
8.4.8 Defective Motor
Symptoms: “Jam at Tray1/MPT/Tray2” is displayed on the control panel, the main motor does not work
and paper does not feed when printing.
8.4.9 No Power
Symptoms: Power is not supplied to the printer or the control panel LED display is not on.
Checks and Causes Repair Actions
Check the switch actuators on the inside of the
duplex (Door C) and developer (Door A) covers to
see if they are broken or damaged.
Replace the duplex cover (Door C) or developer cover (Door
A).
Check the cover open switch, connectors and cable
harness.
■ CN30 (main board) to CN4 (LVPS)
■ CN14 (main board to Switch 3 (left cover)
■ CN 3 (LVPS) to Switch 1 (right cover) to
Switch 2 (left cover)
Replace the harness or switch as necessary.
Test the cover open actuator and switch in EDC
mode.
Replace any defective parts.
If the error recurs, replace the main board.
Checks and Causes Repair Actions
Check if the motor harness, CN27 or motor board is
damaged.
Replace the motor or motor harness.
Test the motor using EDC mode. Replace the main motor if defective.
If the error recurs, replace the main board.
Checks and Causes Repair Actions
Check the AC power input and DC voltage output
from the LVPS.
CN30 (main board) to the following Pins:
9~10 = 24VDC, 13~16 = 3.3VDC, 21~22 = 5VDC
Check the fuses in the LVPS
Check the wall socket output.
Replace the power cord.
Replace any damaged or open fuses on the LVPS (F1~F3).
If the fault recurs, replace the LVPS.
If the LVPS supply is working properly, and the
display still does not work, check the display
connectors and cable harness.
Replace the cables or control panel assembly.
Replace the main board.
Check if +24VDC or DC outputs are shorted to
ground.
Isolate and replace the component that is shorting out the
power supply.