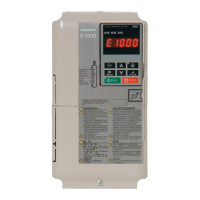
7.6 Drive Replacement
Periodic Inspection &
Maintenance
7
YASKAWA ELECTRIC SIEP C710616 35D YASKAWA AC Drive E1000 Technical Manual 329
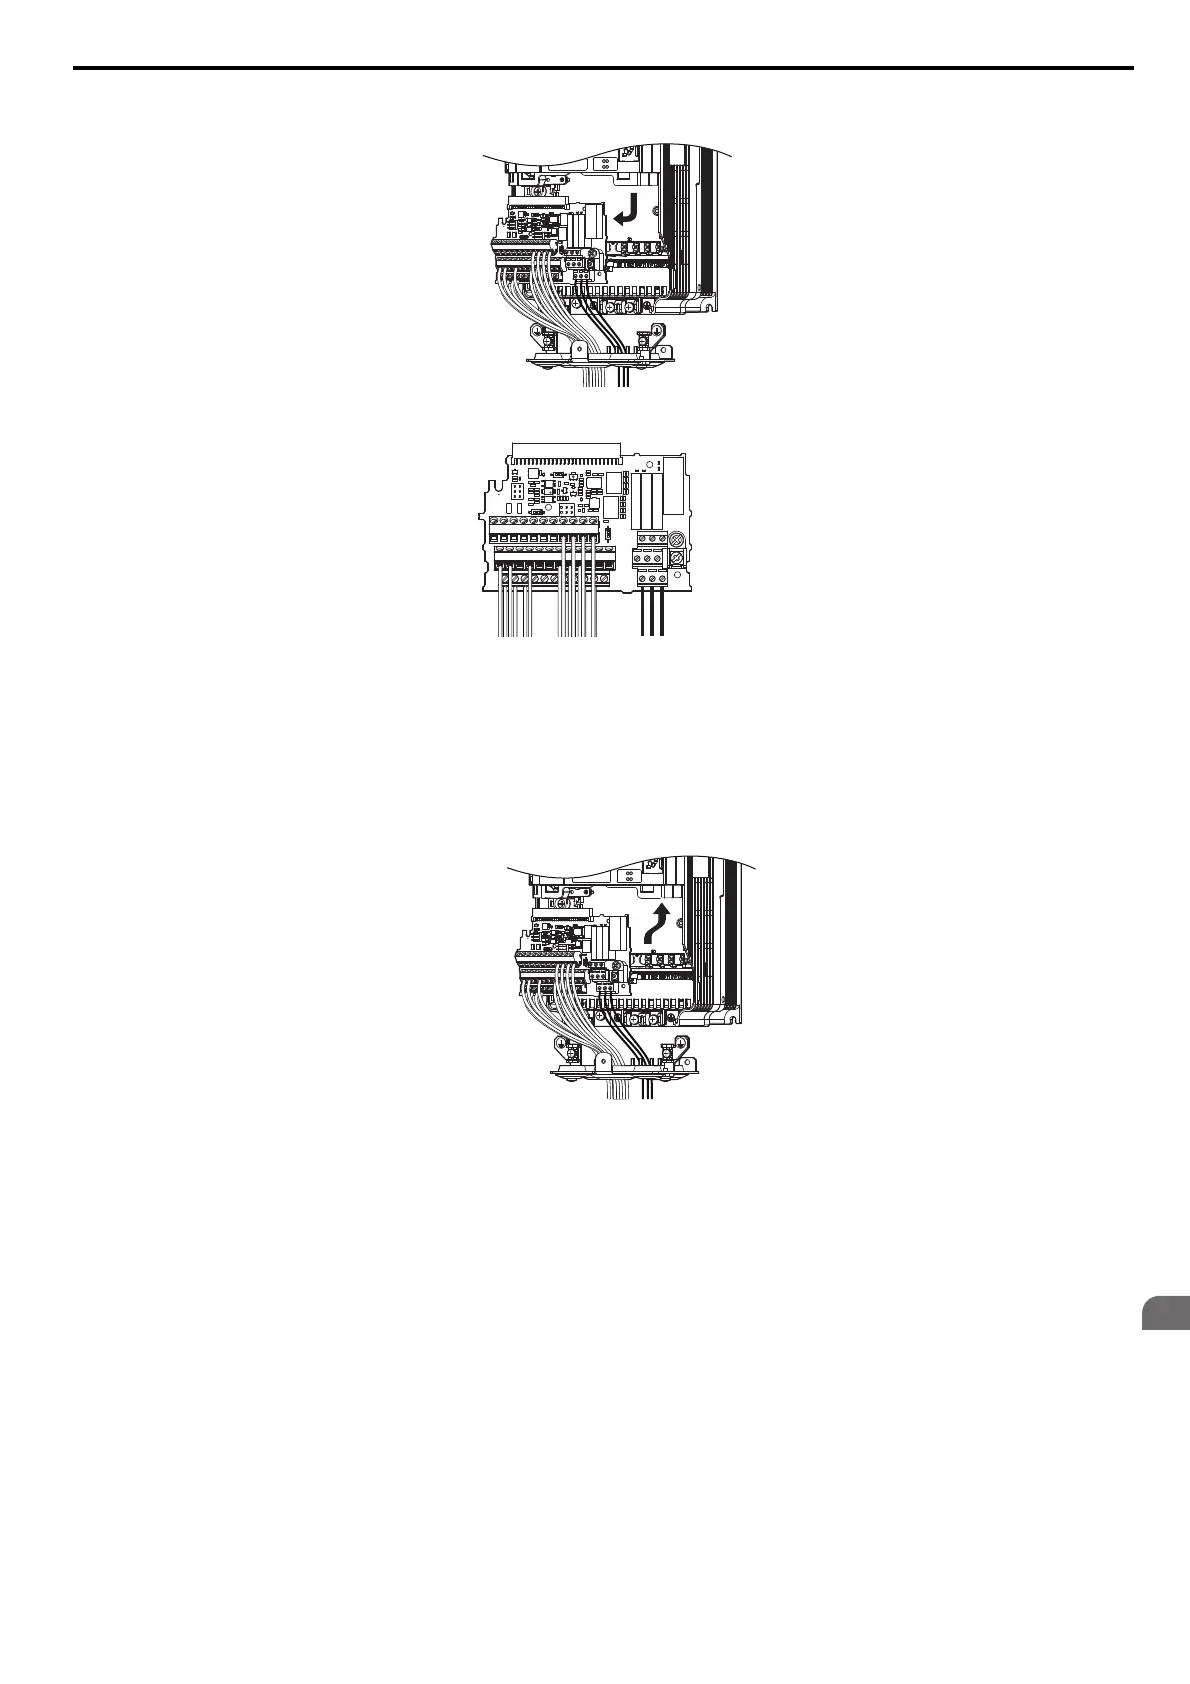
3. Slide the terminal board as illustrated by the arrows, and remove it from the drive along with the bottom cover.
Figure 7.58
Figure 7.58 Drive Replacement: Remove the Terminal Board
Figure 7.59
Figure 7.59 Drive Replacement:
Removable Terminal Board Disconnected from the Drive
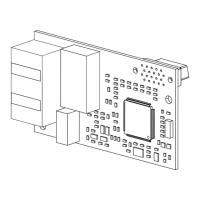
4. Disconnect all option cards and options. Make sure they are intact before reusing them.
5. Replace the drive and wire the main circuit.
■ Installing the Drive
1. Once the main circuit has been wired, connect the terminal block to the drive as shown in Figure 7.60. Use the
installation screw to fasten the terminal block into place.
Figure 7.60
Figure 7.60 Drive Replacement: Installing the Terminal Board
2. Reconnect all options to the new drive in the same way they were installed in the old drive. Connect option
boards to the same option ports in the new drive that were used in the old drive.
3. Put the terminal cover back into its original place.
4. When the power to the drive is first switched on, all parameter settings are transferred from the terminal board
into the drive memory. Should an oPE04 error occur, load the parameter settings that have been saved on the
terminal board onto the new drive by setting parameter A1-03 to 5550. Reset timers used for the Maintenance
Monitor function by setting parameters o4-01 through o4-12 back to 0, and parameter o4-13 to 1.
SIEP_C710616_35.book 329 ページ 2015年11月30日 月曜日 午後2時2分