Communication Settings
119
NetLinx Studio - Instruction Manual
Communication Settings
Overview
The options in the Master Communication Settings and Communication Settings dialogs allow you to define various
communication settings, to allow you to connect NetLinx Studio to both NetLinx and Axcess Masters.
In the case of NetLinx Masters, you can connect via TCP/IP, Serial or Virtual NetLinx Master. Axcess masters
communicate via Serial. When connected to a Master Controller, NetLinx Studio can be used for file transfers (including
firmware upgrades) as well as various diagnostics tasks.
Connecting to a Master Controller
There are several ways that NetLinx Studio can connect to a Master Controller (refer to the following sections of this
document).
via Network - see page 119
via Serial - see page 127
via Virtual NetLinx Master - see page 129
Connecting to a Master Controller via Network (TCP/IP)
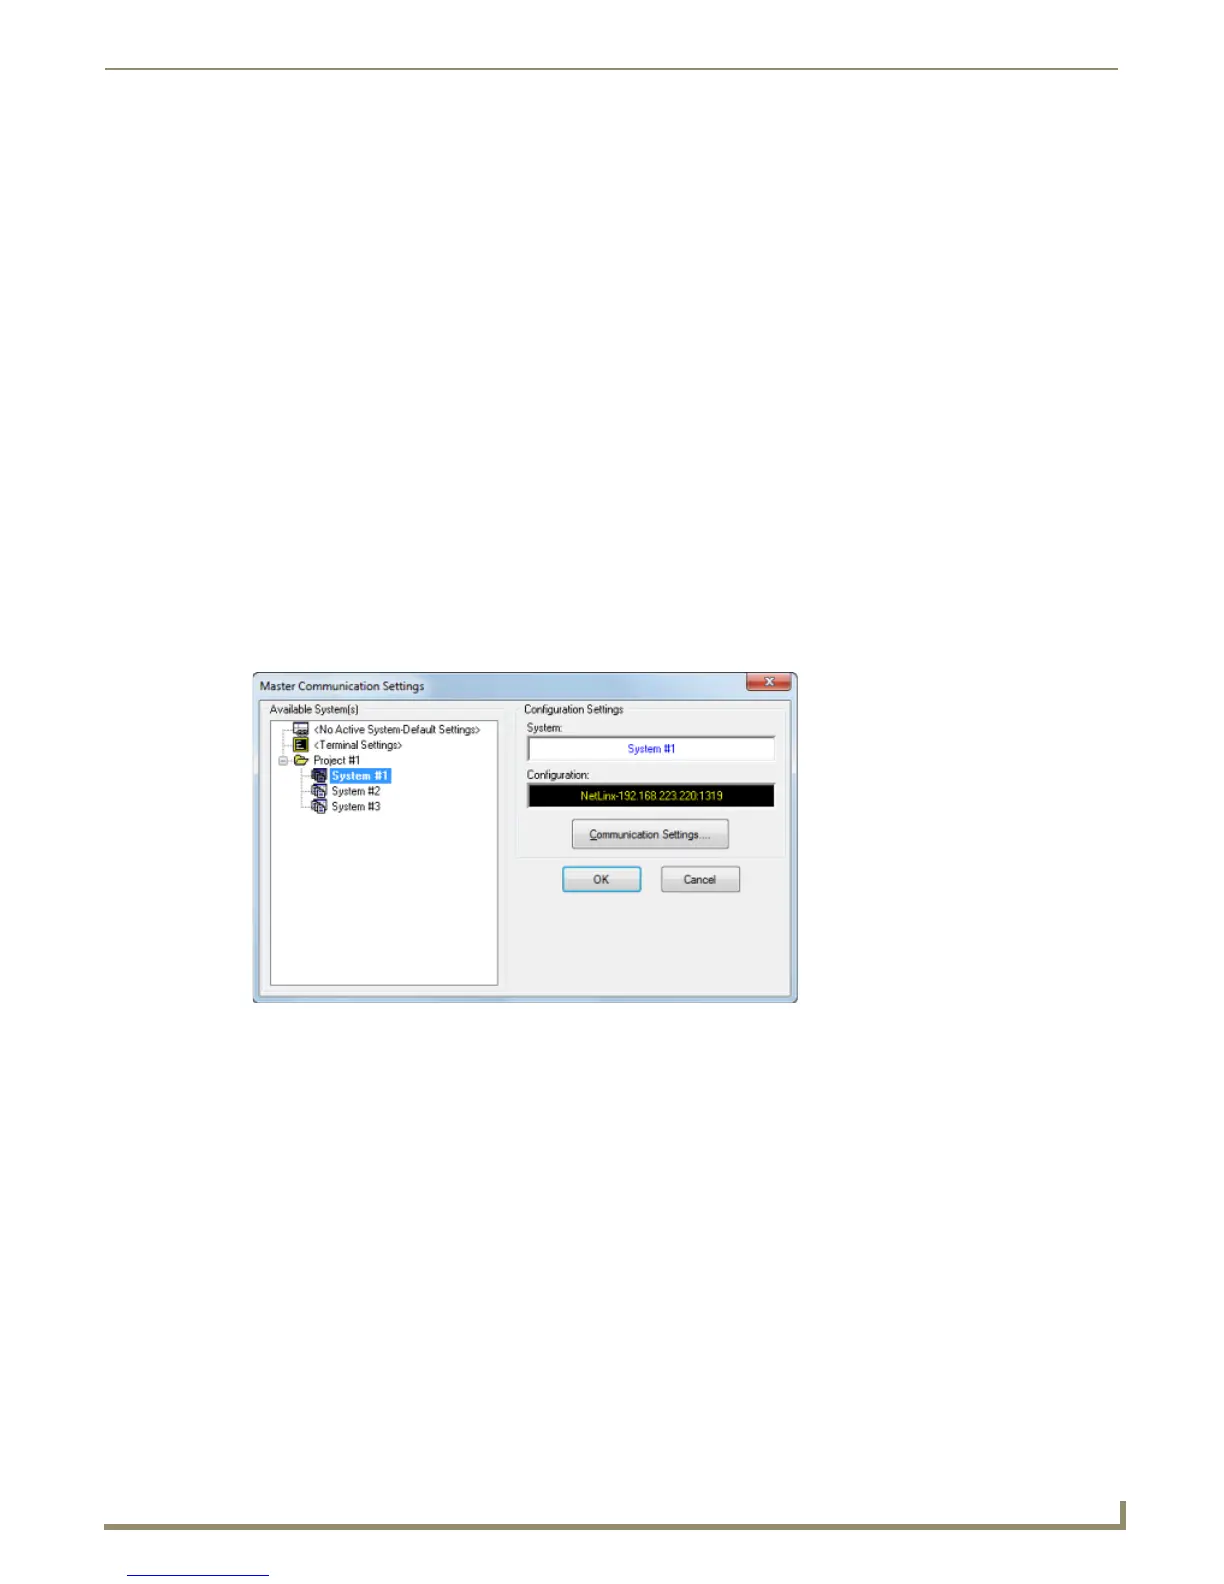
1. Select Settings > Master Communications Settings to open the Master Communication Settings dialog
(FIG. 183).
2. Click Communication Settings to open the Communication Settings dialog.
3. Select the Platform (NetLinx Master) and the Transport Connection Option (TCP/IP). This populates the dialog
with options for configuring TCP/IP communication settings with the target Master Controller (FIG. 184).
FIG. 183 Master Communication Settings dialog