Working with Workspace Files
11
NetLinx Studio - Instruction Manual
Working with Workspace Files
Overview
Workspace files are created in NetLinx Studio and saved with the .APW file extension. Workspaces are represented by
the top-level folder in the Workspace Bar (Workspace tab).
A Workspace contains one or more Projects. Each Project in turn can contain multiple Systems. Once created, you can
re-open that Workspace file to recall the NetLinx Studio workspace exactly as it was when the Workspace file was
created, including the Projects, Systems (and all related files) it contains.
All Projects, Systems and System files are linked to the Workspace, so that you can add and remove Projects and
Systems without having to make copies of the files. Since all System files are linked to the Workspace, when you open a
file for editing, you are opening and editing the actual file, not a local copy. In the event that the file is linked to multiple
Systems, any changes made to the file will be reflected in every instance that the file is used.
Creating a New Workspace File
New Workspace files are typically created via the Workspace Wizard. Note that there is a method for creating an empty
Workspace (one without any Projects or Systems) - see Creating a New (Empty) Workspace section on page 18 for
details.
Using the Workspace Wizard
A key feature of NetLinx Studio is the Workspace Wizard. The Workspace Wizard quickly steps you through the process
of creating a new Workspace, with a Project and a System.
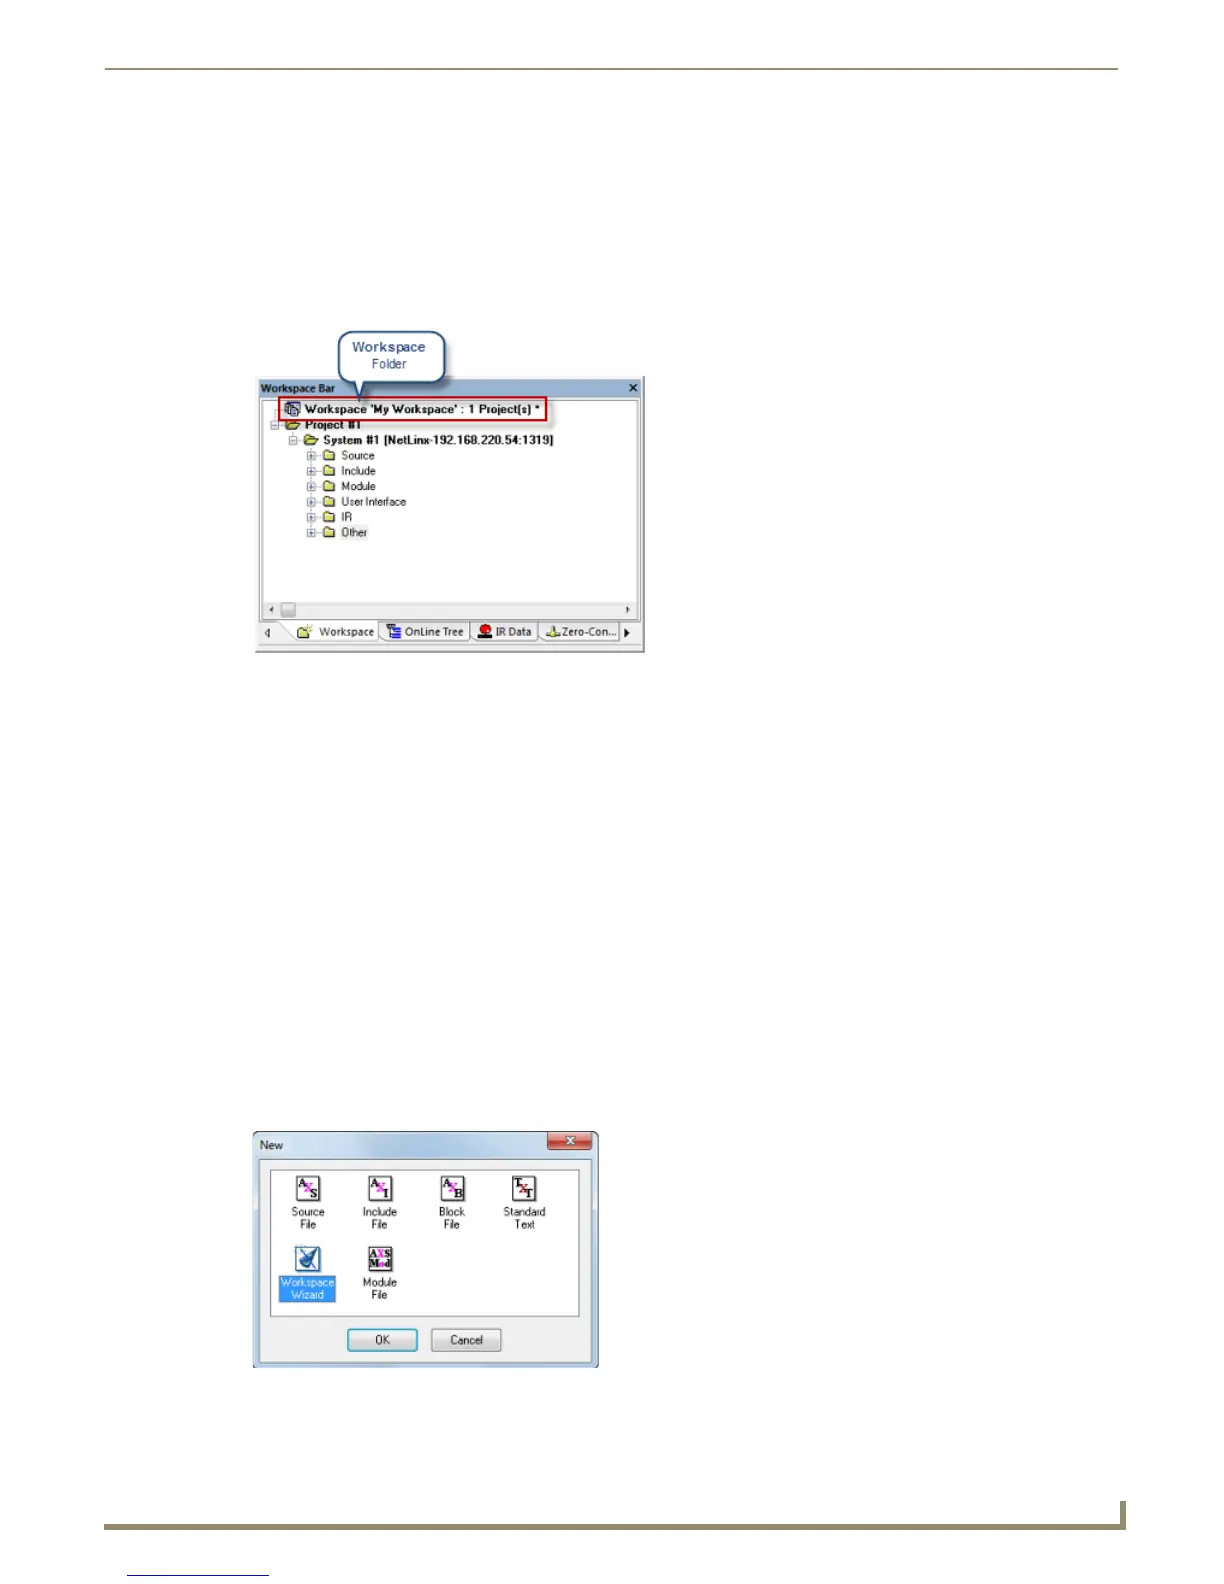
1. To start the Workspace Wizard, select File > New.
2. In the New dialog, select Workspace Wizard and click OK (FIG. 17).
FIG. 16 Workspace Bar - Workspace tab - Workspace Folder
FIG. 17 New dialog - Workspace Wizard selected