Working with Systems
31
NetLinx Studio - Instruction Manual
4. Click OK to add the new System to the selected Project.
Adding an Existing System to a Project
There are two ways to add an existing System to a Project, via Import or via Copy and Paste:
Importing Systems into a Project
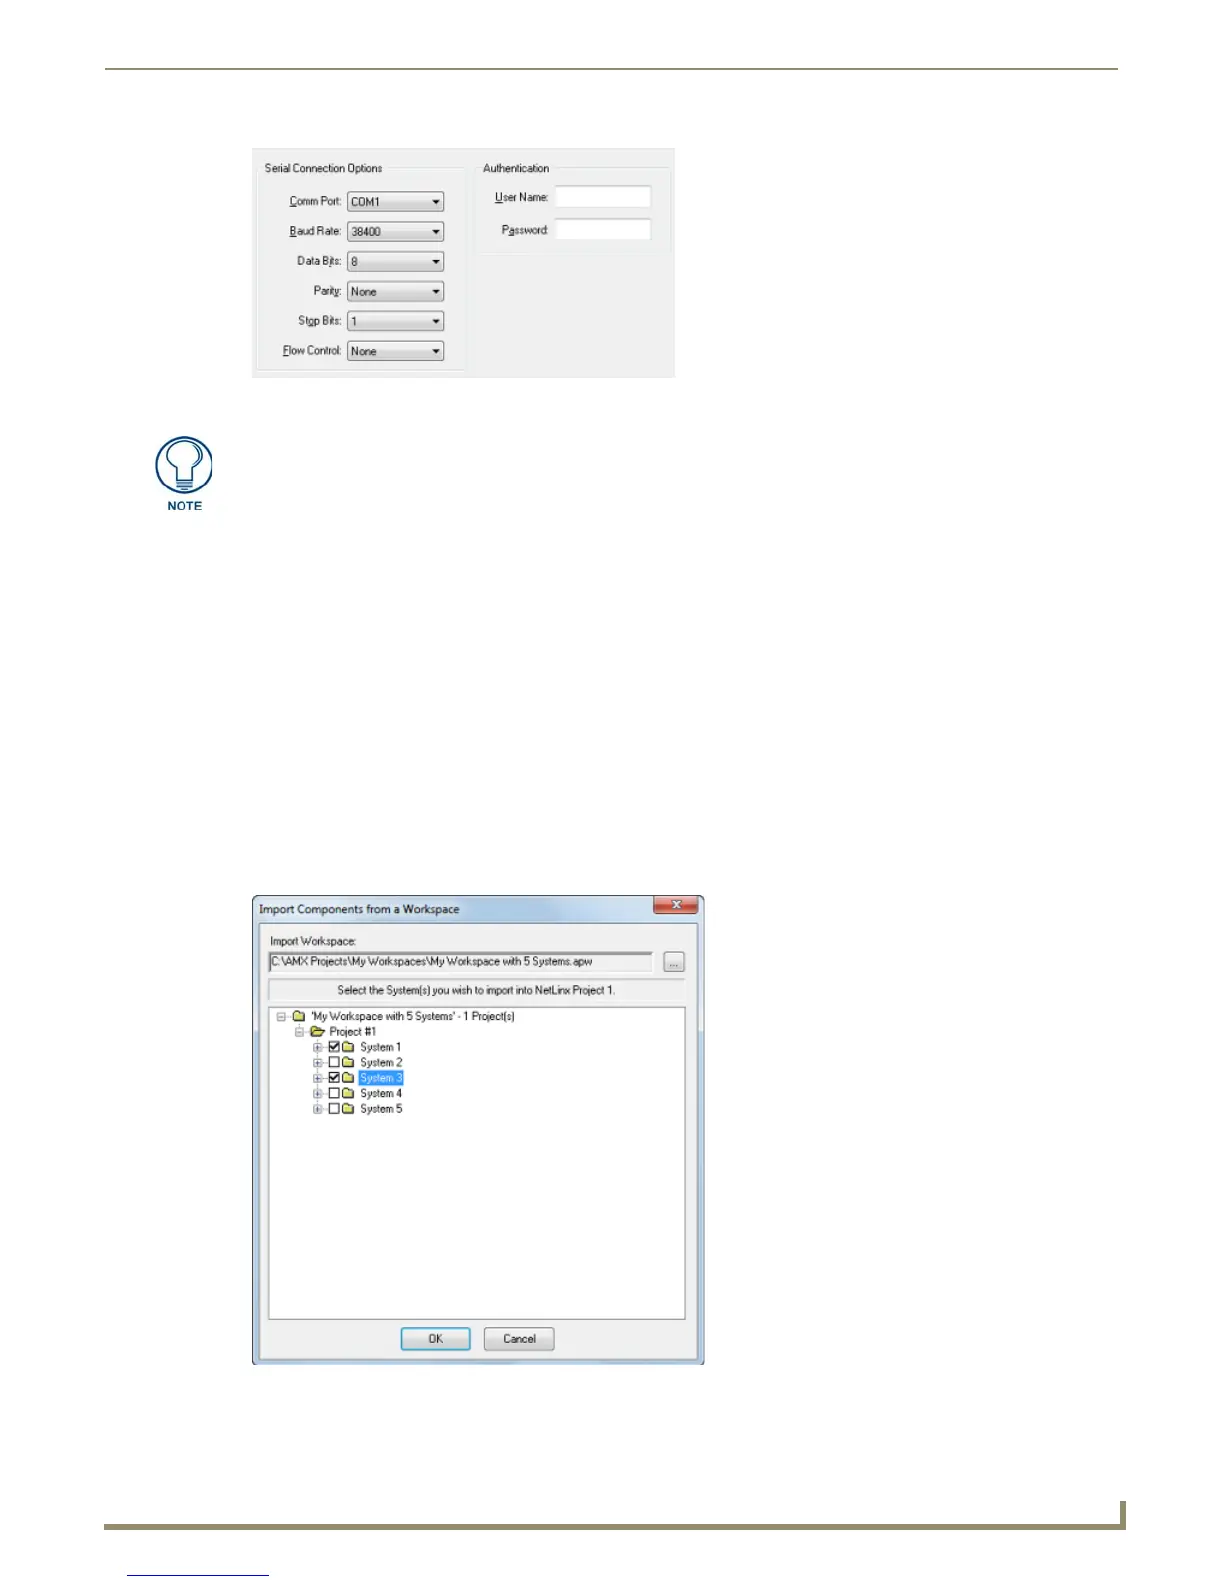
To import one or more existing Systems into a Project, you need to know which Workspace file contains the System(s)
that you want to add:
1. Select (highlight) the Project that you want to add the imported System into (in the Workspace tab of the Workspace
Bar).
2. Right-click to access the Project folder context menu, and select Import a System to open the Open Workspace
dialog.
3. Use the options in this dialog to locate and select the Workspace (.APW) file that contains the System that you want
to import into the Project.
4. Click Open to access the Import Components From a Workspace dialog (FIG. 51).
5. Check each System that you want to import, and click OK to add the selected System(s) to the Project.
FIG. 50 Communication Settings dialog - Serial Connection Options
Refer to the Communication Settings section on page 119 for details.
FIG. 51 Import Components From a Workspace dialog