Working with System Files
43
NetLinx Studio - Instruction Manual
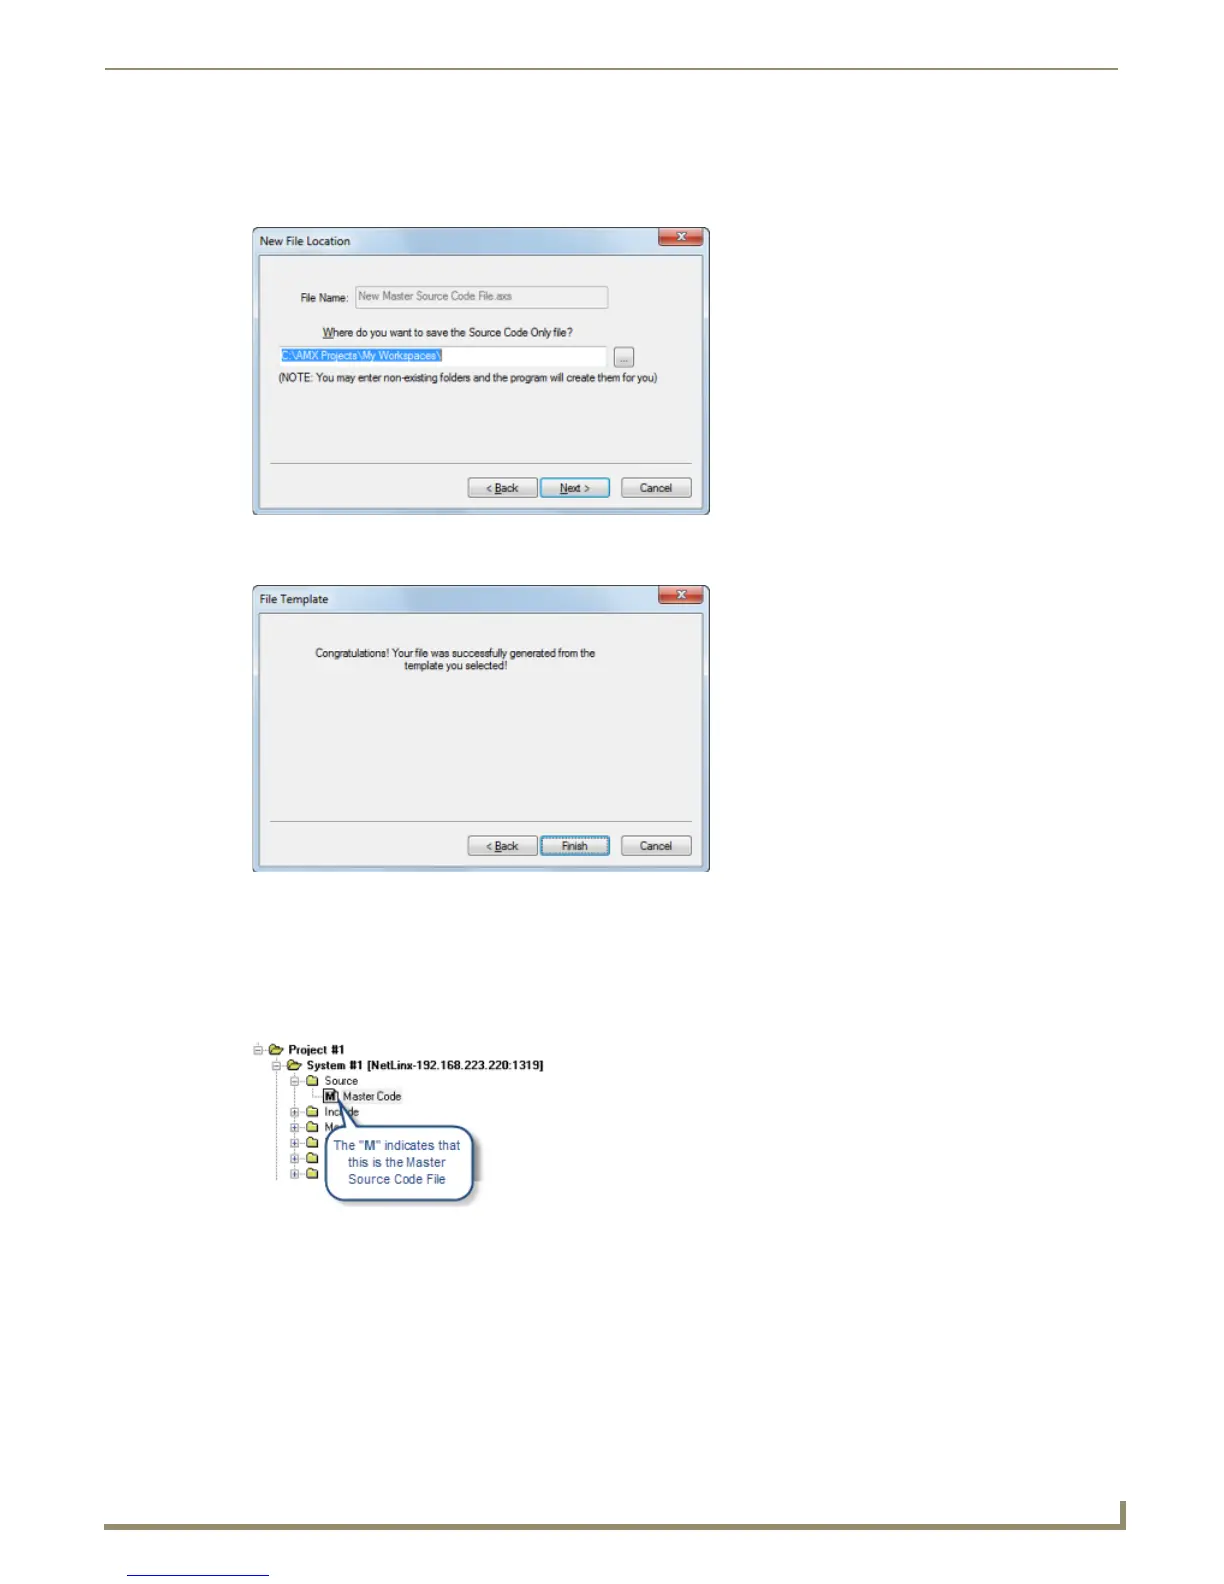
6. In the New File Location dialog, specify a target directory for the file.
By default, the target directory is the NetLinx Studio directory.
Use the Browse (...) button to navigate to another folder if necessary. (FIG. 71).
7. Click Next to proceed to the final File Template dialog, which notifies you that the file was created (FIG. 72).
8. Click Finish to close the File Template dialog.
The new Source Code file is opened in an Editor window for editing. Also, the new file should now appear in the Source
folder under the selected System.
If Make this the Master File Source Code File was checked (in step 5), then the file icon will feature the letter "M" in the
Workspace tab to indicate that it is the Master Source Code file (FIG. 73).
Adding an Existing Source Code File to a System
To add an existing Source Code file to a System in the Workspace:
1. Click to select (highlight) a System in the Workspace tab of the Workspace Bar.
2. Right-click on the Source folder to access the Source File Folder context menu, and select Add Existing Source
File (FIG. 74).
FIG. 71 New File Location dialog
FIG. 72 File Template dialog
FIG. 73 Source folder indicating a Master Source Code file