Working with System Files
41
NetLinx Studio - Instruction Manual
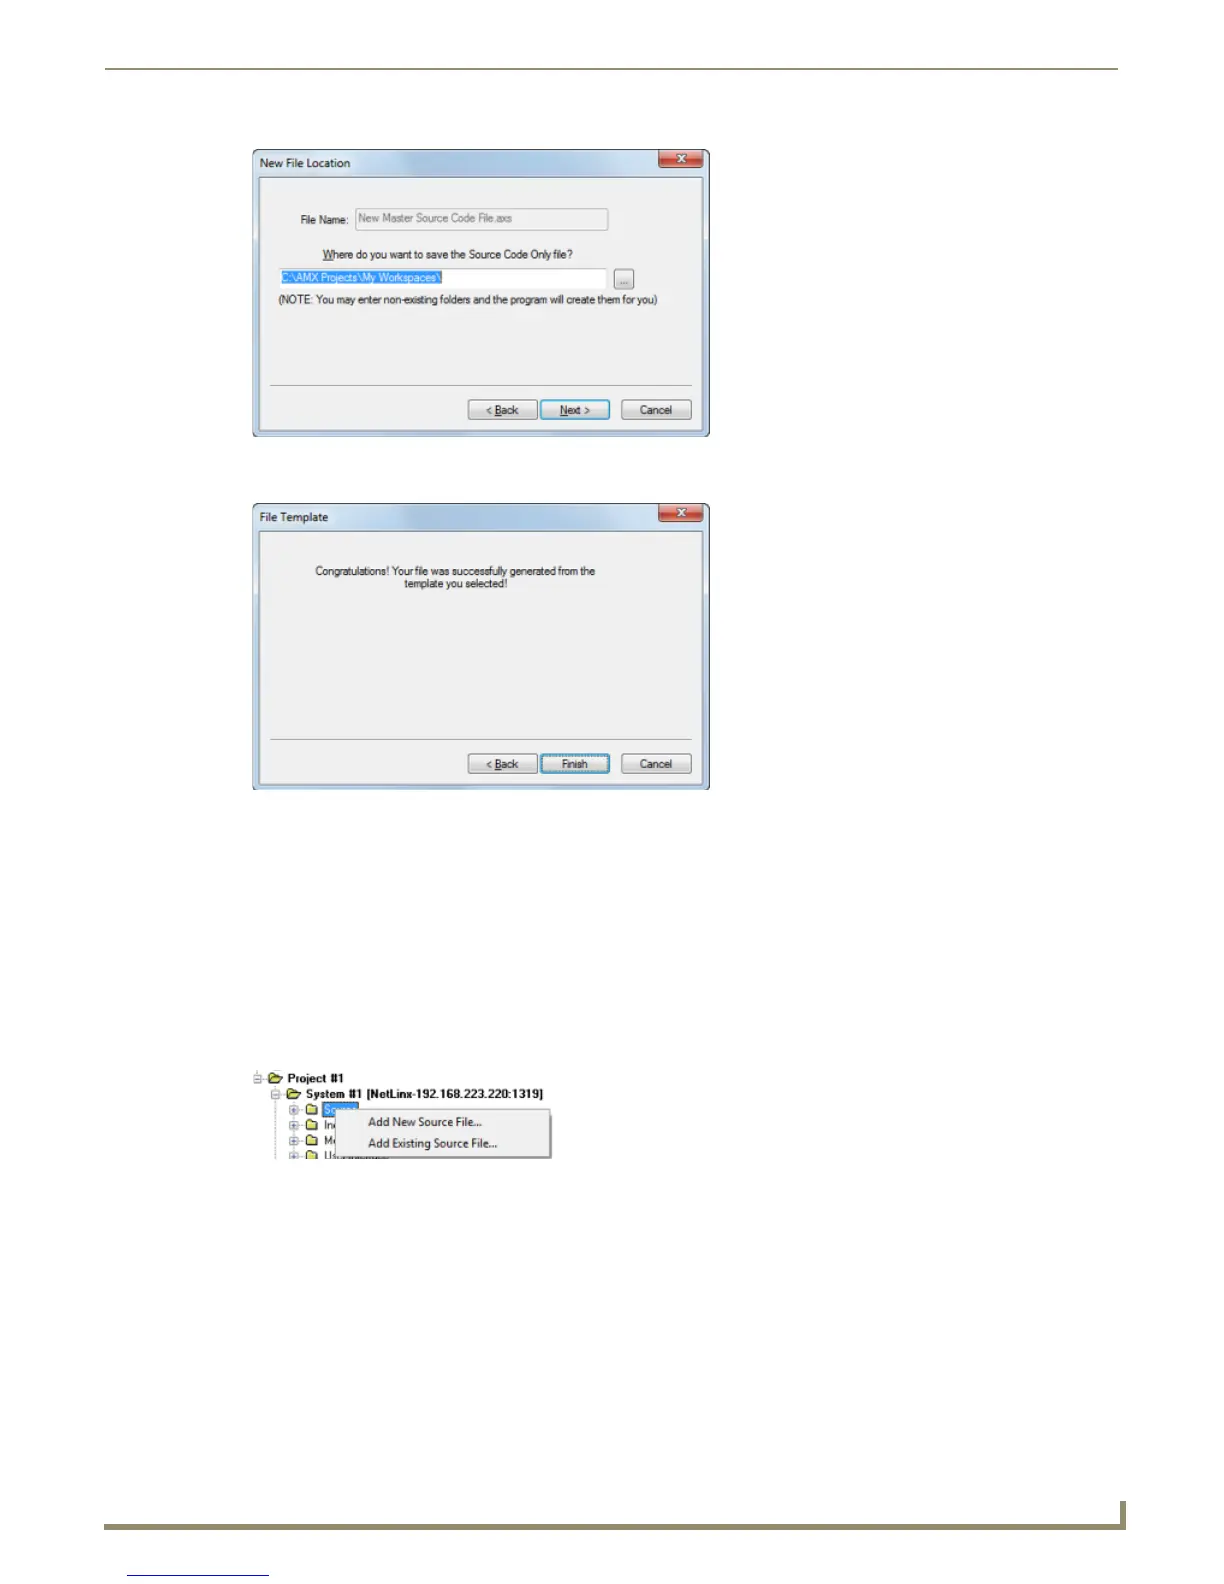
7. Click Next to proceed to the final File Template dialog, which notifies you that the file was created (FIG. 66).
8. Click Finish to close the File Template dialog.
The new Source Code file is opened in an Editor window for editing.
Adding a New Source Code File to a System
NetLinx Studio provides a set of dialogs that step you through the process of creating a new Source Code (*.axs) file and
add it to a specific System in the Workspace:
1. Click to select (highlight) a System in the Workspace tab of the Workspace Bar and expand the view to show the
System File folders (Source, Include, Module, User Interface, IR and Other).
2. Right-click on the Source folder to access the Source File Folder context menu, and select Add New Source File to
open the File Template dialog (FIG. 68).
Alternatively, you can also either select File > New or click the New toolbar button, and select Source File (in
the New dialog).
Note that the new file will be added to the selected System, even if it is not the currently active system.
3. The first File Template dialog prompts you to either use a template to create the new file, or to create an empty AXS
file not based on a template (FIG. 68).
FIG. 65 New File Location dialog
FIG. 66 File Template dialog
FIG. 67 Add New Source File