Working with System Files
40
NetLinx Studio - Instruction Manual
If you select Yes, click Next to proceed to the next File Template dialog (see Step 4).
If you select No, click Next to proceed to the New File Location dialog (see Step 6).
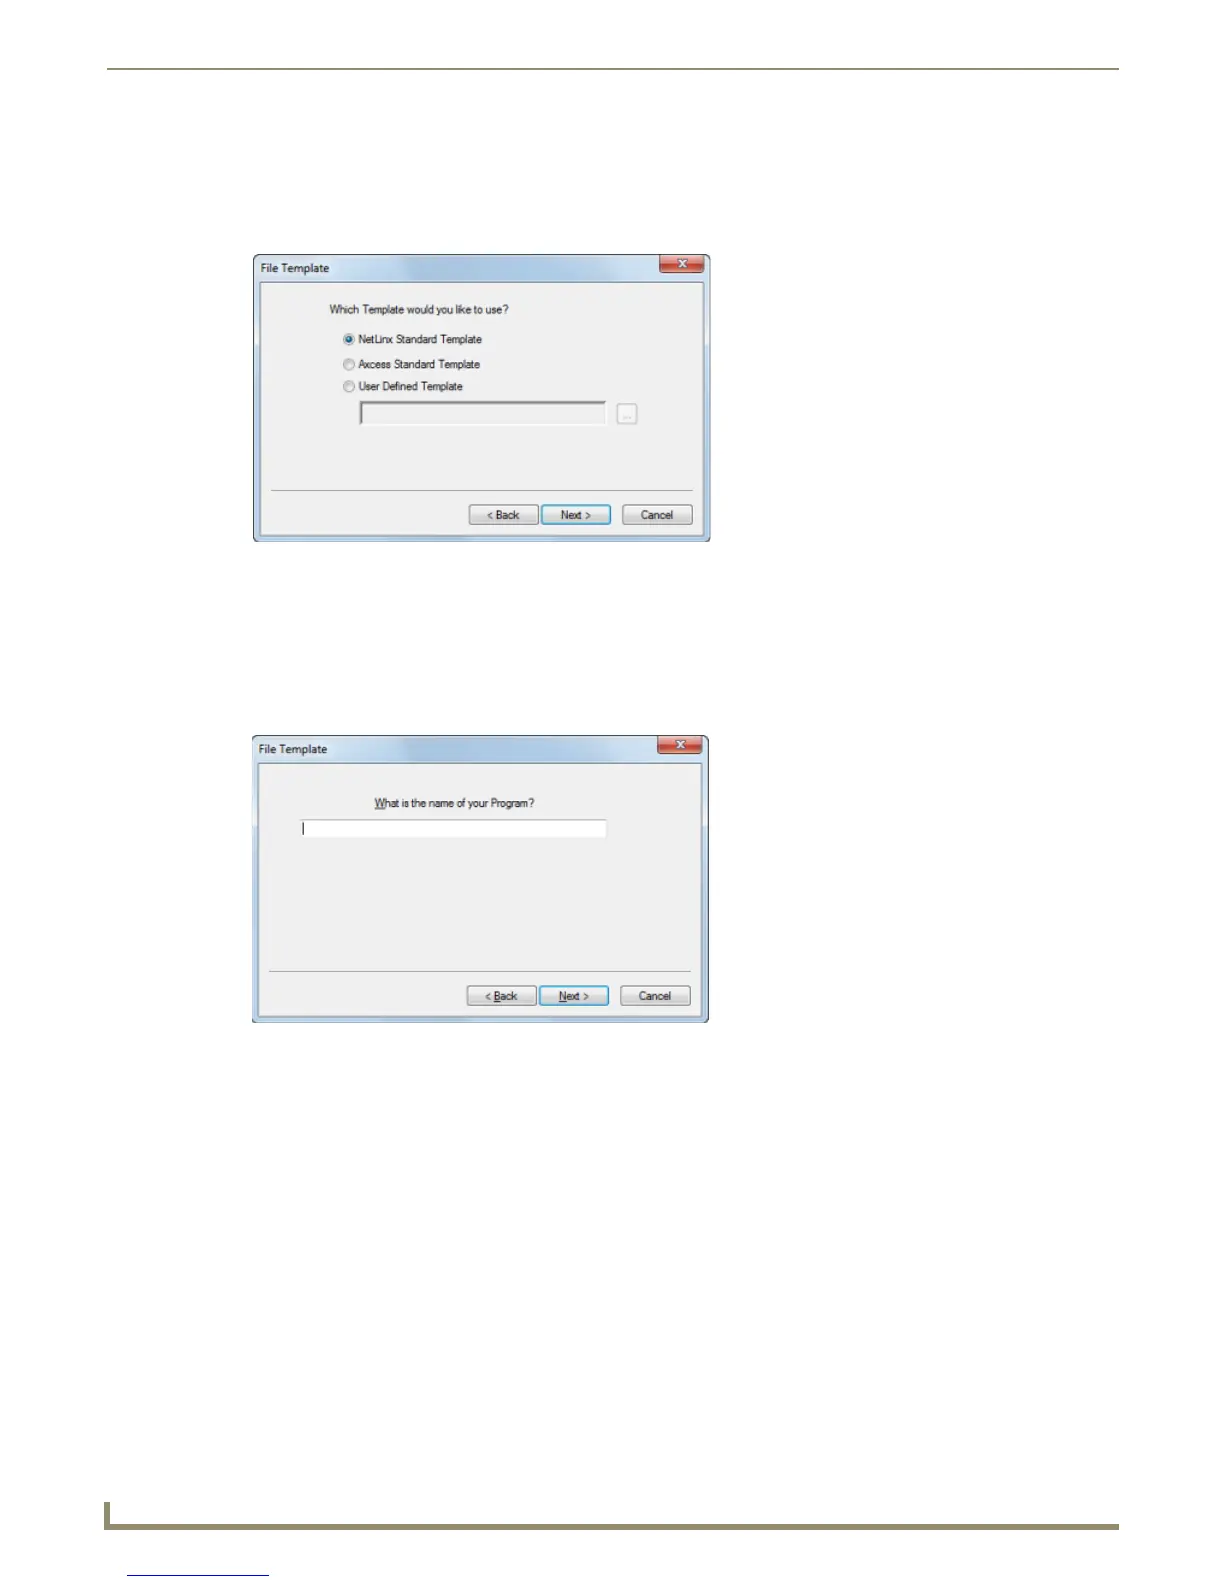
4. In the File Template dialog, select a template to use to create the file (NetLinx Standard, Axcess Standard or User-
Defined), and click Next to proceed. (FIG. 63).
If you select to use the NetLinx or Axcess templates, the new Source Code file will include all of the sections
and headings DEFINE_DEVICE, DEFINE_CONSTANT, DEFINE_TYPE, etc.) that differentiate the various
sections contained in a typical Source Code file for the indicated system type.
If you select User Defined Template, then enter the file path for the AXS, AXI, AXB (or other) file to be used
as the file template. Use the Browse (...) button to locate and select the file via the Open dialog.
5. In this File Template dialog, enter a file name for the new Source Code file, and click Next to proceed (FIG. 64).
6. In the New File Location dialog, specify a target directory for the file.
By default, the target directory is the NetLinx Studio directory.
Use the Browse (...) button to navigate to another folder if necessary. (FIG. 65).
FIG. 63 File Template dialog
FIG. 64 File Template dialog