File Transfer Operations
150
NetLinx Studio - Instruction Manual
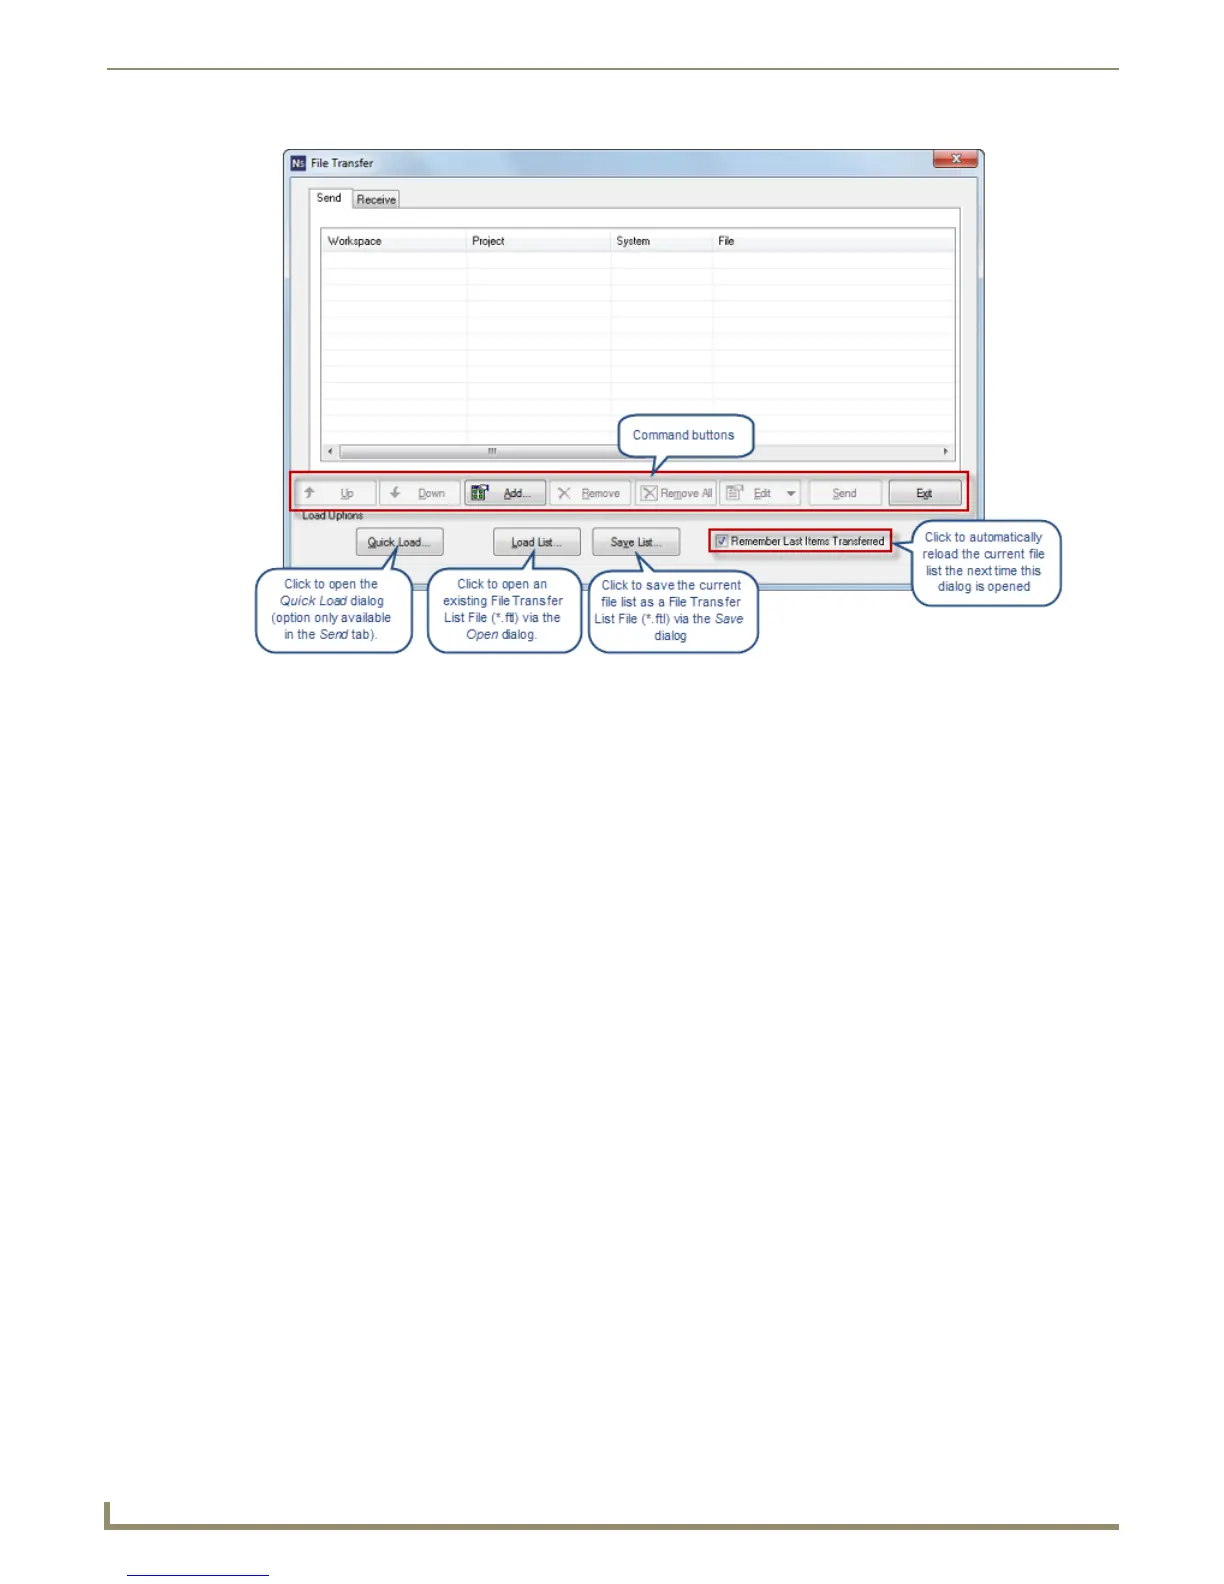
2. Add the files to be included in this transfer operation to the Send tab. There are several ways to do this:
Via the Select Files For File Transfer dialog - see Adding Workspace Files via the "Select Files for File
Transfer" dialog on page 151.
Via the Quick Load dialog - see Adding Workspace Files via Quick Load on page 155.
Via a File Transfer List (*.ftl) file - see Adding Files Using a File Transfer List (*.ftl) file on page 156.
3. By default, the files listed in the Send tab use the communication settings (transport and target Master) that are
associated with the System to which they belong.
To view/edit the communications for files in the Send tab, select a file and select Edit > Communication Settings
(in the File Transfer dialog). This opens the Communication Settings dialog, indicating the settings for the selected
file. Edit these settings as necessary (refer to the Communication Settings section on page 119).
To view/edit the device mapping information for files in the Send tab, select a file in the list and select Edit >
Device Mapping (in the File Transfer dialog).
4. With all of the files that are to be included in this transfer listed in the Send tab, click the Send command button
(FIG. 229).
FIG. 228 File Transfer dialog (Send tab)