R5910032 /00 Freya134
Each input file displayed here has a name (reference 1).Creation date (reference 2) of the file is displayed just
under its name. When a input file is activated the status (reference 3) turns to Active and its name is noticed
on top of the list.
Clicking on a input file (reference 4) in this list allows to show it in its expanded form and displays a contextual
menu.
Following actions are available in this menu:
• Activate (reference 5) allows to activate the input file.
• Export (reference 6) creates a downloadable backup package.
• Edit (reference 7) allows to modify the input file.
• Rename (reference 8) allows to rename the input file.
• Delete (reference 9) allows to remove the input file from the list.
Clicking on menu (reference 10) displays the input file general menu.
Following actions are available in this menu:
• New (reference 11) allows to create a new input file.
• Import (reference 12) allows to import an input file.
• Export (reference 13) creates a downloadable backup package that contains all input files selected in the
list.
• Delete (reference 14) allows to remove several input files selected in the list.
7.6.2 Creating an input file
Location & access
Menu: Configuration > Projector > Input
Level: Administrator, Service technician
How to create Input file
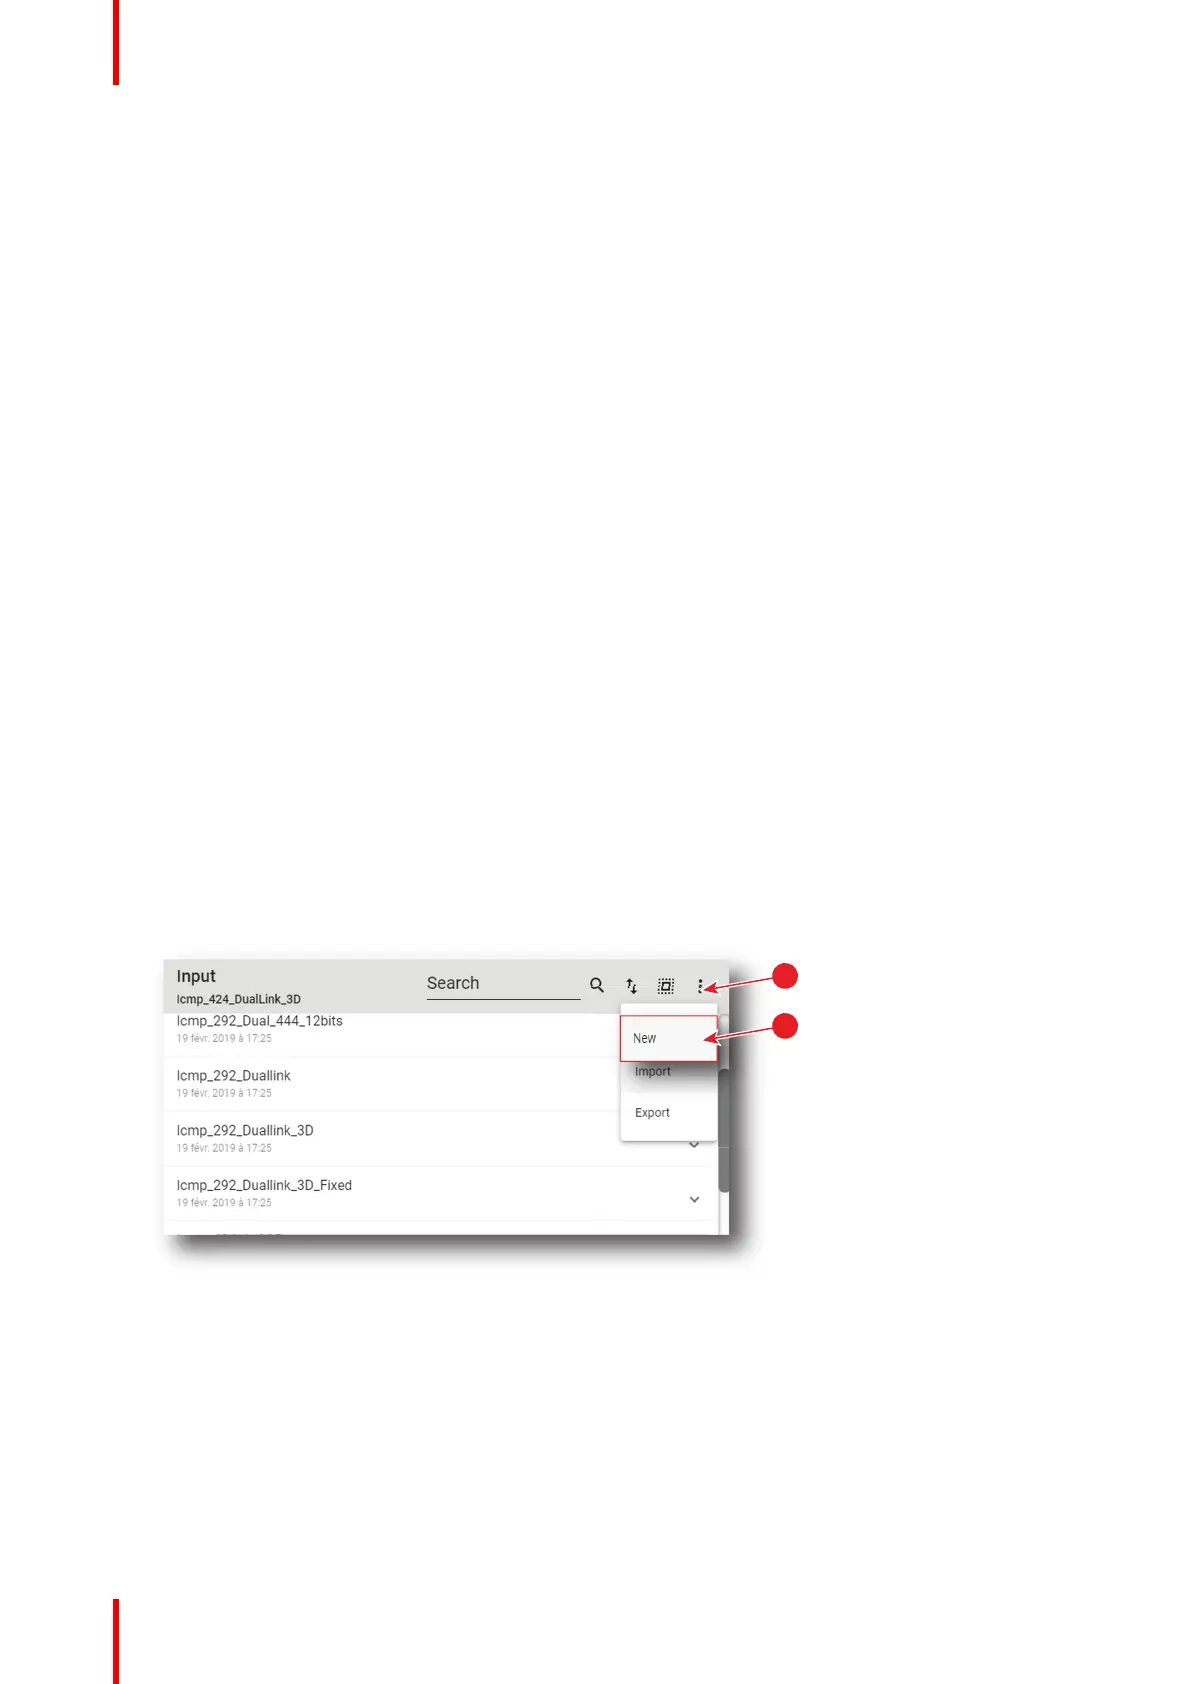
1. While in Configuration > Projector > Input, click on the input file general menu (reference 1) located on the
top right of the list.
The menu is displayed.
Image 7–107
2. Select New (reference 2) in the menu.
Input file editor (reference 3) is displayed with a new (untitled) input file.
Configuration - Projector