1 689 989 000 2013-05-02| Robert Bosch GmbH
36 | EPS 200 | Setupen
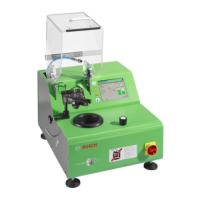
4.2 Installing the protective cover
1. Remove the protective cover and assembly set from
the packaging.
The assembly set contains the following parts:
R Pins (2 x)
R Spring bolts (2 x)
R Leg spring, left
R Leg spring, right
R Spring holders (2 x)
R Hexagon socket head bolts M6 x 12 (2 x)
R Sheaths (2 x)
R Grommets (2 x)
R Lock washers A6 (2 x)
R Weight
R Lock washers A5 (3 x)
R Washers A5 (3 x)
R Hexagon socket head bolts M5 x 16 (3 x)
R Plastic discs A5 (3 x)
2. Lay the protective cover on its side on a clean work
table.
5
2
1
3
4
458822-114_Pal
Fig. 15: Mounting the weight
1 Weight
2 Plastic disc A5
3 Washer A5
4 Lock washer A5
5 Hexagon socket head bolt M5 x 16
3. Attach the weight (Fig. 15, Pos. 1) to the protective
cover. Tightening torque = 1 Nm.
Weight attached to the protective cover.
EPS 200
1
BOSCH
X20
458824-75_K
1
6
2
5
4
3
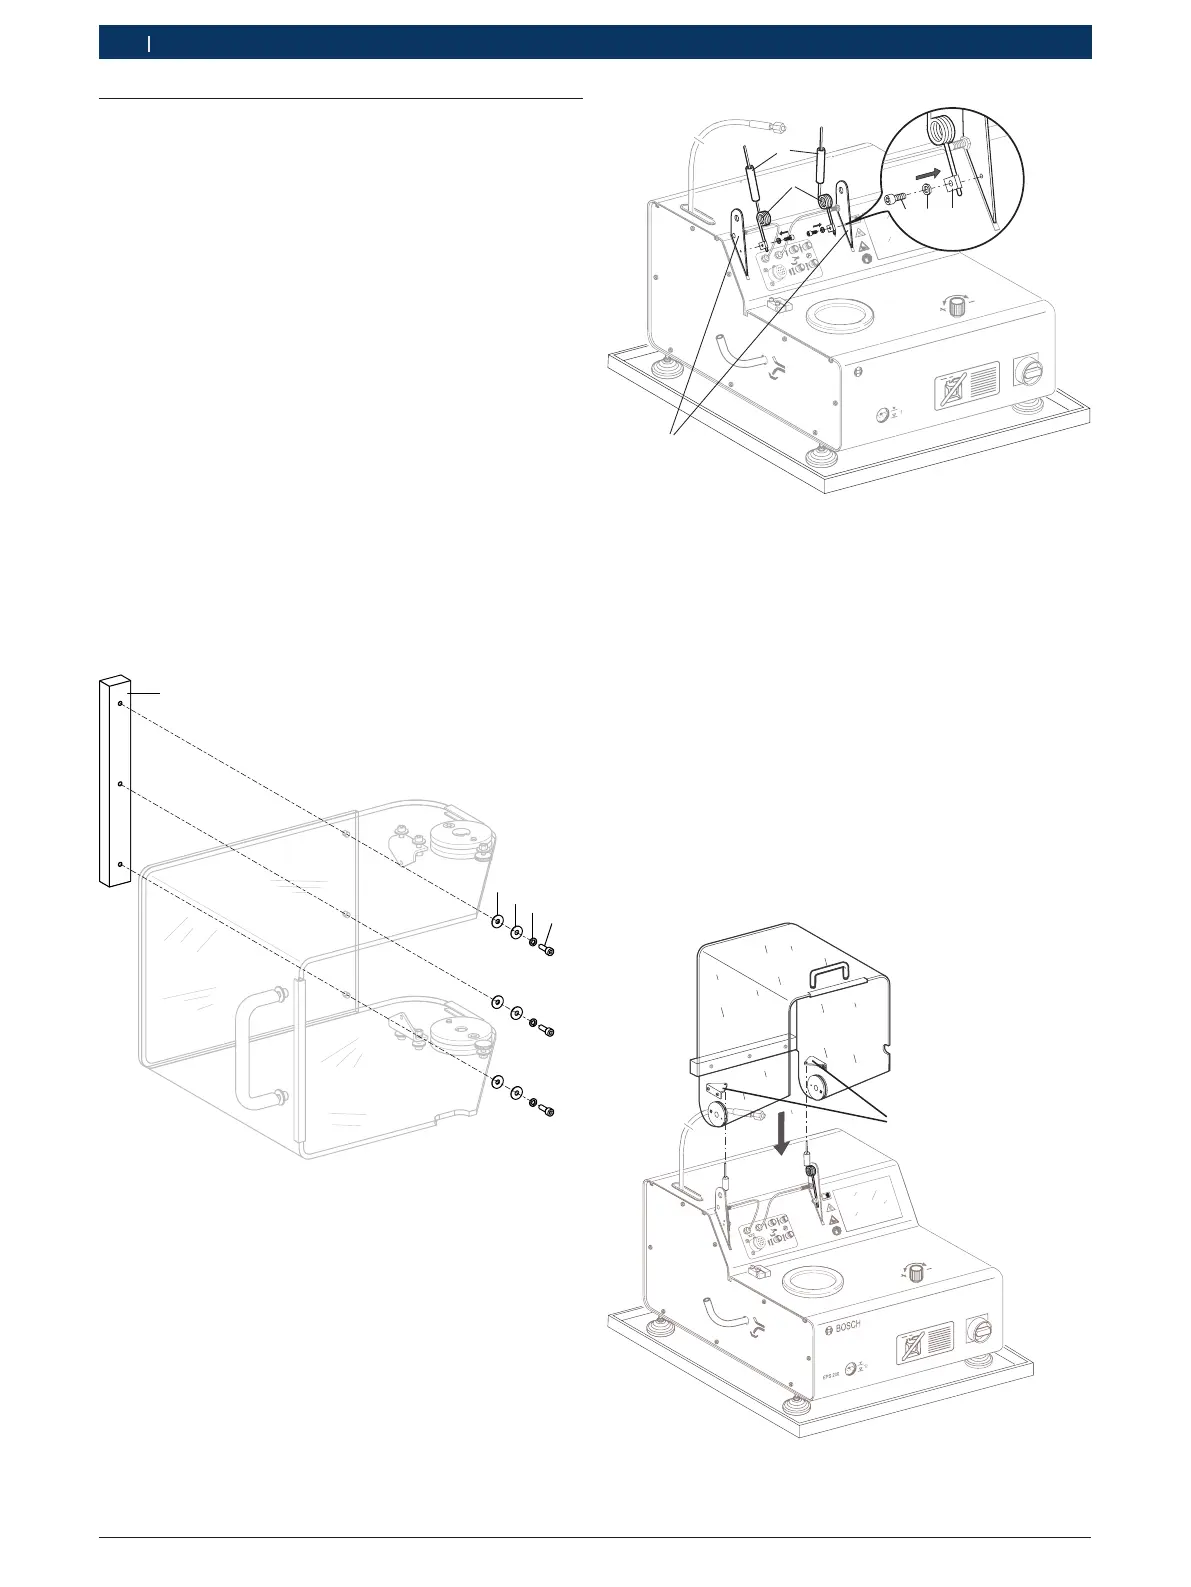
Fig. 16: Spring holder assembly
1 Leg springs
2 Sheaths
3 Spring holder
4 Lock washers A6
5 Hexagon socket head bolts M6 x 12
6 Protective cover retainers
4. Attach both spring holders (Fig. 16, Pos. 3) to the
protective cover retainers (Fig. 16, Pos. 6) of the
EPS200. Do not tighten the hexagon socket head
bolts.
5. Insert the left and right leg springs (Fig. 16, Pos. 1)
into the correct positions in the left and right spring
holders.
6. Slide the two sheaths (Fig. 16, Pos. 2) onto the left
and right legs of the leg springs.
458824-35_K
1
Fig. 17: Attaching the protective cover
1 Spring holder
 Loading...