116
IFS 125M User Manual Bruker Optik GmbH
Maintenance 6
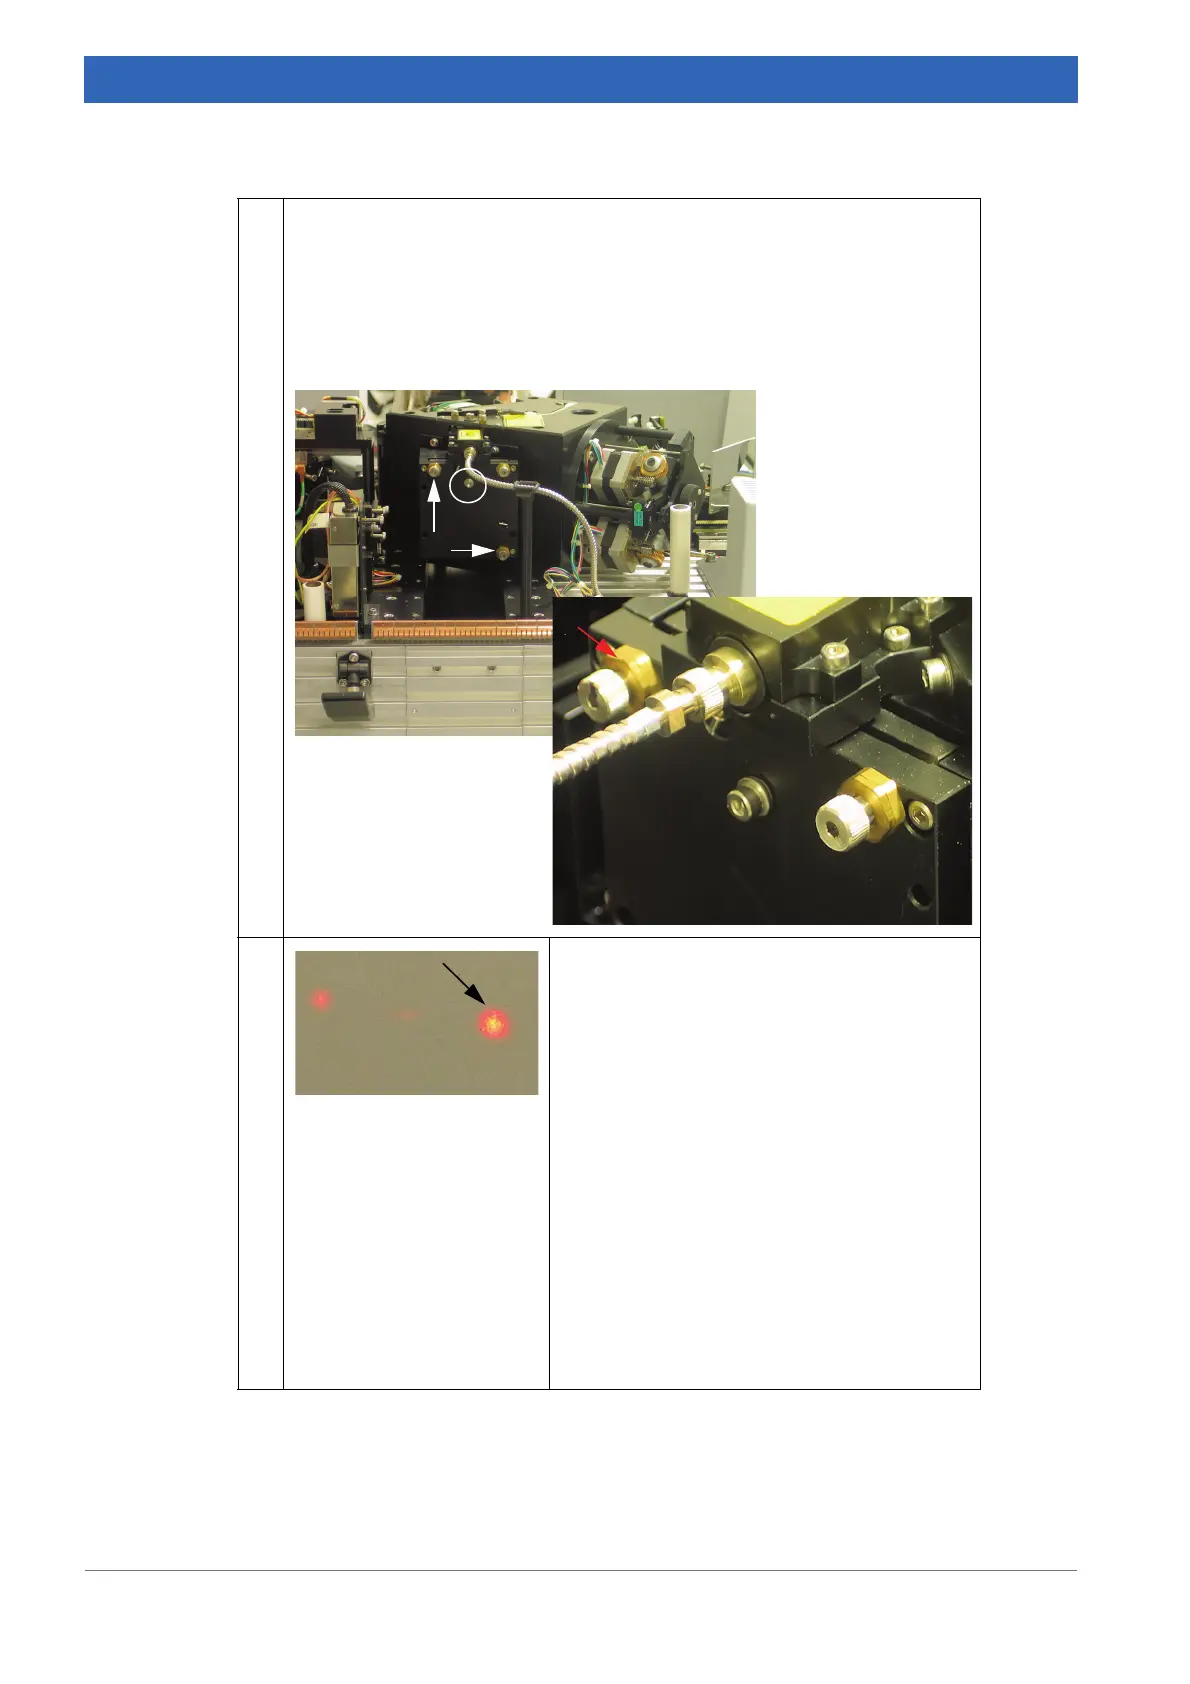
3 Carefully loosen the counternuts at the two alignment screws (white arrows
in the figure). Use a 13
mm wrench.
➣ Be careful, there are two counternuts arranged in tandem. Loosen the
one which is close to the screw head (red arrow).
➣ If the alignment screws are still too tight, the transport locking screw (cir-
cle in figure) must be loosened a bit.
4 With the help of the two alignment screws the
collimator mirror can be slightly tilted.
➣ Usually several laser spots can be seen
originating from residual reflections at the
beamsplitter surfaces. The back-reflected
one is typically the brightest. If in doubt,
you may stop the scanner. The back-
reflected laser spot will strongly flicker
due to interference.
➣ The alignment screws must be rotated
such, that the laser spot passes through
the center of the smallest aperture.
➣ Turn one screw to the left and to the right,
until the laser spot begins to deform or
deflect. Leave the screw in the middle of
these two angular positions.
➣ Proceed with the second screw.
Table 6.29: Transporting spectrometer - Checking optical alignment
 Loading...