Sync Scorer Components 63
Tablet Replacement
NOTE: The screen shots in this procedure may vary slightly from what is displayed on your
system. Although the graphics might differ, the content and the procedure is the same regardless
of the system version.
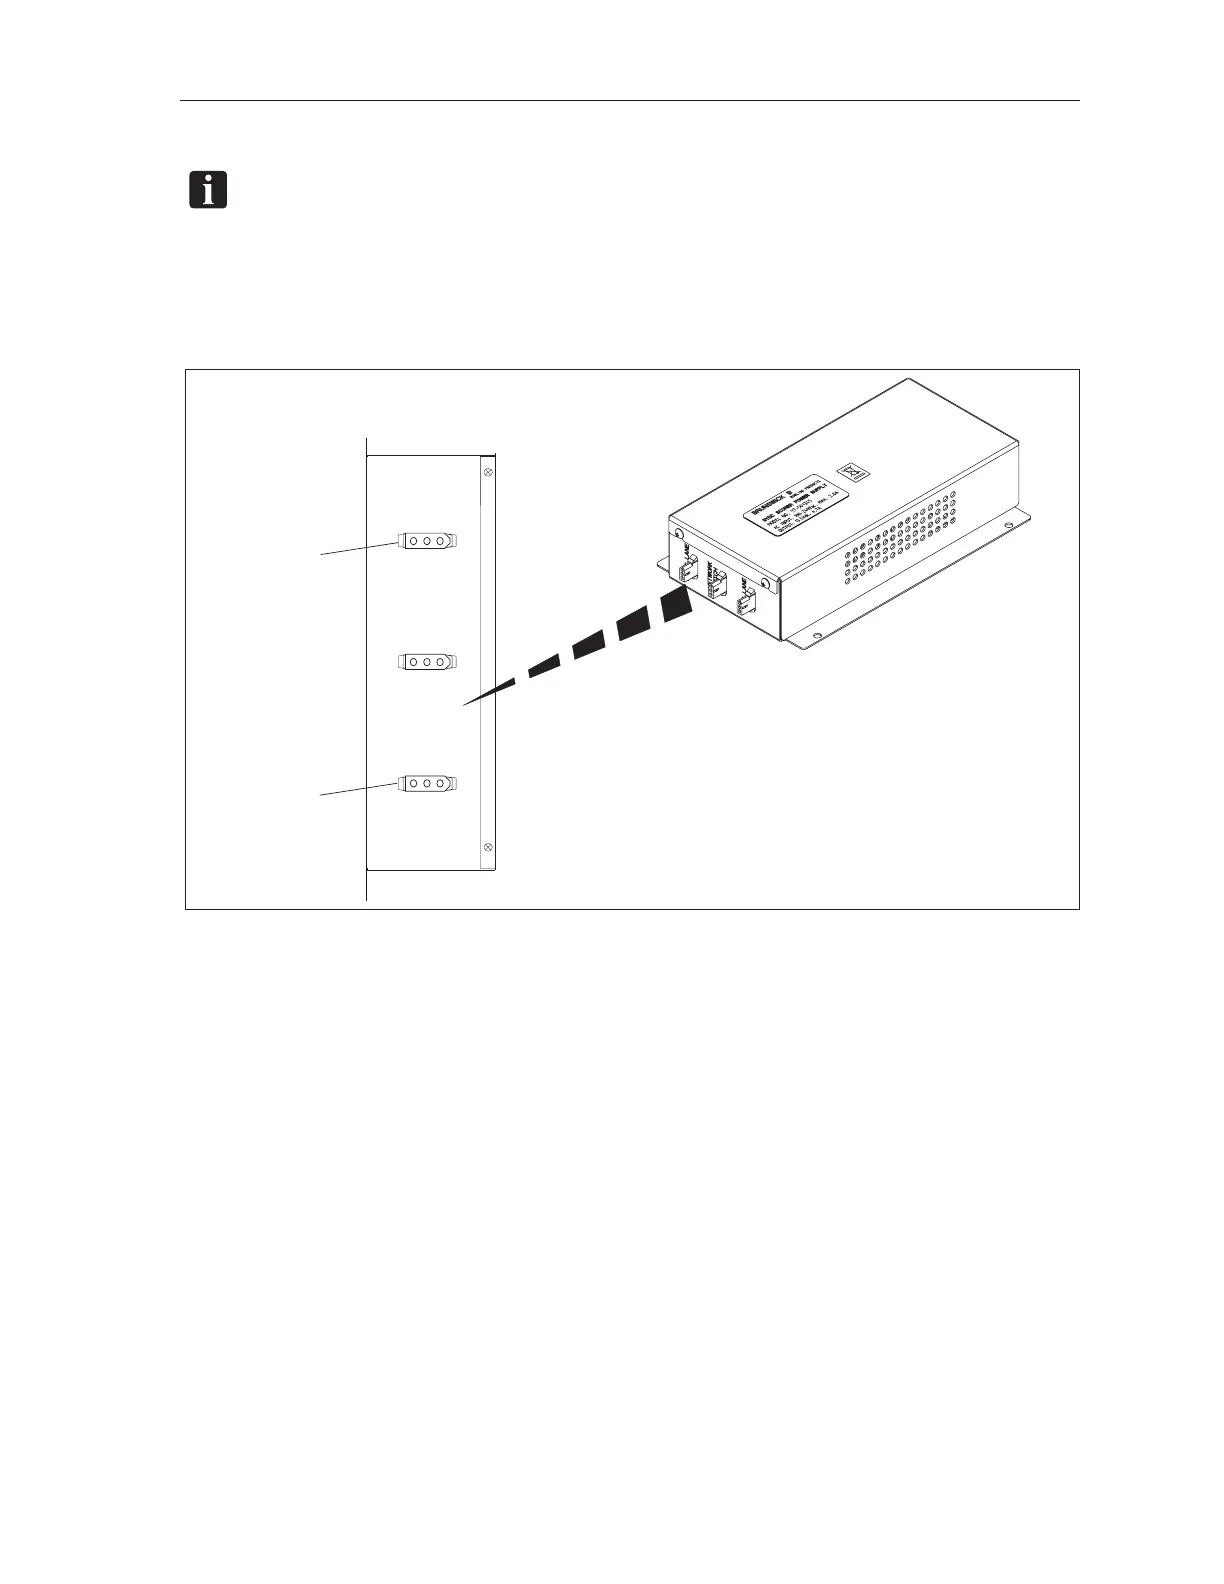
1. Remove power from the tablet by disconnecting the power plug located on the Sync Scorer
Power Supply. Refer to the gure titled Tablet Power Connections.
RIGHT LANE
LEFT LANE
NETWORK
SWITCH
(2)
TO
LEFT LANE
SYNC CONSOLE
(1)
TO
RIGHT LANE
SYNC CONSOLE
Tablet Power Connections
(1) TO RIGHT LANE SYNC CONSOLE (2) TO LEFT LANE SYNC CONSOLE
2. Unscrew the four screws on the back of the tablet pedestal. Save the screws for reassembly.
3. Gently lift the original tablet out from its encloser and disconnect the ribbon cable from the
back of the tablet.
4. Remove any screen protection lm from the replacement tablet.
5. Connect the ribbon cable removed in step 3 to the new tablet.
6. Gently put the replacement tablet into its enclosure. Secure the tablet with the four screws
removed in step 2. DO NOT OVER TIGHTEN THE SCREWS.
7. Reapply power to the tablet by reconnecting the power plug removed in step 1.
8. Wait for tablet initial reboot. Once booted, the IP address of the tablet will be displayed. Note
this number for the next step.