www.dtec.net.au
Chapter 2: Hardware Installation
Hardware Mounting (cont.)
A16mm diameter hole is required to mount the sensor. Do not over tighten the lock nuts or they will be damaged. A
small ‘blob’ of silicon sealant or similar is applied to the edge of the nuts to stop them loosening with vibration.
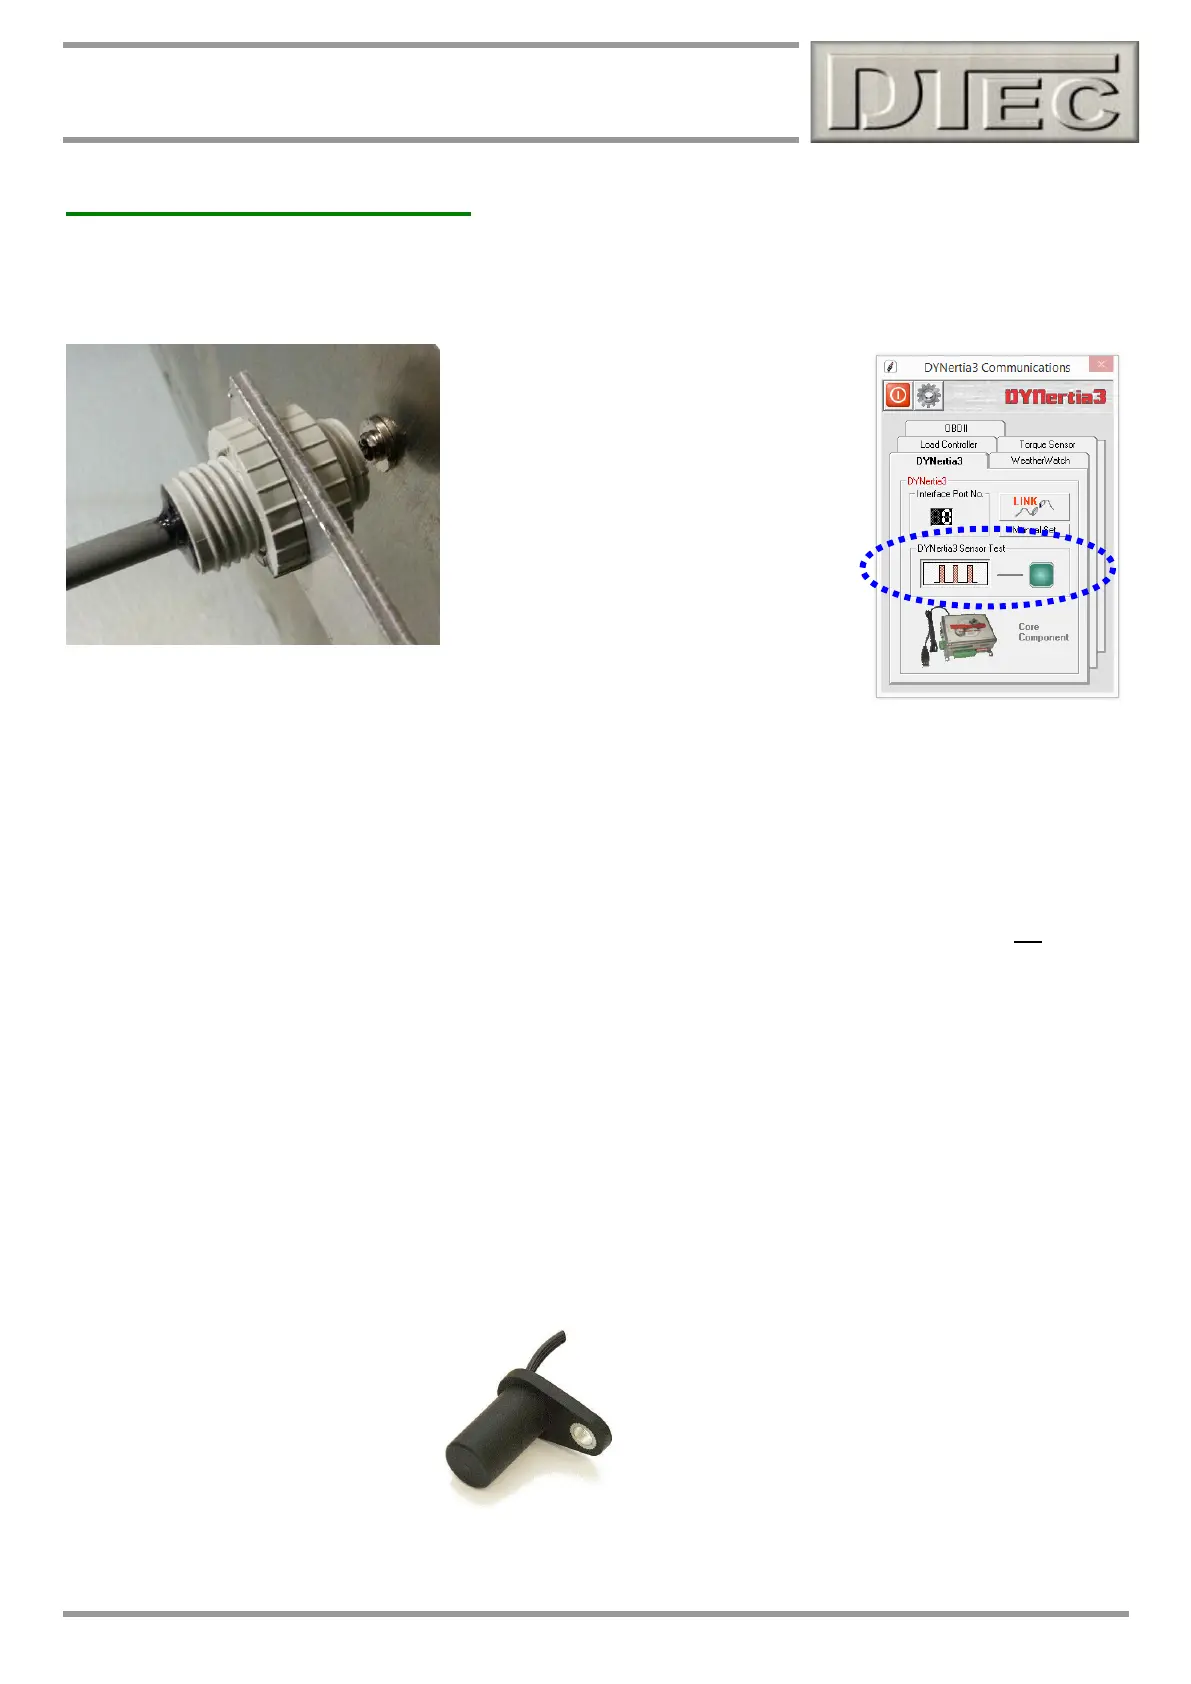
Tip- After the ‘Linking’ process (discussed
later) the sensor operation can be checked
via the button “DYNertia3 Sensor Test”. The
indicator and an audible noise can be used
to confirm sensor operation during rotation.
The indicator lamp/noise triggers for a short
time as the magnet approaches the sensor
(only on approach).
KEY POINTS- 1.5 – 2mm gap. Safe magnet mounting, South Pole (marked with red
paint) of magnet facing towards the sensor!
Alternate Sensors to the supplied one
DYNertia3 can accept other types of sensors if you prefer. The sensor input terminal is a digital input; it will not accept
voltage from an inductive sensor (VR). The ‘signal’ terminal of DYNertia3 needs to be ‘pulled’ to ground when a target
object is detected. Sensors that switch to ground like this are called ‘open collector’ style and include most industrial
proximity sensors (too slow generally) and also the majority of automotive camshaft sensors (‘Hall’ type).
NOTE: If you are unsure please just contact us for help; we are not responsible if you damage the unit from incorrect
connection!
Hall sensors- Hall sensors are ‘switching’ style sensors and are compatible, they are available to detect either magnet
or metal ‘target’ objects. This may be a good choice if you wish to detect a rotating metal object rather than a magnet
like the provided sensor does i.e. perhaps you have a protruding ‘key’ in a shafts key way. A common metal sensing
sensor example (shown below) is the ‘Honeywell 1GT101DC’ sensor or most automotive camshaft sensors are good.