www.dtec.net.au
Chapter 11: Printing & Exporting
Printing
General Printing
Many Screens allow you to print. Generally the printout is ‘what you see is what you get’, which means it is important to
set up the screens appearance first to produce the best results.
A common error is not setting up the X-axis (RPM/Speed) to avoid too low or too high a scale, especially if the test start
and stop conditions were poorly setup in the “record settings field” when testing.
You can alter the trace images on the main GRAPH Window using the ▲▼►◄ symbols, the scale set here is often
carried over into other analyser screens. Graphs traces can be permanently ‘Trimmed’ (‘File’ menu) to also adjust the
appearance
Print: Button initiates the printing and gives any options available for a
particular Window you wish to print from. This can include the choice of
pages to preview if appropriate (detailed graphs and data printout has
multiple pages).
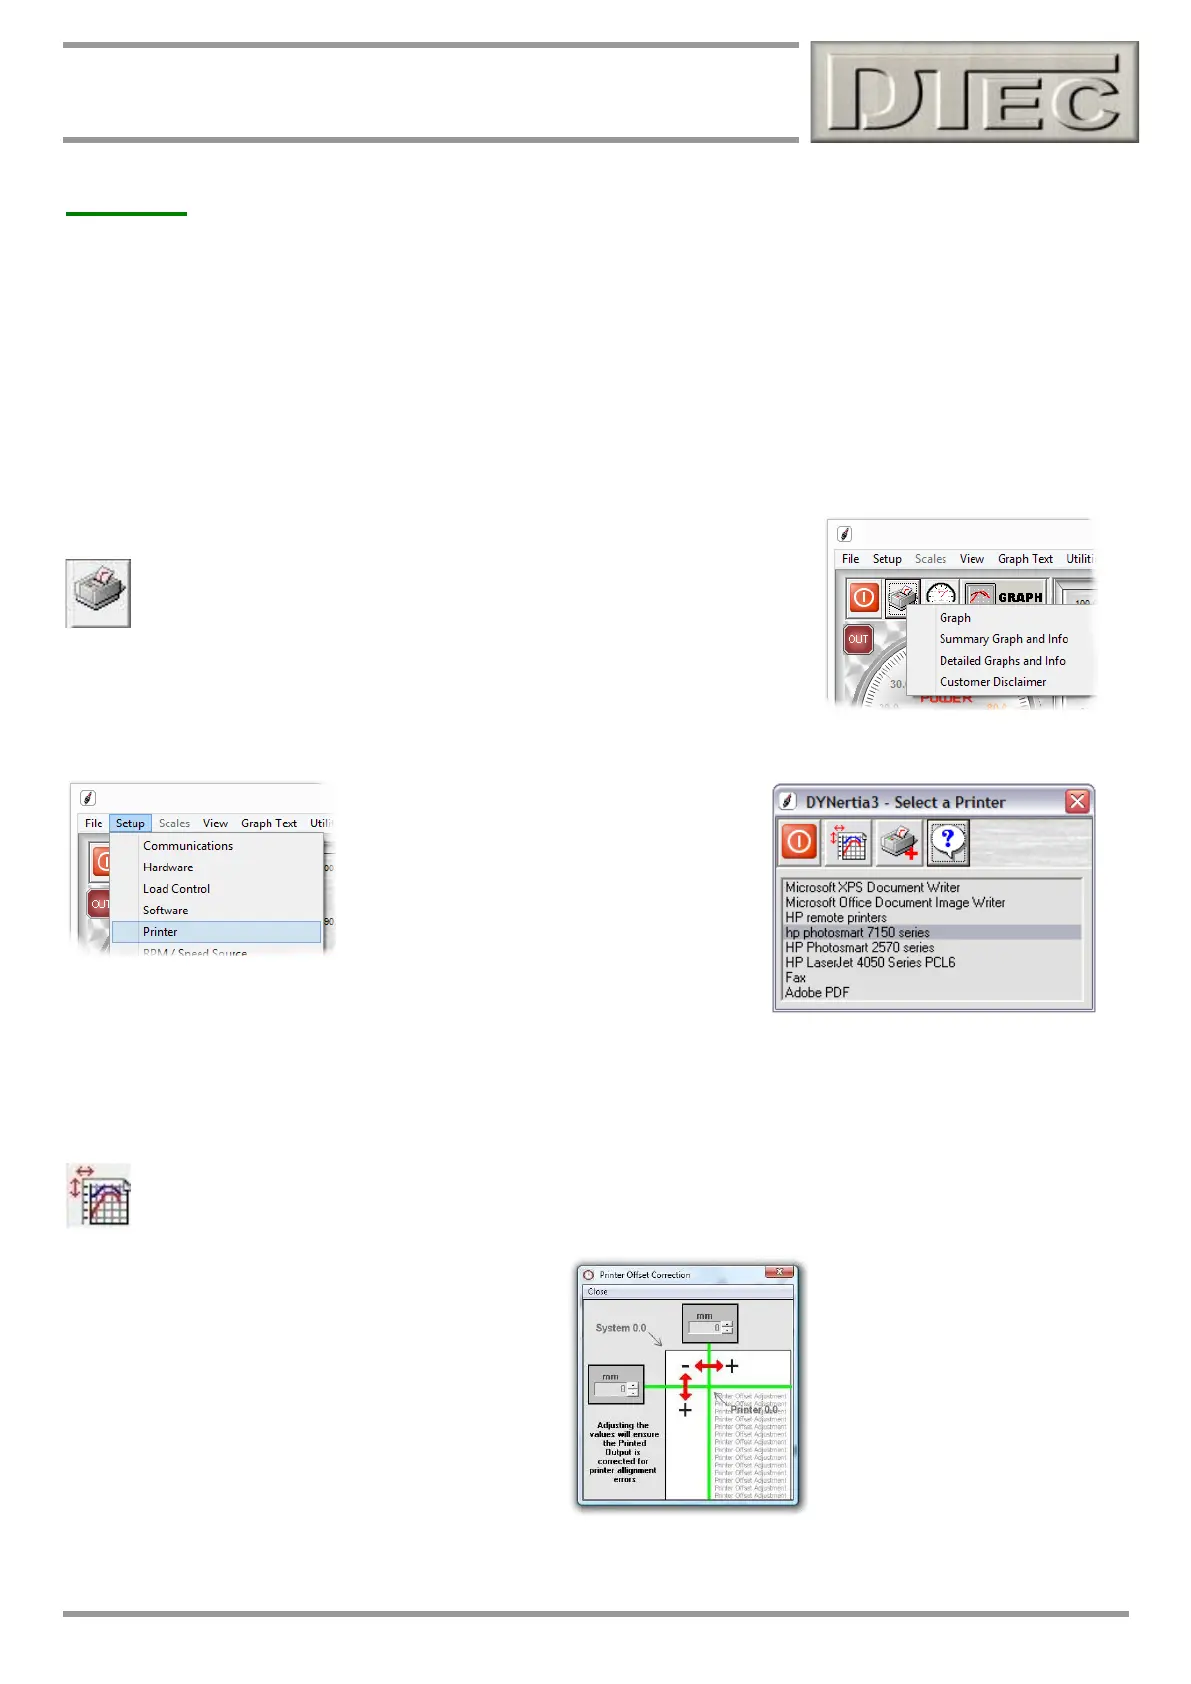
Setup Printer: Menu option “Setup/Printer”
opens a window that allows you to Select a
printer to use, add a new printer or correct
offset.
A separate print ‘help’ menu is also revealed
and this should be read!
.
Tip- You can print to a PDF writer if you wish to save the image as a PDF document rather than print directly. There
are many free writers available (one is loaded with DYNrtia3 called ‘PDFill’)
Offset Correction: A trial print on A4 should be done first, If not aligned properly then this button will allow for
the image to be shifted on the page when printed; most printers have a positioning error to some extent. When
aligning, the image will not alter its position on the screen, only on the actual page printed.