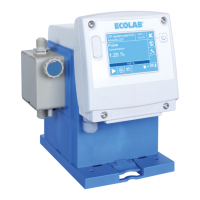
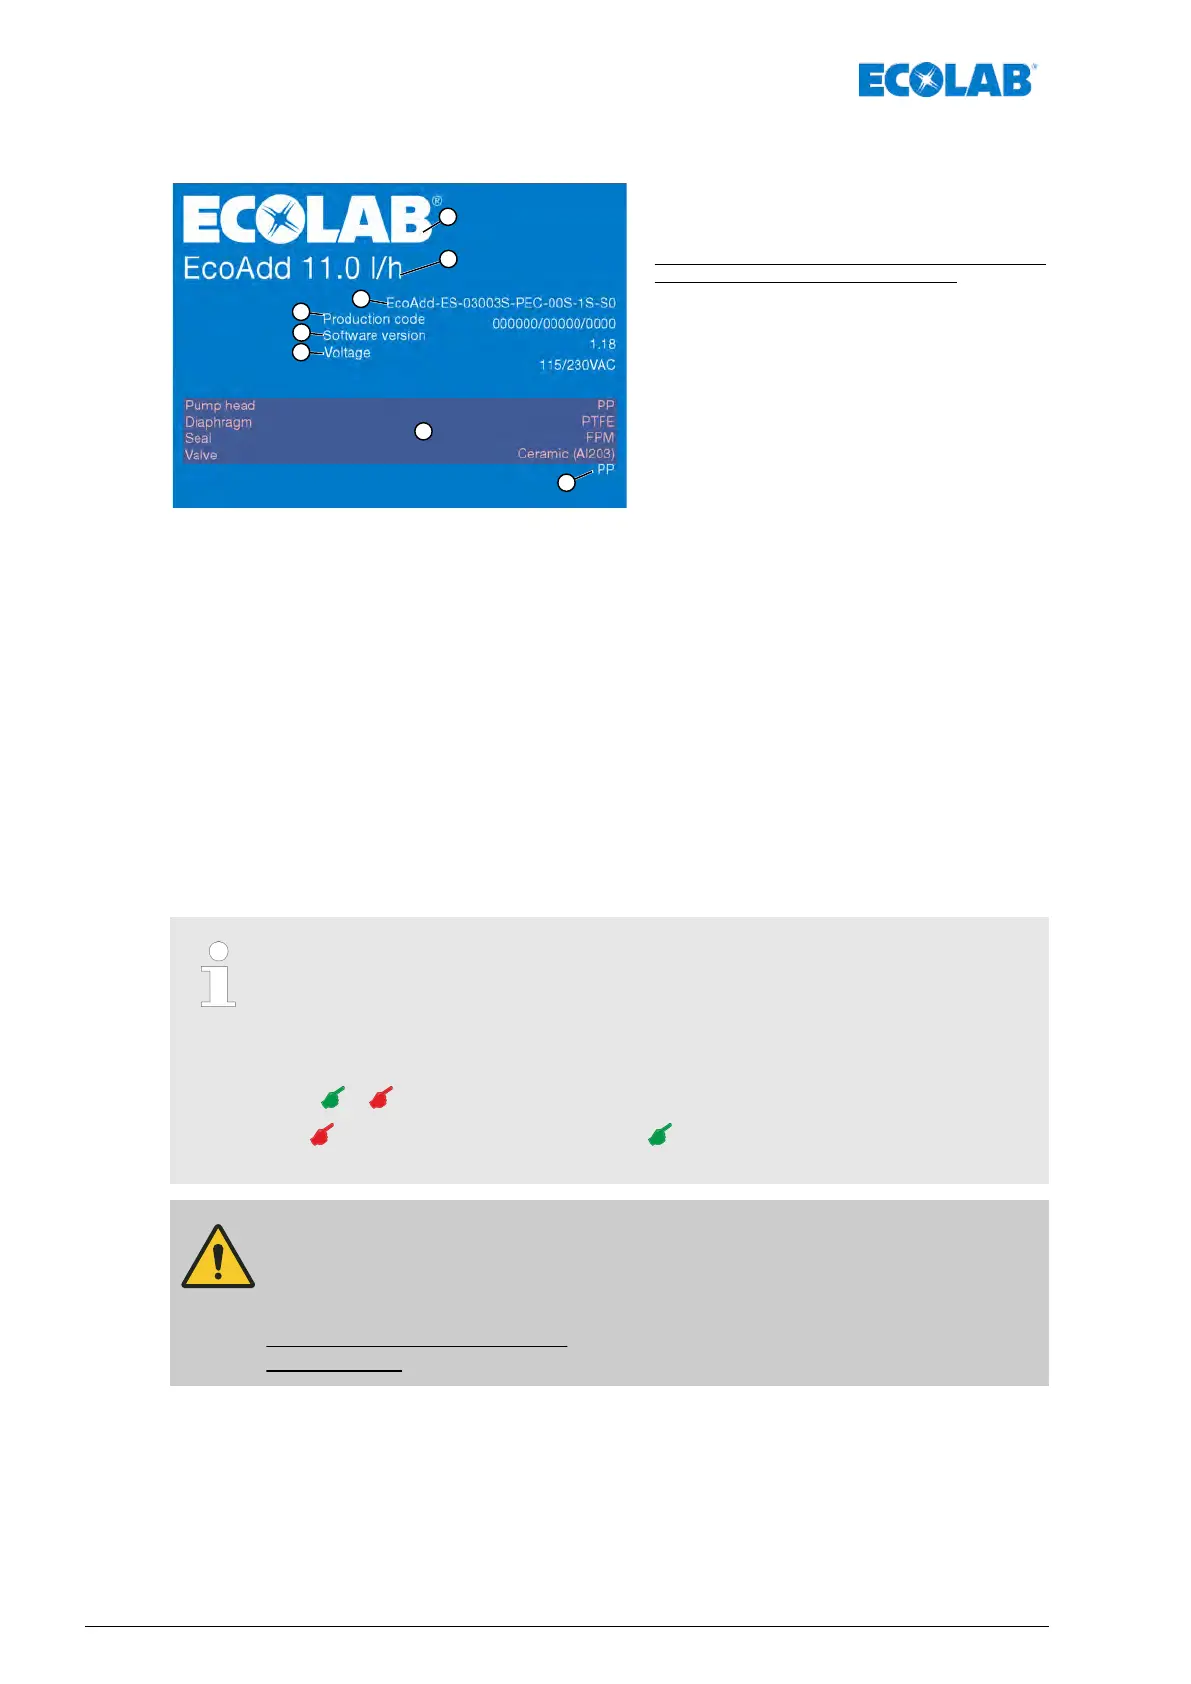
7.2 Start screen
When switching on the pump, the following is
displayed for approx. five seconds:
n Specific pump key
n Specific production code
n V
ersion of the software being used
n Supply voltage of the pump
n Materials used for pump head, diaphragm,
valves and valve ball
Fig. 17: Start screen
1 Manufacturer’s logo
2 Pump size (litre output)
3 Materials of the pump components
4 Specific pump specifications
5 Specific pump key
6 Software versions: System/motor/Bluetooth
7 Supply voltage of the pump
8 Material of the valve ball
As the pump has a hardware detection feature whose software checks the devices
connected, the display may last for more than
5 seconds under certain circumstances until
the check has been completed. Then the screen changes to the operating mode
(see
Ä
Chapter 7.4 ‘Display view during ongoing operation (example)’ on page 69).
Use the menu ‘to access the Info’ screen at any time:
Ä
Chapter 7.13 ‘Info’ on page 129.
7.3 Using the touchscreen
This chapter describes the buttons, symbols and input options used on the
touchscreen.
Some of the operating elements shown on the touchscreen can be selected
by touch.
In the following chapter
, the instructions for the settings are indicated by a
hand
or in the diagrams.
The view marks an action step. The view marks the way back to the
previous menu level.
DANGER!
The touchscreen can be damaged if it is used incorrectly
.
The touchscreen is designed to be operated by finger.
Do NOT use any sharp objects (for instance, tools, pencils, pens, etc.)
to operate the touchscreen!
Control / Software
64417102276 Rev. 5-02.2020