Setup & Operation 3. Environment and Installation
N6 Rev.2 33
Unscrew the anchor bolts. Then, remove the Manipulator from the base table.
Manipulator does not stand by itself. Be careful or it will fall over.
When the Manipulator is mounted on the ceiling, make sure it is secured correctly
or it may fall.
ecure the Manipulator to the delivery equipment or have at least 2 people to carry
After installing the Manipulator, turn ON the
Controller.
If you use the eyebolt to hang the robot for transportation, follow the steps below.
ON the Controller.
hange the Manipulator orientation so that it is easy to support when removing it.
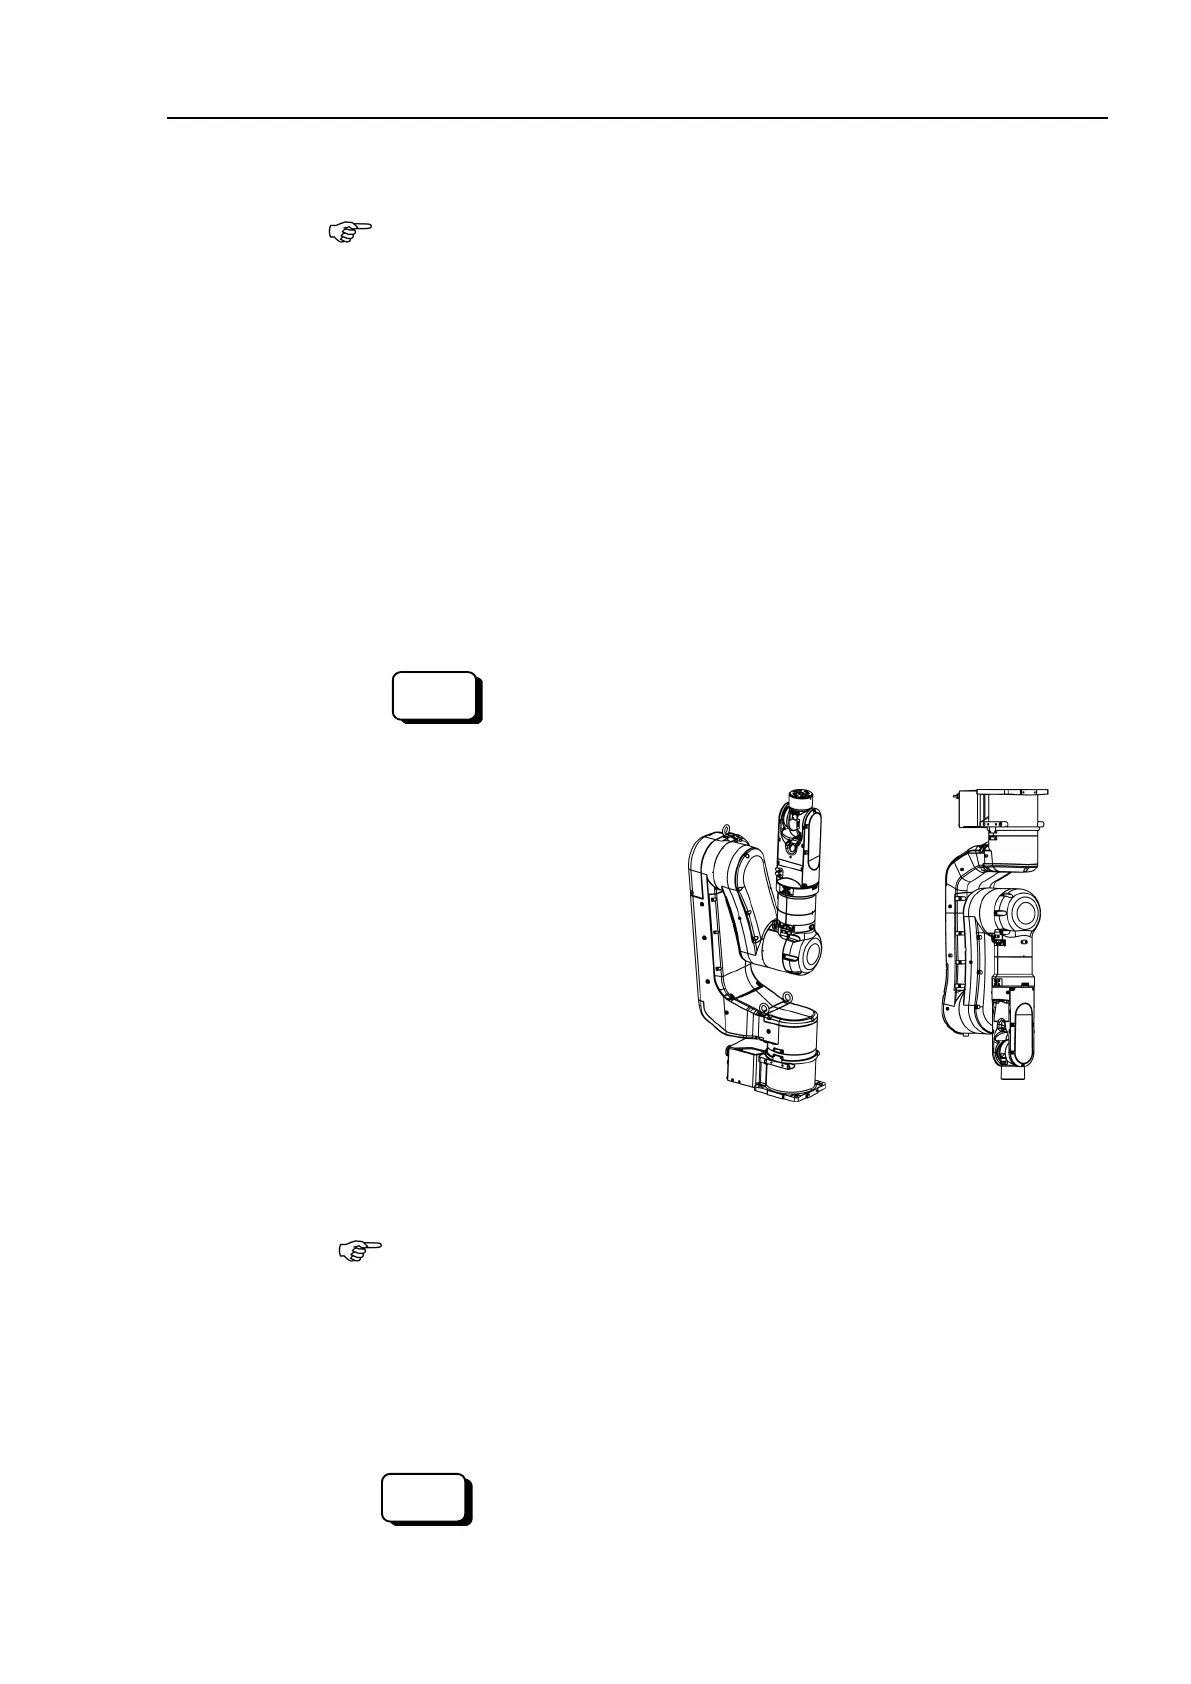
Recommended posture:
N6-A1000**: Joint #2 -65deg, Joint #3 -25deg
N6-A850**R: Basic orientation
Command
N6-A1000**: > Go AglToPls (0, -65, -25, 0, 0, 0)
N6-A850**R: > Go AglToPls (0, 0, 0, 0, 0, 0)
Turn OFF the power for all devices and
disconnect the power cable connector and
signal cable connector from the controller.
Unscrew the anchor bolts. Then, remove the Manipulator from the base table.
Manipulator does not stand by itself. Be careful or it will fall over.
When the Manipulator is mounted on the ceiling, make sure it is secured correctly
ecure the Manipulator to the delivery equipment or have at least 2 people to carry
Manipulator, turn ON the Controller.
Return the Manipulator to the basic orientation.

 Loading...


