Sequencer mode
116
Assign
This assigns Tone Adjust parameters to the switches in the
display. For a full list of the available choices, please see
“Common Tone Adjust Parameters” on page 9 and “Tone
Adjust Parameters” on page 10.
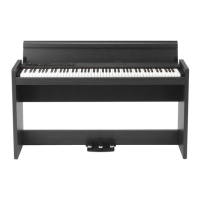
On Value [Depends on parameter]
The parameter is set to this value when the switch is On.
When the switch is assigned to a two‐state Absolute
parameter, such as Hold, this will always be the same as the
Switch Status (see below).
Switch Status [Off, On]
This simply shows whether the switch is On or Off.
Sliders 1–8
Assign
This assigns Tone Adjust parameters to the sliders in the
display. For a full list of the available choices, please see
“Common Tone Adjust Parameters” on page 9 and “Tone
Adjust Parameters” on page 10.
Assignments are exclusive
Per‐Oscillator parameters apply to OSC1 and 2 individually,
and are marked as such: OSC1 and OSC2.
Each slider can be assigned to only one parameter, and each
parameter can be assigned to only one slider.
To swap a parameter from one slider to another, you’ll need
to first un‐assign it from the old slider, and then assign it to
the new slider.
Value
This shows the current value of the parameter. The range of
values will vary depending on the parameter assigned to the
control.
V
0–7: Menu Command
•0: Memory Status see p. 163
•1: Exclusive Solo see p. 64
•2: Rename Song see p. 163
•3: Delete Song see p. 163
•4: Copy From Song see p. 163
•5: Load Template Song see p. 163
•6: Save Template Song (Save as User Template Song)
see p. 164
•7: FF/REW Speed see p. 164
•8: Set Location (Set Location for Locate Key) see p. 164
•9: GM Initialize see p. 165
•10:
Copy from Combination
see p. 166
• 11: Copy from Program see p. 167
• 12: Copy Tone Adjust see p. 167
• 13: Reset Tone Adjust see p. 167
For more information, please see “Sequencer: Menu
Command” on page 163.
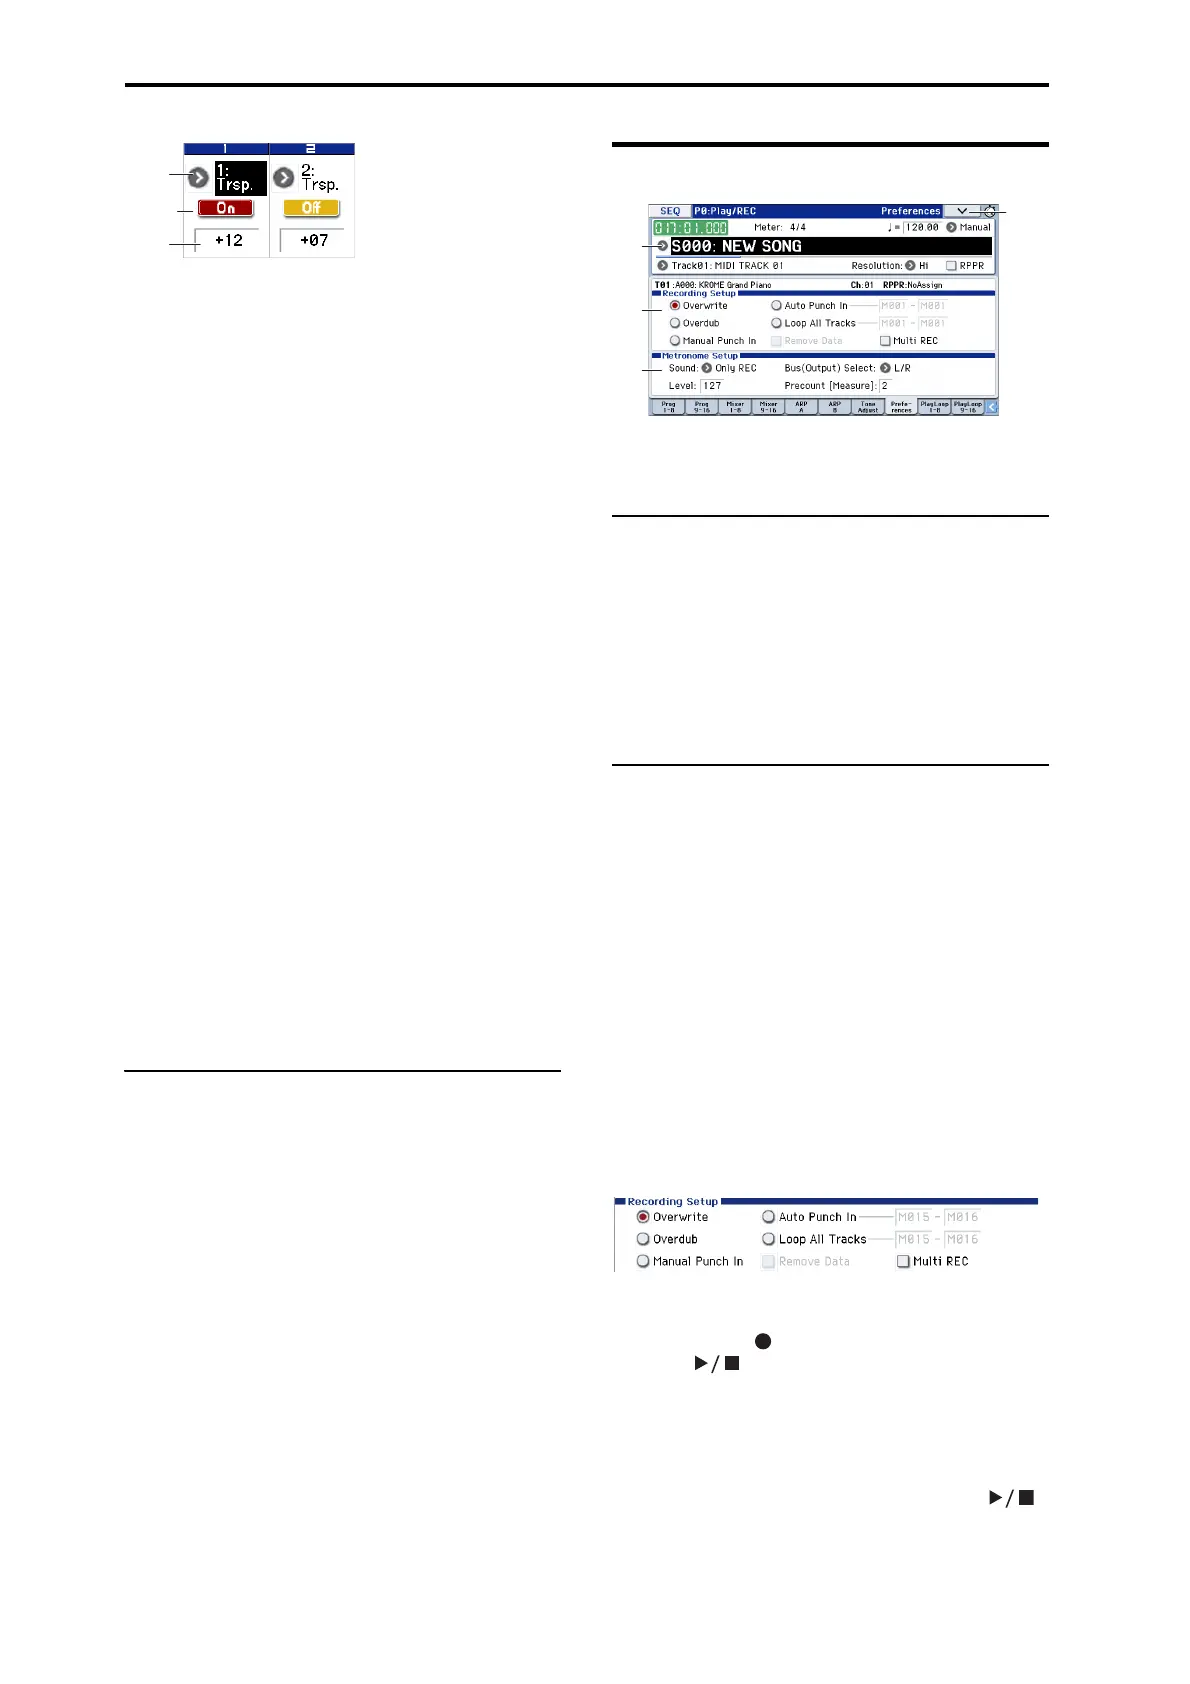
0–8: Preferences
Here, you can specify the realtime recording method, adjust
levels and make other settings for audio recording, and
adjust the metronome settings.
0–8a: Location, Meter, Tempo, Tempo
Mode, Song Select, Track Select,
Reso, RPPR
For more information, please see “0–1: Program T01–08, 0–2:
Program T09–16” on page 109.
Selected Track Info:
This displays information about the currently selected MIDI
track. (See 0–1(2)a)
0–8b: Recording Setup
Selects the method of realtime recording.
Overwrite
When recording for the first time, you will normally select
this method.
If you use this method to record on a track on which data
has already been recorded, all previous data will be replaced
from the measure at which you began recording through all
subsequent measures.
With this method, the newly recorded data overwrites
musical data previously recorded on that track.
Normally you will use this method to record, and then
modify the results by using other types of realtime
recording or MIDI event editing.
1. Use Track Select to choose the track that you want to
record.
2. Set the Recording Setup to Overwrite.
3. In “Location,” specify the location at which you wish to
begin recording.
4. Press the REC ( ) button, and then press the START/
STOP ( ) button.
If the Metronome Setup is still set to the default settings, the
metronome will sound for a two‐measure pre‐count, and
then recording will begin.
Play the keyboard and move the controllers (such as the
joystick) to record your performance.
5. When you finish playing, press the START/STOP ( )
button.
Recording will end, and the location will return to the point
at which you begin recording.

 Loading...