LSI Corporation
- 137 -
12Gb/s MegaRAID SAS Software User Guide
March 2014
Chapter 5: The HII Configuration Utility
Managing Virtual Drives
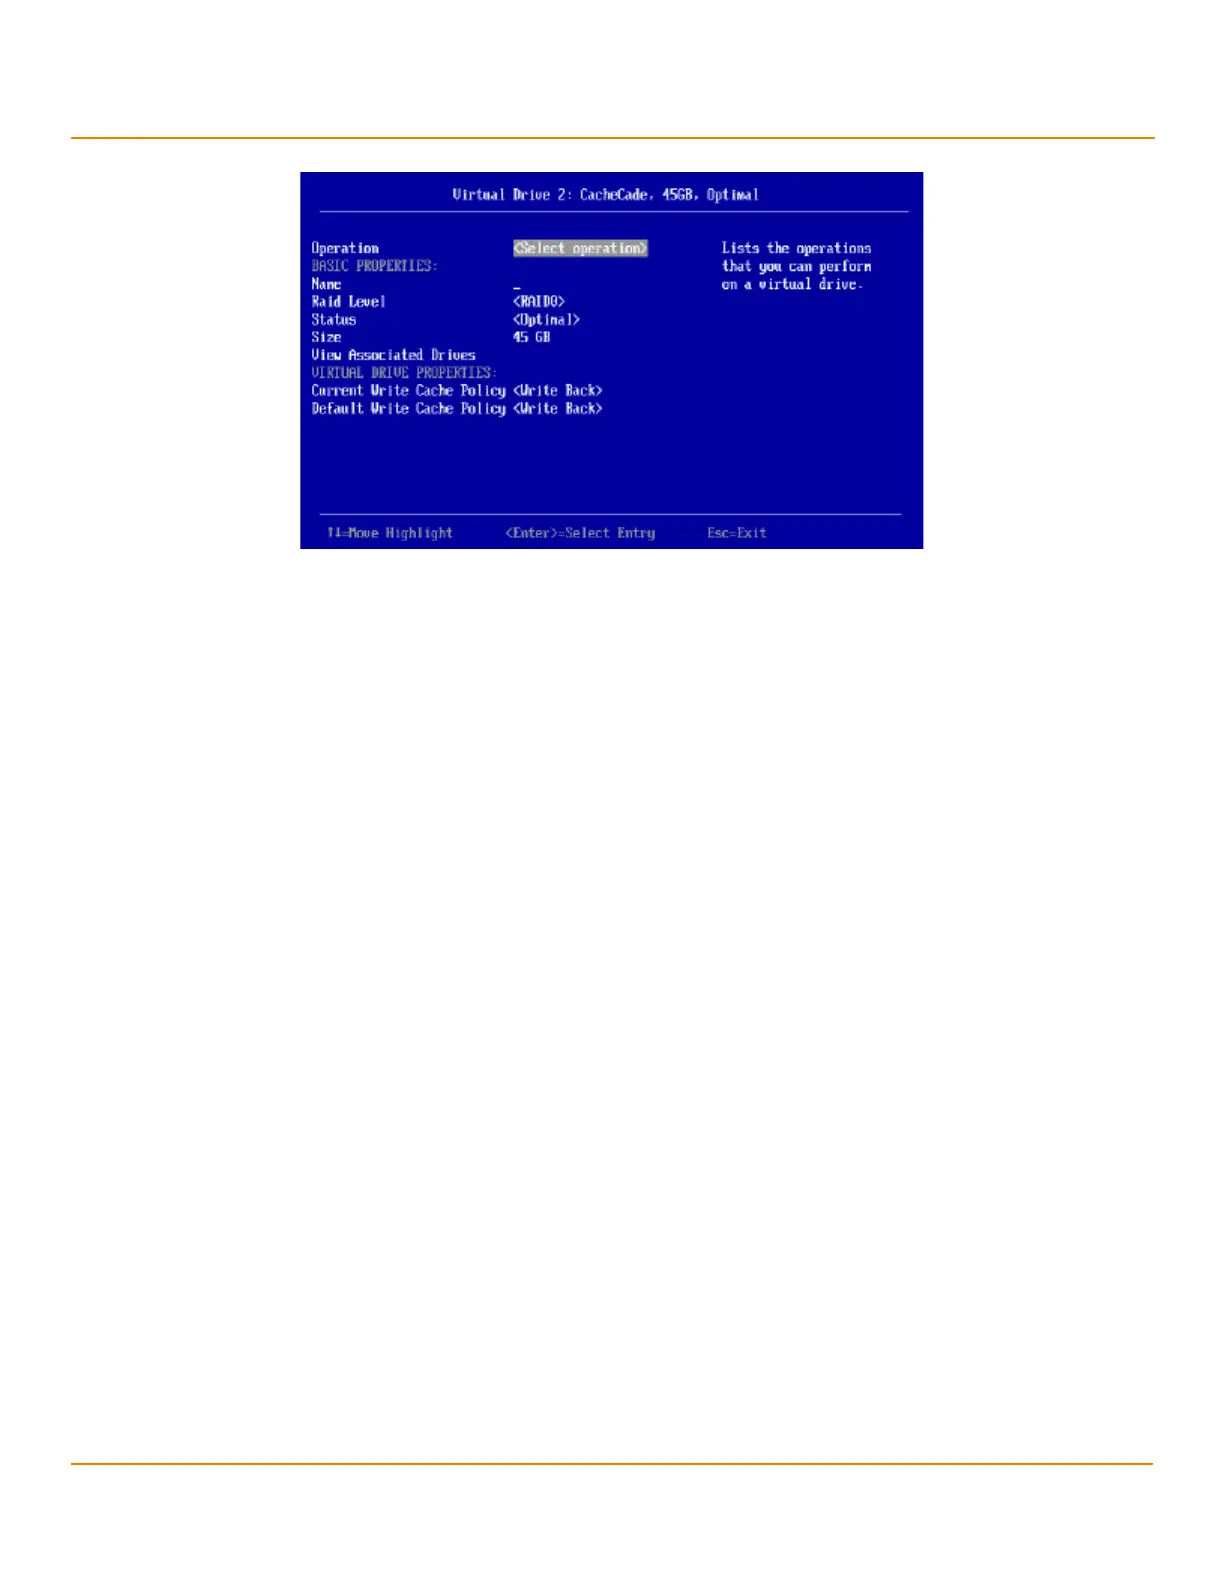
Figure 100 Manage CacheCade Virtual Drive Window
This window lists basic information about the CacheCade virtual drive, including name, RAID level, status, and size.
You can select and run the following operations on a CacheCade virtual drive:
Start Locate/Stop Locate: Use this option to flash the light on the SSD used for the CacheCade virtual drive. For
more information, see Locating Physical Drives in a Virtual Drive.
Delete Virtual Drive: Use this option to delete the CacheCade virtual drive. For more information, see Deleting a
Virtual Drive.
To assign a name to the CacheCade virtual drive, highlight Name, press Enter, type the name, and press Enter again.
To change the default write cache policy, highlight Default Write Cache Policy, press Enter, and select an option from
the popup menu. Options are Write Through, Write Back, and Force Write Back.
To view the drives associated with the CacheCade virtual drive, highlight View Associated Drives and press Enter. For
more information, see Enabling and Disabling SSD Caching.
5.5.3 Viewing Associated Drives
The View Associated Drives dialog appears when you select View Associated Drives at the bottom of the Virtual
Drive window.
The dialog lists all the physical drives associated with the currently selected virtual drive. Follow these steps to view
information about the associated drives.
1. To select a different virtual drive, highlight Selected Virtual Drive, press Enter, and select an entry from the
popup menu.
2. Highlight one of the associated drives and press the spacebar to select it.
3. Highlight View Drive Properties and press Enter.
The View Drive Properties window for the drive appears.
4. View the information on the View Drive Properties window. For more information, see Viewing Advanced Drive
Properties.
5.5.4 Viewing and Managing Virtual Drive Properties and Options
The following dialog appears when you select Advanced from the Virtual Drive dialog. (The second dialog shows the
rest of the options that are visible when you scroll down.)