SETTING THE CUTTING AREA [CUT AREA]
2-37
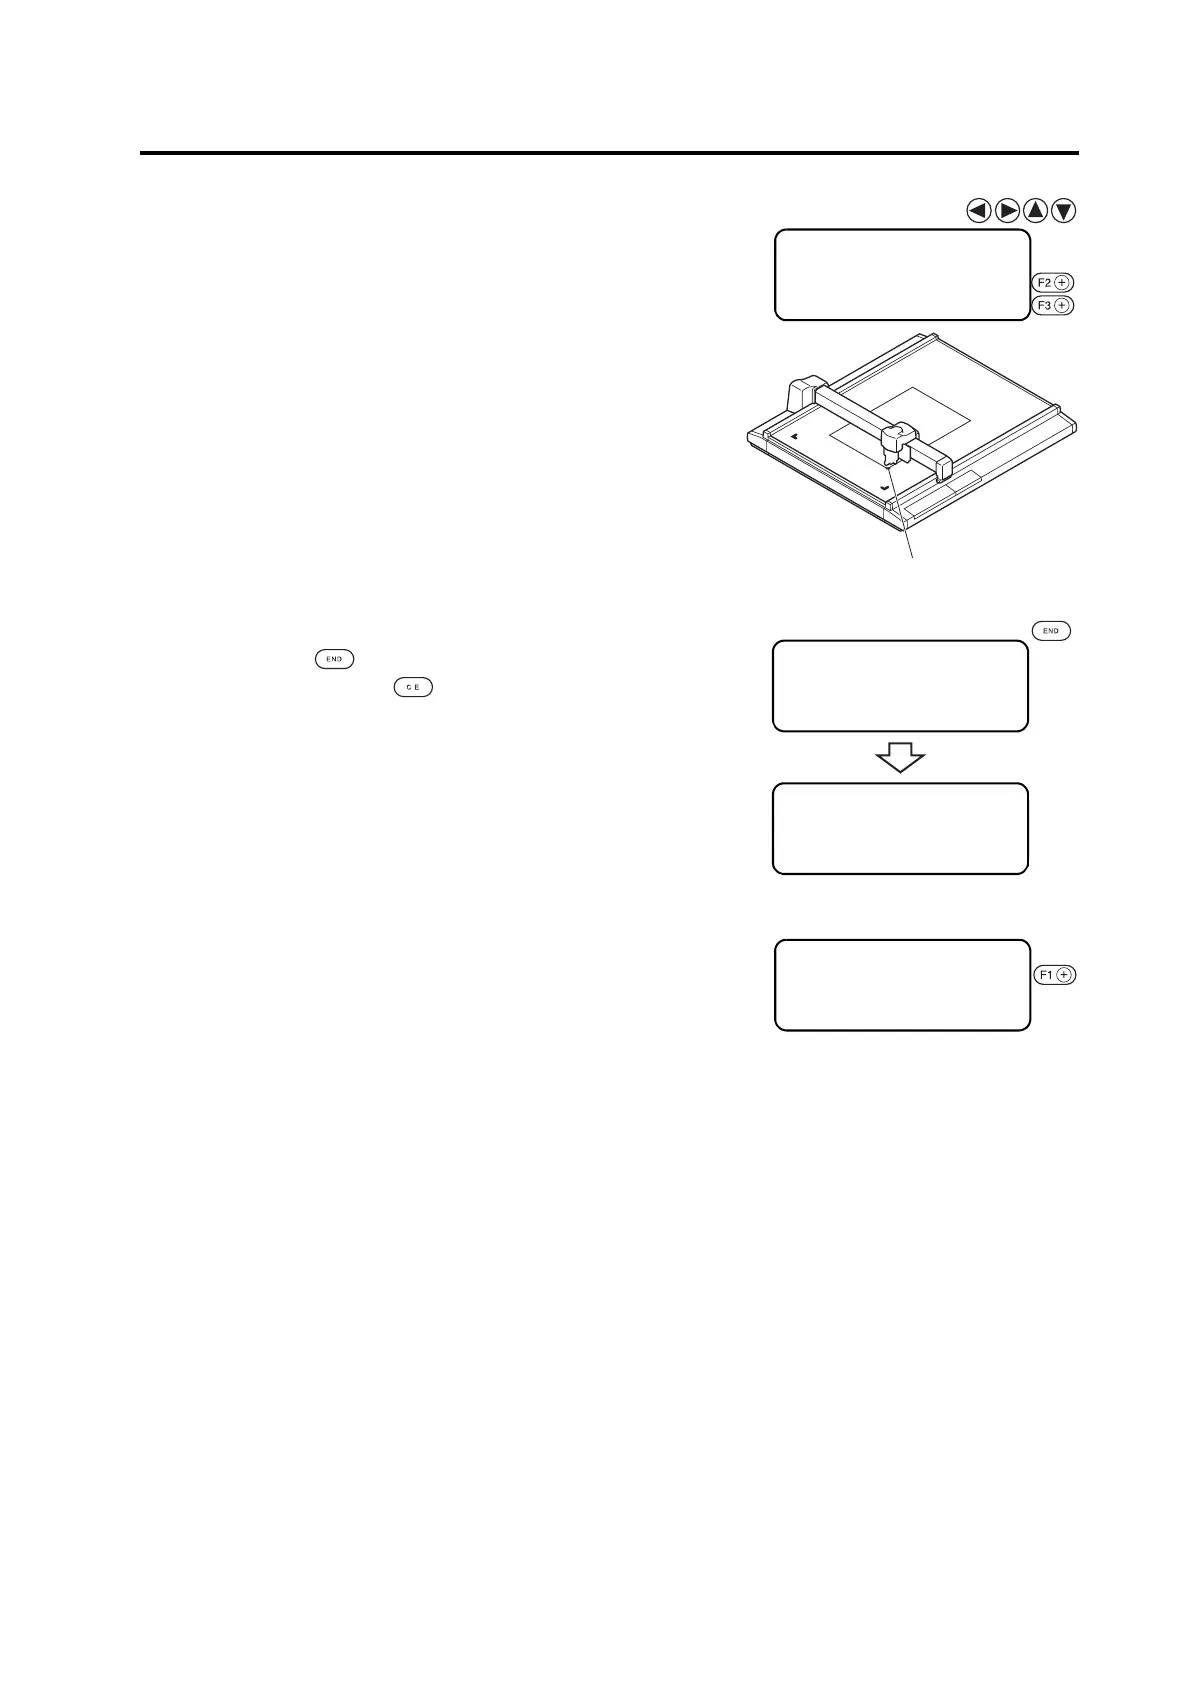
5. Align the tip of the tool to the lower left point of the
desired cutting area.
Move the tool using the jog keys until the tip of the tool meets the
lower left point (LL) of the cutting area.
Change the head speed or lift/lower ther tool when necessary.
6. Enter the LL point.
Press the key to enter the input values. If you do not enter the
input data, press the key.
The step of procedure 3 will be restored on the LCD.
7. Move the tool to the current UR point (upper right).
The coordinates of the UR point in terms of the command origin are
shown on the LCD.
< AREA LL > [mm]
―600. 0 ―450.0
SPEED FAST >
CUTTER UP >
< AREA LL > [mm]
―450. 0 ―300.0
SPEED FAST >
CUTTER UP >
< CUT AREA > [mm]
UPPER RIGHT →
< CUT AREA > [mm]
UPPER RIGHT →

 Loading...


