Printing in the Windows Environment 2-135
2.8 Appendix: Manual Installation Process of the Printer Driver
2
7 Click [Next].
8 Specify the IP address and port.
% Enter "\\NetBIOS-name\print-service-name" in the [Port Name] box.
% For the NetBIOS name and print service name, enter the names displayed by selecting [Utility] - [Ad-
ministrator Settings] - [Network Settings] - [SMB Settings] - [Print Settings] on this machine.
9 Click [Next].
% If the [Additional Port Information Required] dialog box appears, go to Step 10.
% If the [Install the printer driver] dialog box appears, go to Step 13.
10 Select the [Custom] check box, then click [Settings...].
11 Change the settings according to the port, and then click [OK].
12 Click [Next].
The [Install the printer driver] dialog box appears.
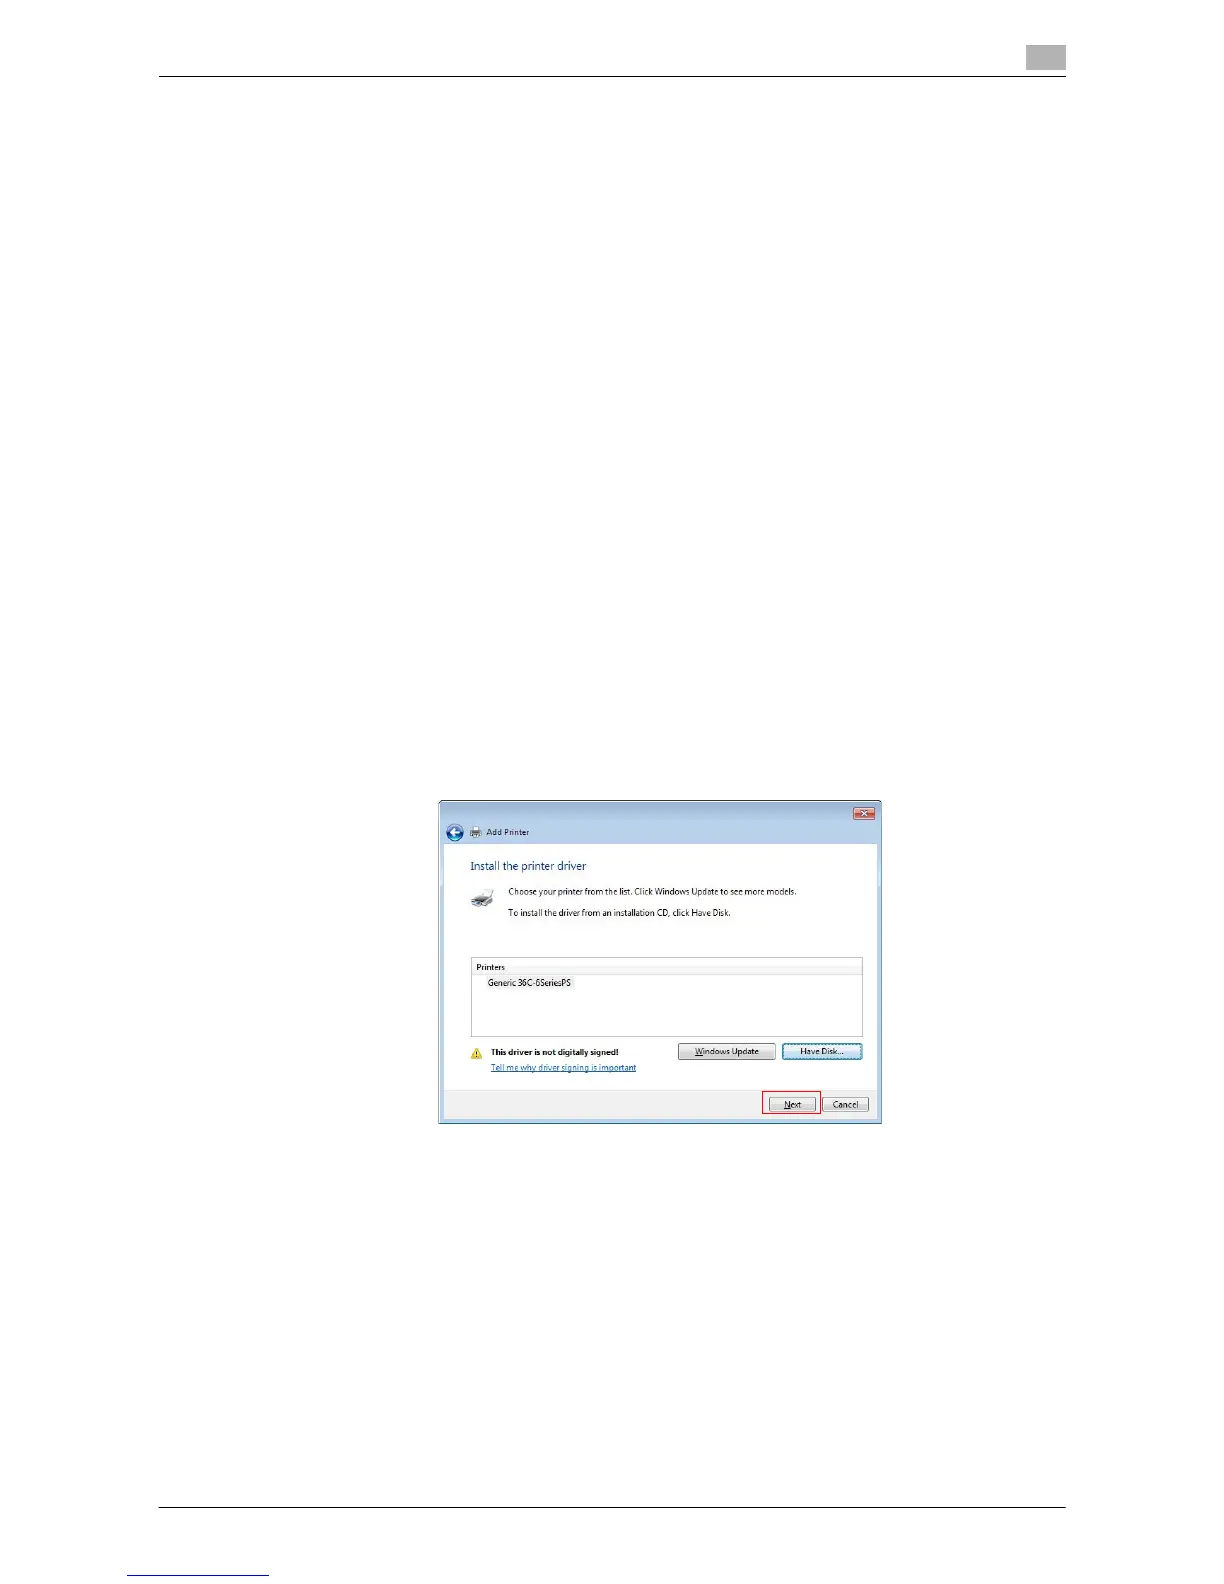
13 Click [Have Disk...].
14 Click [Browse...].
15 Select a desired printer driver folder in the CD-ROM, and then click [Open].
% Select the folder according to the printer driver, operating system, and language to be used.
Selectable printer drivers: PCL driver, PS driver, and XPS driver
16 Click [OK].
The [Printers] list appears.
17 Click [Next].
18 Follow the instructions on the pages that follow.
% If the [User Account Control] window appears, click [Continue] or [Yes].
19 Click [Finish].
20 After finishing the installation, make sure that the icon for the installed printer is displayed in the [Print-
ers] or [Devices and Printers] window.
21 Remove the CD-ROM from the CD-ROM drive.
This completes the installation process of the printer driver.