2. While holding REC, to adjust the Pattern Length for the Pattern in which you are about to
record, you can turn Knob 4 (LENGTH) or press Button 5–8 to directly select from the
four length presets available: 2, 4, 8, or 16 bars.
3. Release REC.
→ The Record mode is engaged (REC is lit) and the Pattern has the length you defined.
Press PLAY to start the sequencer (if it’s not done already) and play the pads to start re-
cording! See section ↑10.2, Recording Patterns in Real Time for more information on re-
cording Patterns.
In Record Prepare mode can also enable or disable the metronome via Button 2. See
section ↑10.2.3, Using the Metronome for more information on the metronome.
You can also enter Record Prepare mode while starting a recording in Replace mode
(see ↑10.2.1, Recording Your Patterns Live): Simply press ERASE + REC and hold REC
until your controller switch to Record Prepare mode. This is also true when using the
Count-in (see ↑10.2.4, Recording with Count-in).
10.2.3 Using the Metronome
The metronome will help you to keep time when recording in real time.
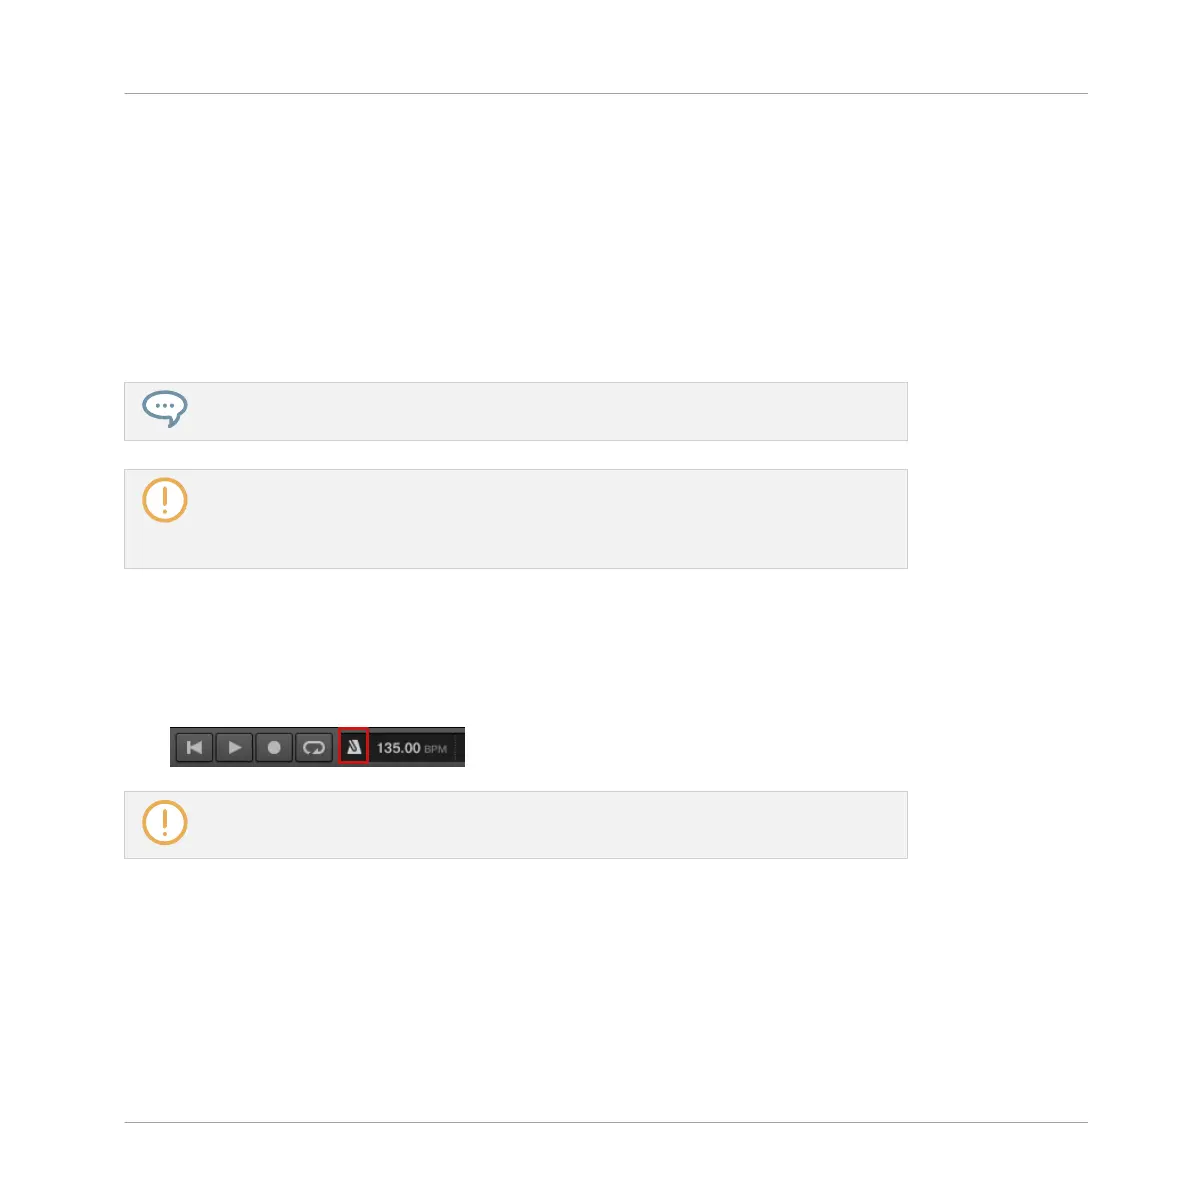
► Click the metronome icon in the MASCHINE Header to enable/disable the metronome:
The metronome can be heard only when the sequencer is playing!
The metronome signal is sent to the Cue bus. To know how to use the Cue bus, see section
↑12.2.6, Using the Cue Bus.
You can customize the metronome in various ways in the Preferences panel:
▪ You can adjust the metronome’s volume and time signature in the Preferences’ General
page (see section ↑2.6.1, Preferences – General Page for more details).
Working with Patterns
Recording Patterns in Real Time
MASCHINE - Manual - 451

 Loading...


