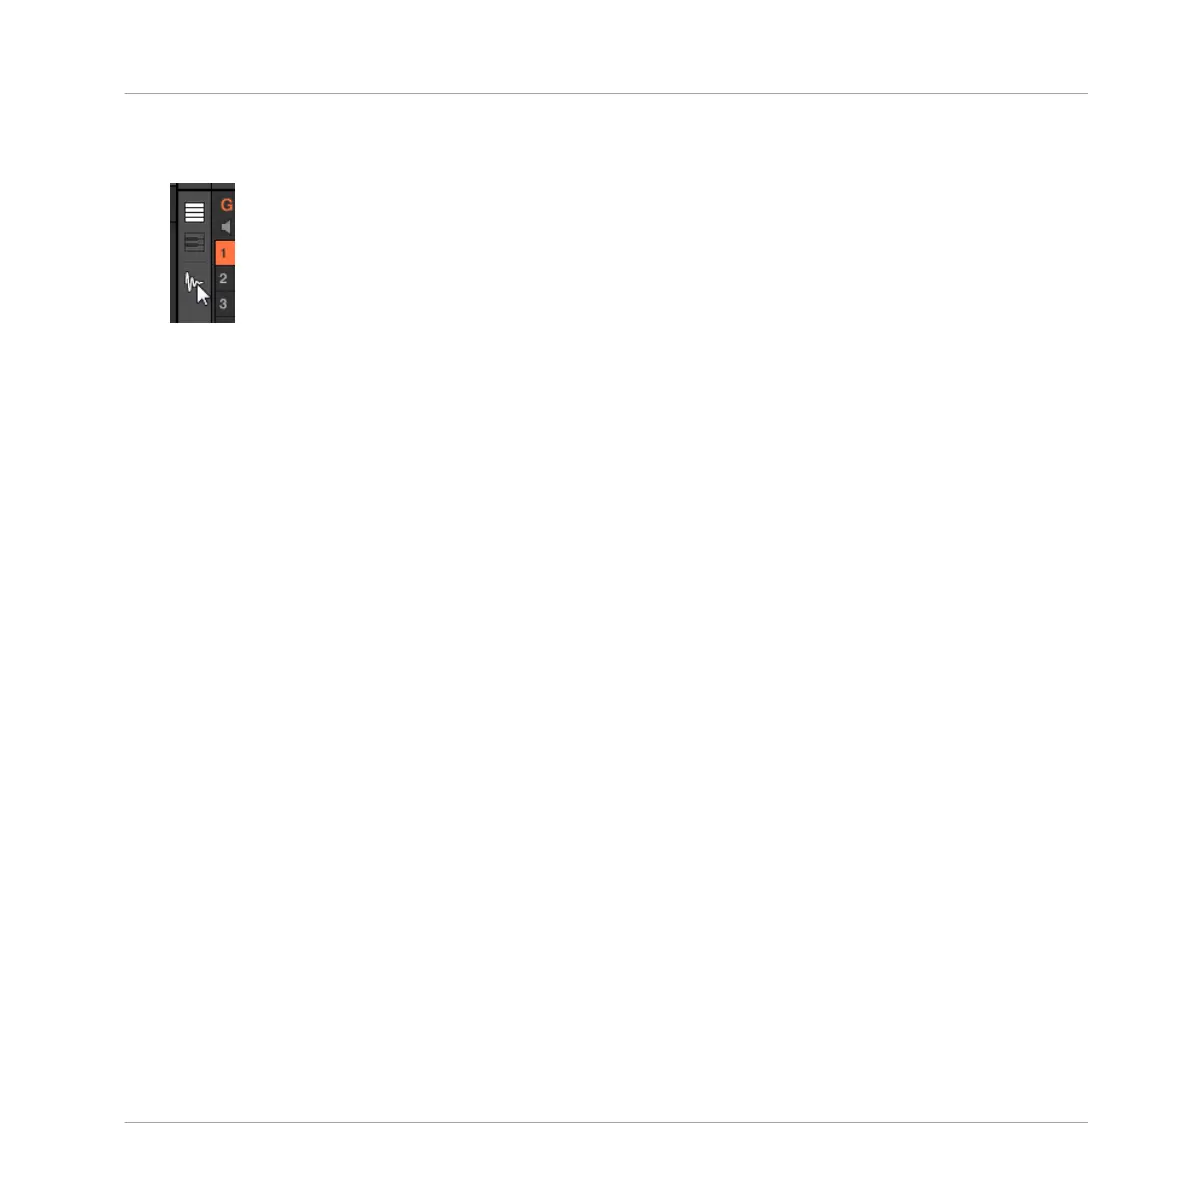
2. Click the Sample Editor button on the left of the Pattern Editor to switch to the Sample
Editor.
The Sample Editor appears and displays the Sample content of the focused Sound.
3. In the Sample Editor, click the desired tab at the top to access the corresponding page:
▪ The Record page allows you to record new Samples: ↑16.2, Recording a Sample.
▪ The Edit page allows you to apply destructive edits to existing Samples: ↑16.3, Editing a
Sample.
▪ The Slice page allows you to create Slices from your existing Samples: ↑16.4, Slicing a
Sample.
▪ The Zone page allows you to assign your Samples to particular note and velocity ranges
(called Zones) in your Sound and to adjust various playback settings for each Zone individ-
ually: ↑16.5, Mapping Samples to Zones.
16.2 Recording a Sample
MASCHINE provides everything you need to record your own Samples.
16.2.1 Opening the Record Page
In the software, recording a new Sample is done in the Record page of the Sample Editor.
► In the Sample Editor, click the Record tab at the top to open the Record page.
The Record page looks as follows:
Sampling and Sample Mapping
Recording a Sample
MASCHINE - Manual - 811