2 Basic repair procedures Chapter E: Basic repair procedures
120 Planmeca PlanMill 40 Technical manual
Tools required
• 2 mm Allen key
• small flat screwdriver
• needle-nose pliers
Removal
1. Remove the top cover, see section 2.1 "Mill covers" on page 94.
2. Open the lid.
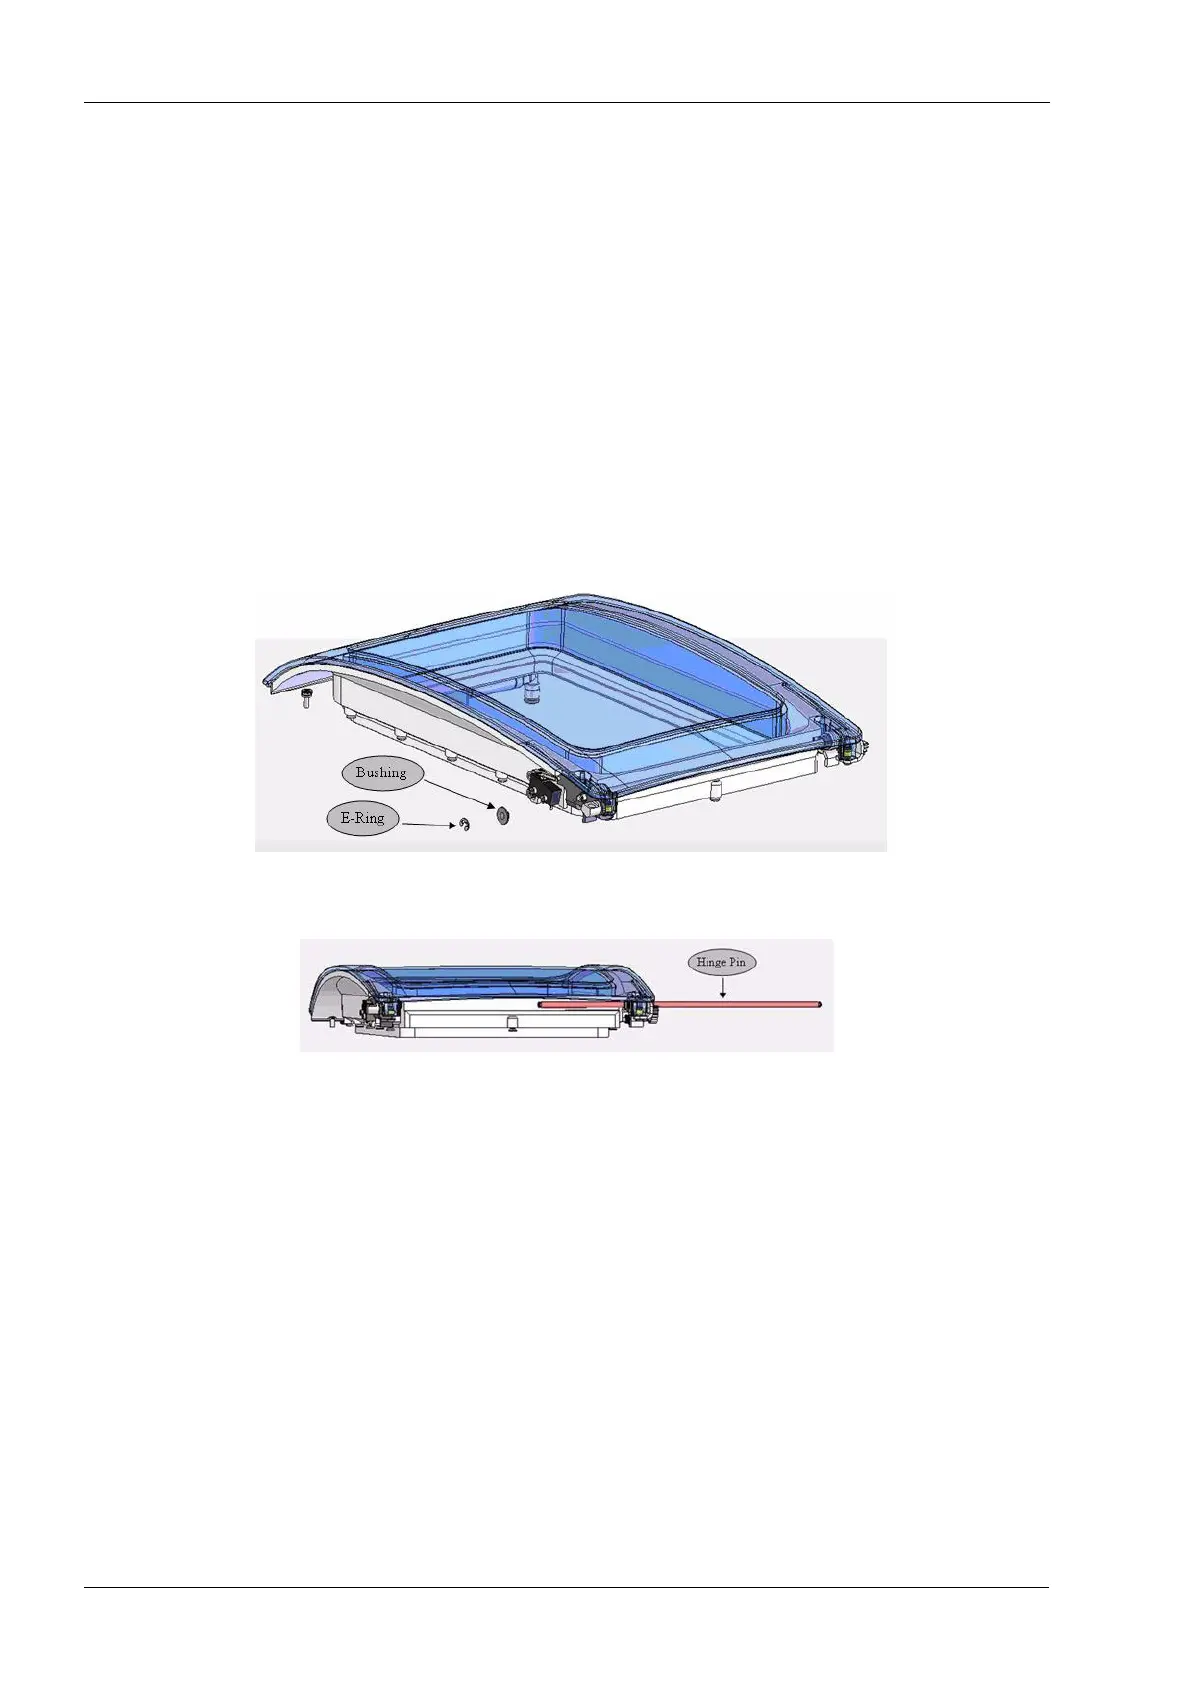
3. Locate and remove the external clip-ring from the right end of the hinge shaft.
Exercise care when removing the clip ring as it can fly or fall off and be difficult to
locate and could damage the motion components if it fell into the wrong location.
Figure 110: Removing E-ring
4. Slide the hinge shaft out to the left, free of the lid/adapter assembly.
Figure 111: Removing hinge pin
5. Remove the clip-ring from the air cylinder knuckle and disengage the knuckle from the
hinge bracket.
The air cylinder will still be attached to the motion base, but there should be enough
movement to disengage the knuckle from the bracket.