2 Basic repair procedures Chapter E: Basic repair procedures
136 Planmeca PlanMill 40 Technical manual
9. Carefully insert the bottom edge of the rear flange of the bellows assembly into the
slot of the white plastic part of the sliding wall assembly.
Insure that folds of the bellows are not inserted into the slot of the white plastic part
of the sliding wall assembly.
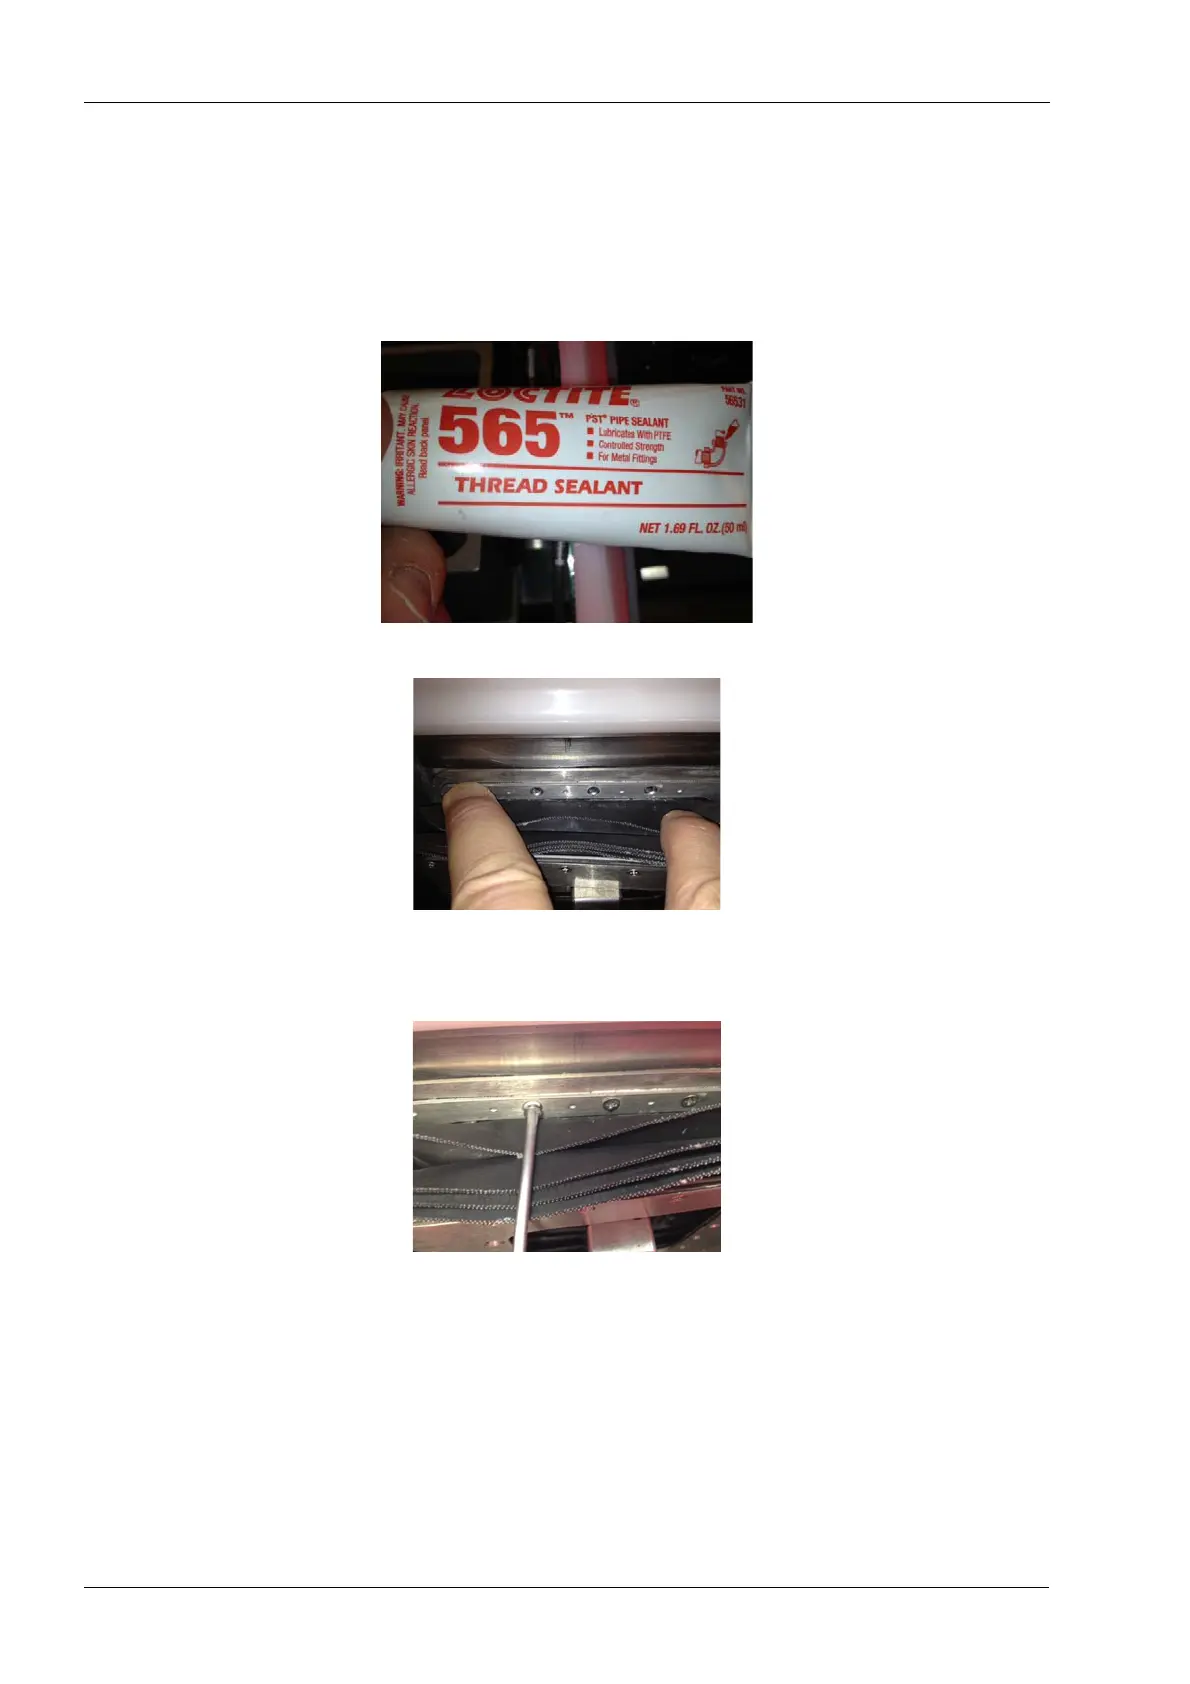
Figure 137: Use thread sealant on all screws when reinstalling the bellows assembly
Figure 138: Top edge of rear bellows flange
10. Push the top edge of the rear flange of the bellows assembly back and align the three
mounting holes with the threaded bellows mounting holes in the sliding wall assembly.
Figure 139: Securing rear bellows flange
11. Apply a small amount of thread sealant to the (3) M3 Philips flat head screws and
install the screws.