2 Basic repair procedures Chapter E: Basic repair procedures
152 Planmeca PlanMill 40 Technical manual
Snug the screws but do not over tighten such that the rubber mounts are substan-
tially distorted.
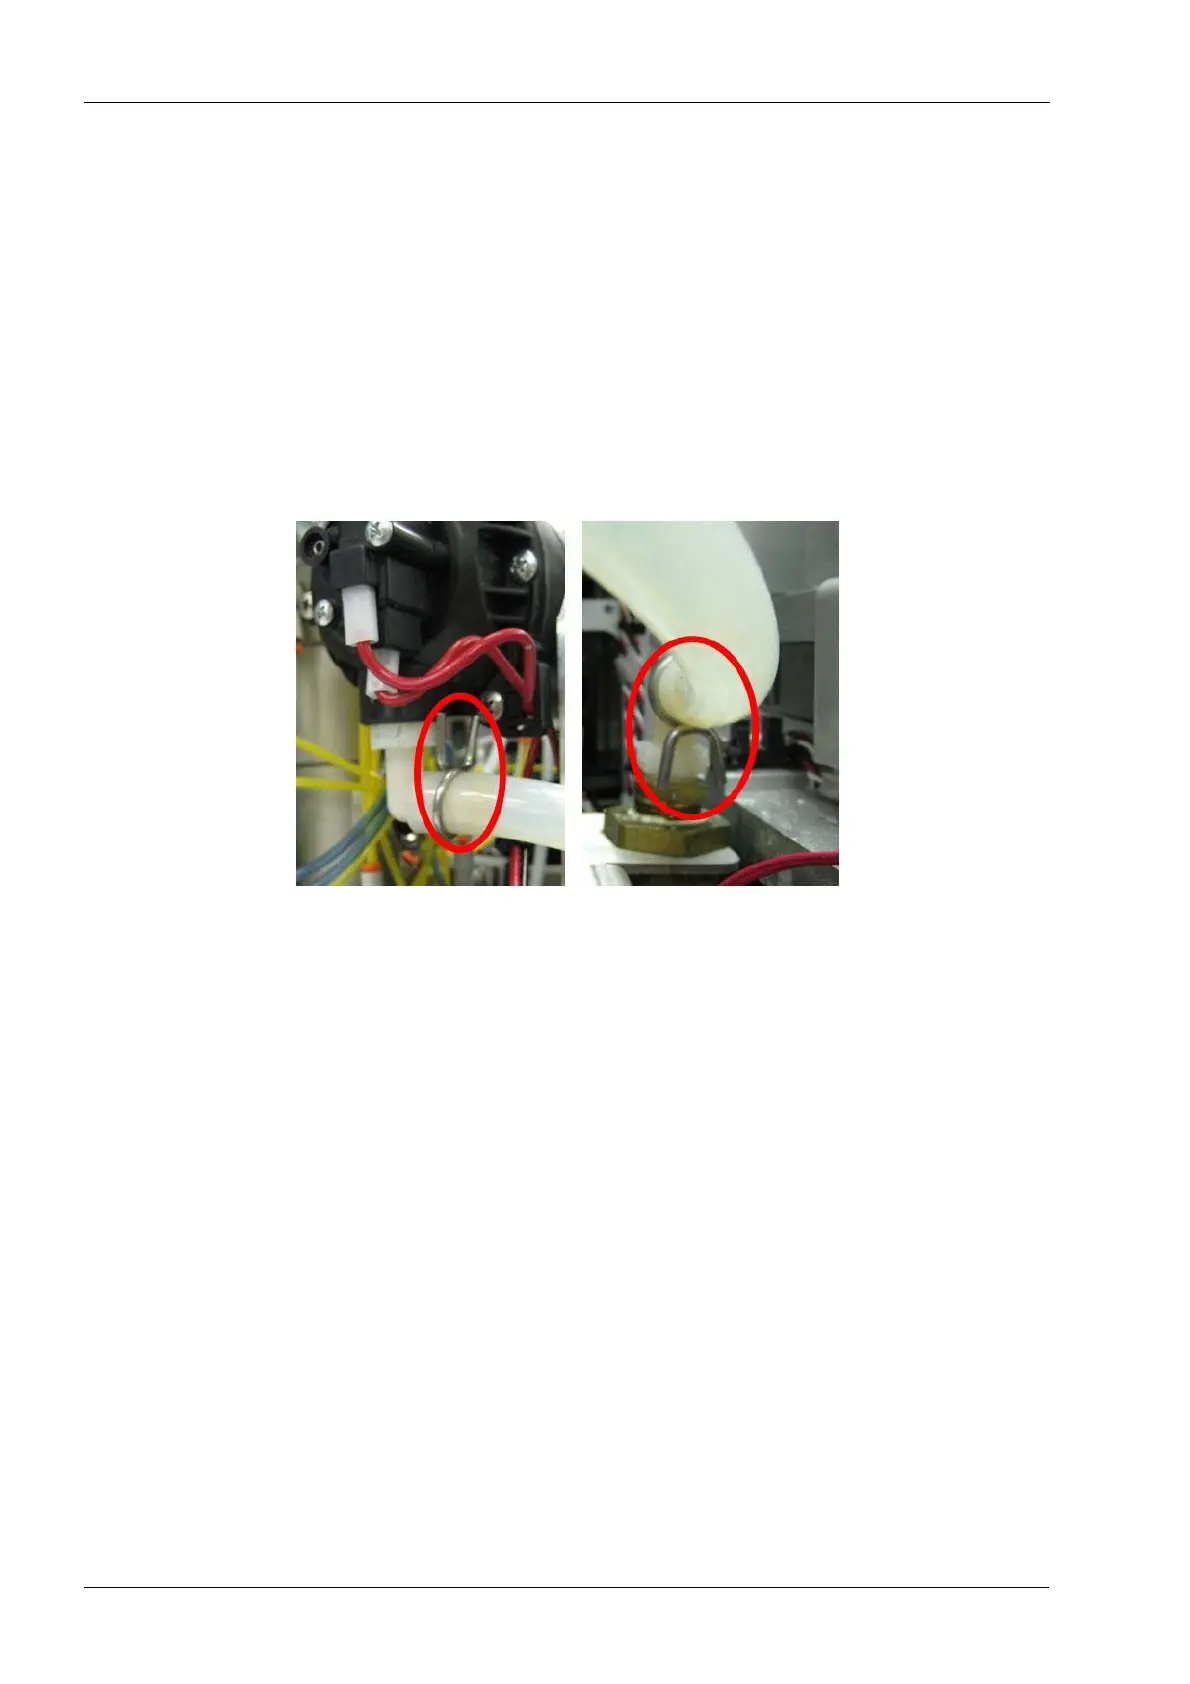
4. Slide the suction line onto the hose barb fitting and use the clip-ring pliers to position
the clip ring in the middle of the hose barb. Rotate the clip-ring up toward the pump to
minimize the personnel risk from the sharp ends.
5. Reconnect the discharge line to the discharge fitting on the pump.
Tighten the connection using the two keys, use the second key to back up the
torque applied to the fitting to minimize or eliminate the stress imposed to the pump
housing.
Figure 162: Suction hose clamp positioning
6. Reconnect the inline power connection.
7. Reinstall any zip ties previously removed.
Do not overly tighten any zip ties to the suction line tubing such that it causes a
reduction in the tubing diameter as this can negatively affect pump performance.
Any zip ties to this tubing should be loosely installed.
8. Turn the pump on and check for leaks using the following command: Technician
Console --> High Level --> Mechanical Control --> Start Pump button.
9. Verify leak free operation, correct any problems.
10. Reinstall the left side panel and top cover.