Chapter E: Basic repair procedures 2 Basic repair procedures
Technical manual Planmeca PlanMill 40 157
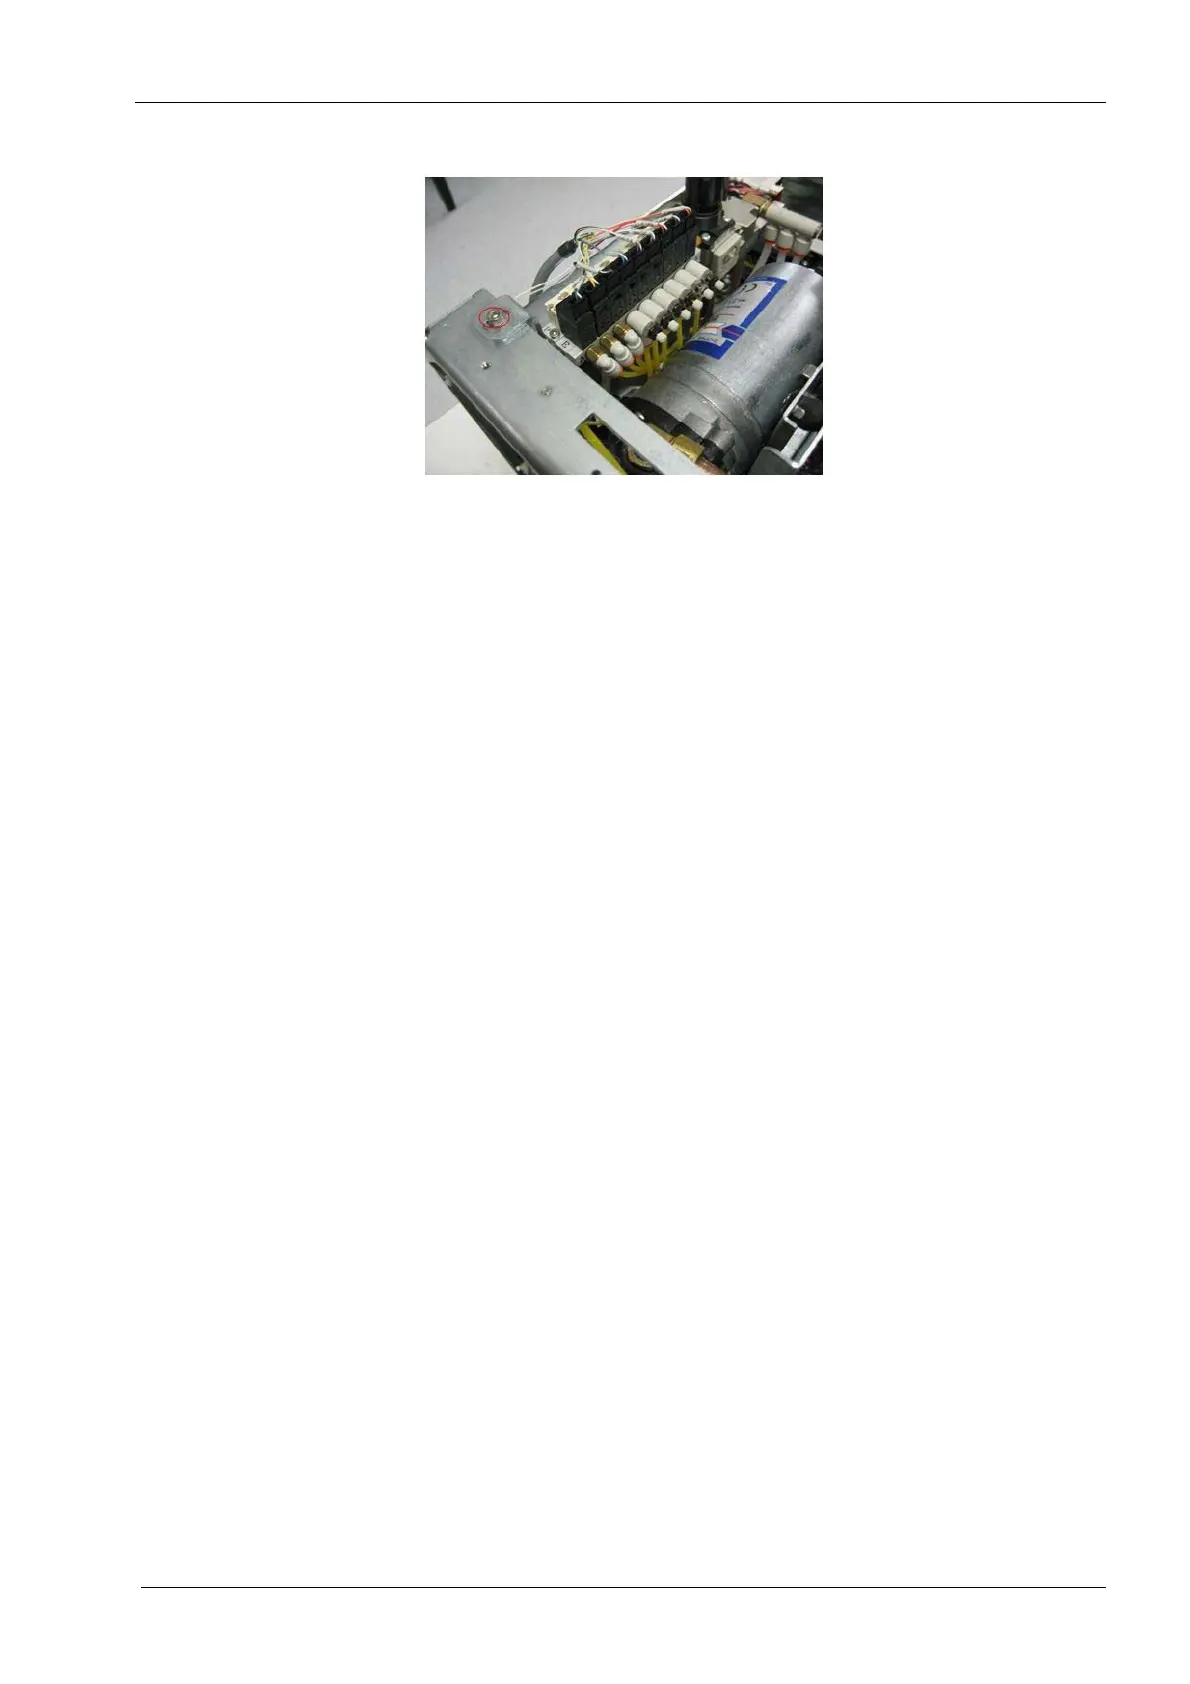
Figure 168: Remove mounting screw
8. Take care to avoid damaging pneumatic tubing that will still be connected to the
pneumatics assembly.
9. Move the pneumatics assembly to access pneumatic tube connections.
10. Tag and disconnect all pneumatic tubes from pneumatics assembly manifold.
11. Tag and disconnect all pneumatic tubes from the three piloted valves.
Install
1. Position pneumatics assembly on Milling unit and re-connect all pneumatic tubes.
2. Align pneumatics assembly with hole on base of Milling unit, aligning mounting screw
with slot in pneumatics assembly bracket.
3. Slide pneumatics assembly into position and secure with screw on bottom plate and
with screw attaching the top of the bracket to the left frame rail.
4. Attach cables to back of pneumatics assembly with cable ties.
5. Reconnect the nine electrical connectors to the solenoid valves on top of the solenoid
manifold.
6. Reconnect the air pressure switch inline connector located at the upper left side of the
assembly.
7. Reconnect air supply line and apply air to unit.
8. Verify there are no air leaks.
9. Use the manual override buttons located on top of each solenoid valve to test each
valve and verify proper operation.
When operating the tool changer solenoid valves using the manual override buttons
always energize the valve representing the current state of the tool changer first,
then energize the desired operation and release the first valve. This will result in
smooth controlled motion.
Example 1
If the tool changer is closed:
• Depress the button on the close tool changer solenoid to energize the air cylinder
closed hold the button down.
• Depress the button on the open tool changer solenoid and release the other button.
Example 2
If the tool changer is open: