2 Tool changer calibration Chapter C: Calibration
56 Planmeca PlanMill 40 Technical manual
17. Be sure to leave slack for all the cables inside the chamber. Close the lid carefully and
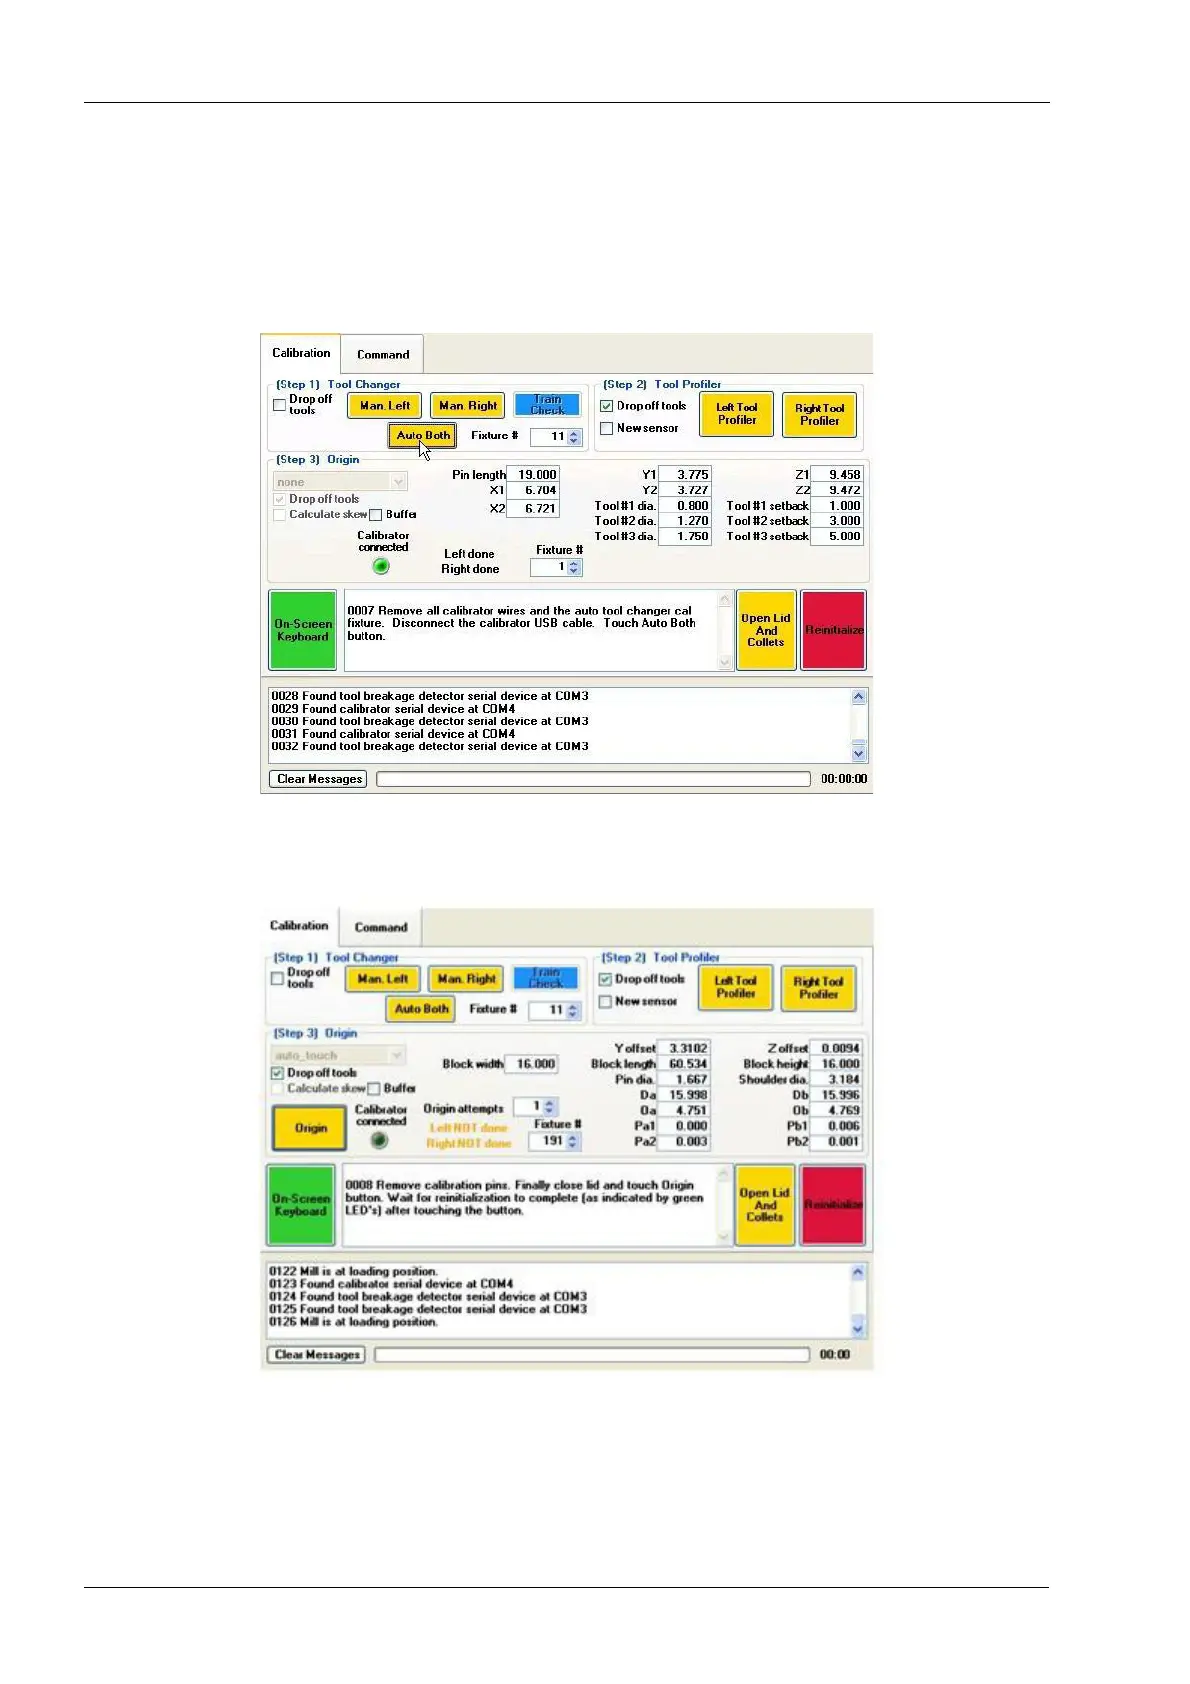
touch and touch the Auto Both button. Auto tool changer calibration starts. Lid opens
when calibration is complete.
18. When the lid opens detach the alligator clips from Tool Holder Calibration Fixture,
remove the Tool Holder Calibration Fixture plus the Calibrator cable from USB-port
and touch the Auto Both button.
Figure 65: Touch Auto Both
19. Remove the calibration pins, close the lid and touch the Auto Both button. Wait for re-
initialization to complete.
Figure 66: Touch Auto Both
20. Wait for mill to home and the lid lights to turn green. The tool changer calibration is
complete.
21. Continue calibration with profiler sensor calibration, follow instructions in the section 3
"Profiler sensor calibration" on page 57.