Web Utility
QL-300 User Guide 454
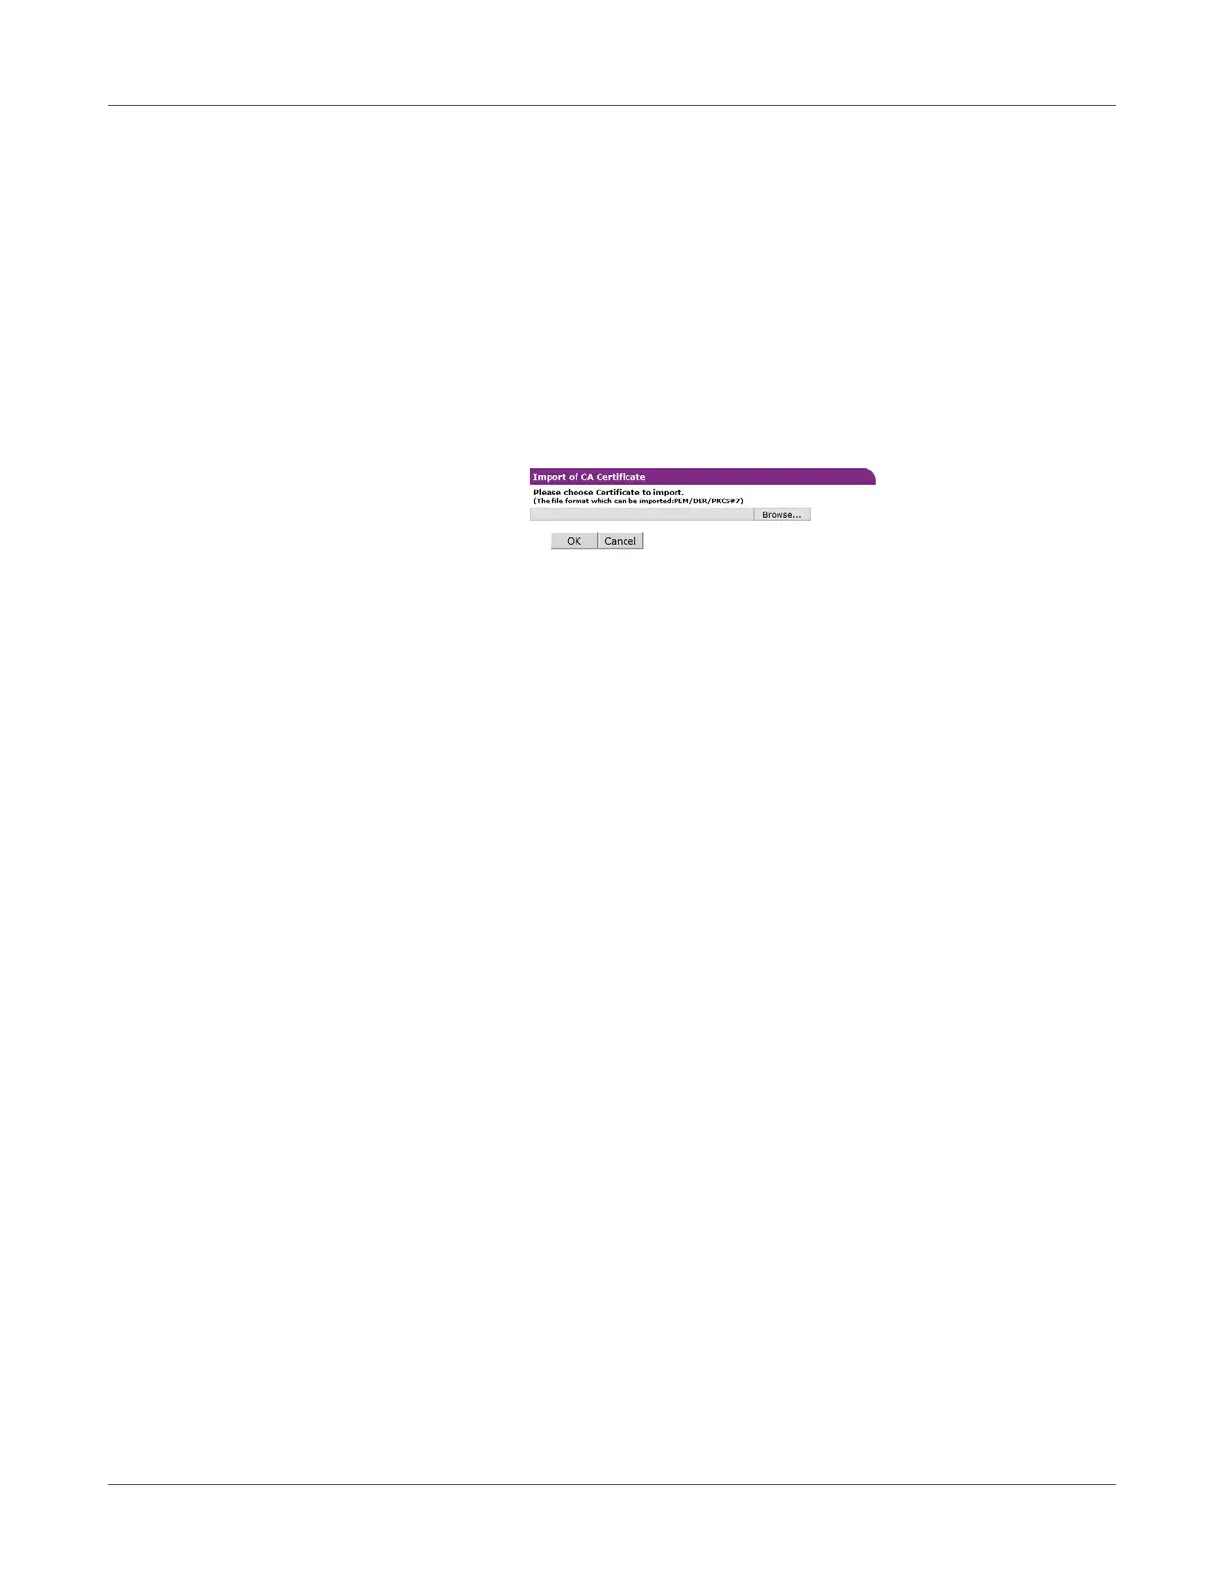
9 Click Import of CA Certificate.
Note: If the Not authenticate Server check box is selected, import of a CA certificate is
not required. If the Not authenticate Server check box is selected, there is no confirmation
to determine if the connection is to the correct authenticated server.
This displays the “Import of CA Certificate” screen.
10 Enter the file name of the CA certificate, and then click OK.
• The imported CA certificate is a certificate of the server certificate issuing authority of
the RADIUS server.
• Supported import file formats are PEM, DER, and PKCS#7.
The CA certificate is imported by the printer.
11 Click Submit.
12 Settings are saved on the printer and the network function is restarted.
When the standby screen appears on the control panel, turn off the printer.
Advance to “To connect the printer to an authentication switch”.
To connect the printer to an authentication switch
Note: Confirm that the printer is turned off.
1 Plug a LAN cable into the printer's LAN (network) interface connector.
2 Plug the LAN cable into the authentication switch's authentication port.
3 Turn on the power supply of the printer.
4 Confirm that the standby screen is displayed on the control panel.
5 Configure settings in accordance with the operating environment, such as the printer's IP
address, etc.