Section04ENGINE
Subsection 08 (FUEL TANK AND FUEL PUMP)
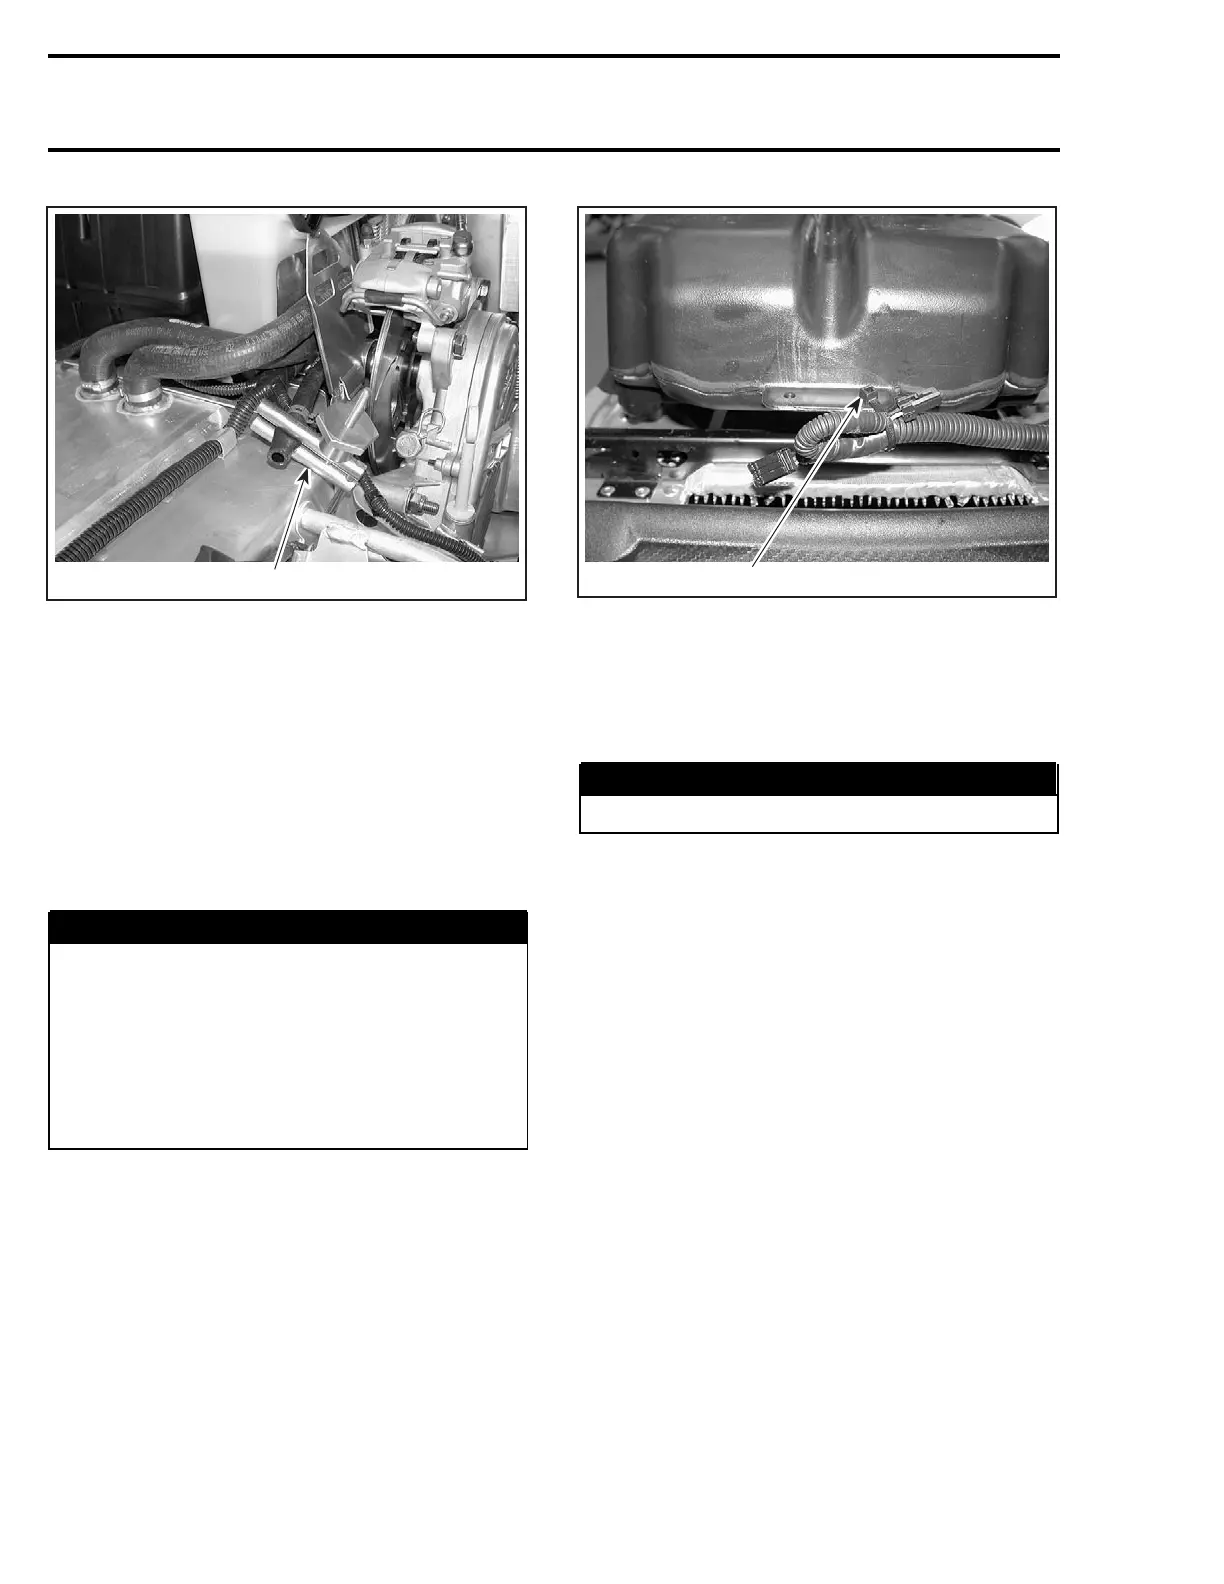
1
A33F10A
FUEL TANK REMOVED
1. Hose pincher installed on fuel line
SDI Models
Release fuel pressure of the system. Refer to
COMPONENT INSPECTION AND ADJUSTMENT.
Empty fuel tank no. 3.
Install a hose pincher on fuel pump hose no. 5
then disconnect it from fuel line no. 1.
Unplug fuel pump connector.
All Models
WARNING
Whenever a fuel line is disconnected, ob-
struct line with a hose pincher (P/N 295 000
076) or (P/N 529 032 500). Fuel is flammable
and explosive under certain conditions. Al-
ways wipe off any fuel or oil spillage from the
vehicle. Ensure work area is well ventilated.
Do not smoke or allow open flames or sparks
in the vicinity.
Unplug vent tube no. 2 from tank.
Some Models
Cut locking tie holding wiring harness to fuel tank
at rear.
1
A33F11A
1. Cut this locking tie
Remove fuel tank no. 3 and set it aside.
Installation
Reinstall fuel tank and plug-in vent tube.
WARNING
Make sure vent tube is not kinked.
Connect fuel line and remove hose pincher.
Reinstall right and left fuel tank aluminum braces
using new lower Torx screws (with Scotch Grip)
and previously removed upper flanged hexagonal
bolts with new M8 flanged elastic stop nuts.
Reinstall filler neck nut using special tool (P/N 529
035 891).
Reinstall fuel cap.
Reinstall center console.
Reinstall console center trim cap.
Reinstall seat.
SDI Models
Perform a fuel pressure test and a fuel bleeding
procedure. Refer to COMPONENT INSPECTION
AND ADJUSTMENT.
IMPULSE/FUEL LINES SPRING
CLIPS (ALL MODELS)
Always reposition spring clips after any repair to
prevent possible leaks. If a spring clip seems
loose, replace it with a new one.
160 mmr2004-Rev

 Loading...
