Section 05 2–TEC ENGINE MANAGEMENT
Subsection 02 (COMPONENT INSPECTION AND ADJUSTMENT)
3
A32C9OA
12
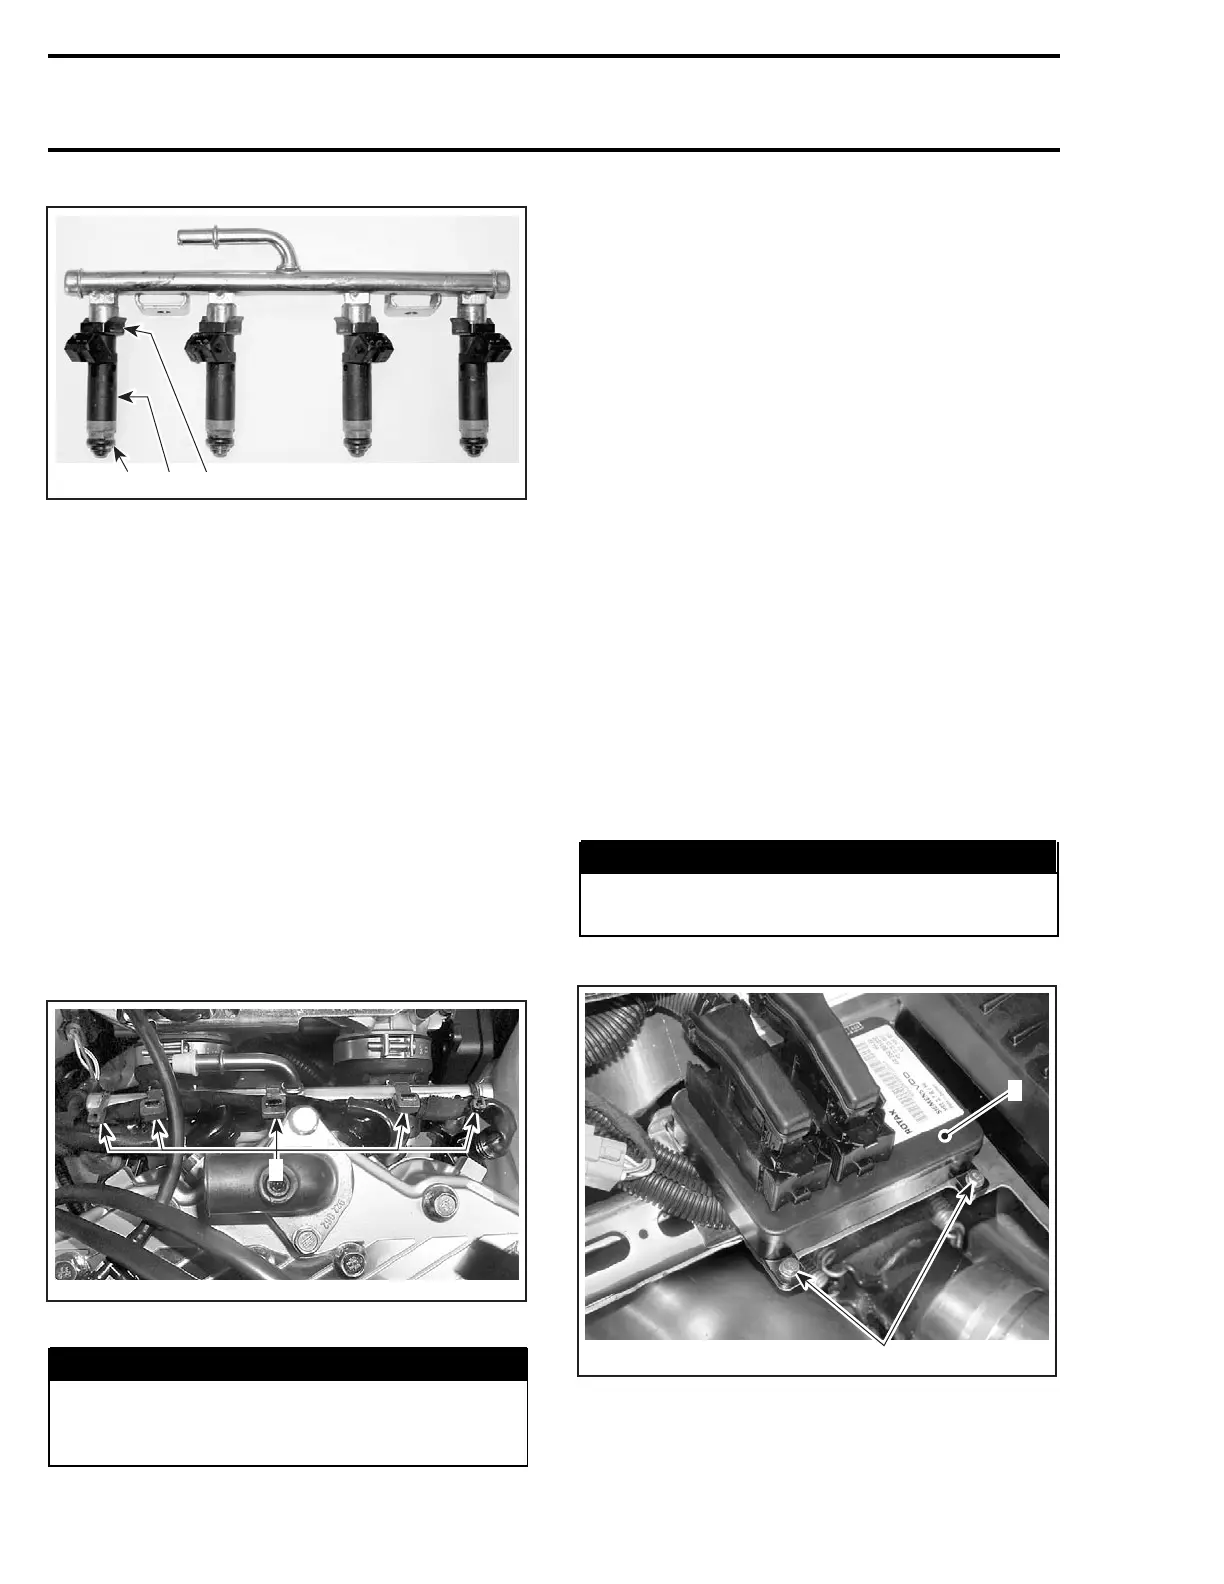
FUEL RAIL ASS’Y
1. Fuel injector
2. Injector clip
3. O-ring
Then remove the injector clip. Now the fuel injec-
tor can be easily pulled out of the fuel rail.
Installation
For the installation, reverse the removal proce-
dure. Pay attention to the following details.
Insert injectors with your hand. Do not use any
tool. Ensure clip and injector are properly in-
stalled.
Replace O-rings with new ones.
NOTE: A thin film of engine oil should be applied
to O-rings to ease insertion in rail.
Torque rail retaining nuts to 10 N•m(89lbf•in).
Attach injector wires with locking tie as shown in
following photo.
A32CCSA
1
1. Locking ties
WARNING
Perform a fuel pressure test and ensure that
there is no leak. Refer to FUEL PUMP above.
Run engine and check for leaks.
ELECTRONIC MANAGEMENT
ECM REPLACEMENT
General
Prior to replacing a suspected ECM, ensure that all
the recommendations in the general introduction
of this section have been followed.
IMPORTANT: When the ECM is replaced, the
tether cord cap(s) and the Closed Throttle must
be reprogrammed/reset. Refer to their specific
section for adjustment.
To allow transferring the previous recorded infor-
mation from the old ECM to the new one, use the
vehicle communication kit (VCK) with the B.U.D.S.
software. Use Replace ECM in the ECM menu.
Follow instructions provided by the help system.
NOTE: If the old ECM can still communicate, it
must be read inside B.U.D.S. prior to removing it
from the vehicle to carry vehicle information and
history to the new ECM.
ECM Replacement
Disconnect battery cables.
WARNING
Battery BLACK (-) cable must always be dis-
connected first and connected last.
Disconnect both connectors from ECM.
A33I0HA
1
2
1. ECM
2. Retaining screws
188 mmr2004-Rev

 Loading...
