Section 06 TRANSMISSION
Subsection 03 (DRIVEN PULLEY)
REMOVAL
Remove guard and drive belt from vehicle.
Remove pulley retaining screw no. 14 and shoul-
dered washer no. 12 then pull the driven pulley
from the countershaft.
Take care not to lose spacer no. 2.
Countershaft
Should countershaft no. 1 removal be required, re-
fer to BRAKE then look for COUNTERSHAFT and
BRAKE DISC REMOVAL.
DISASSEMBLY
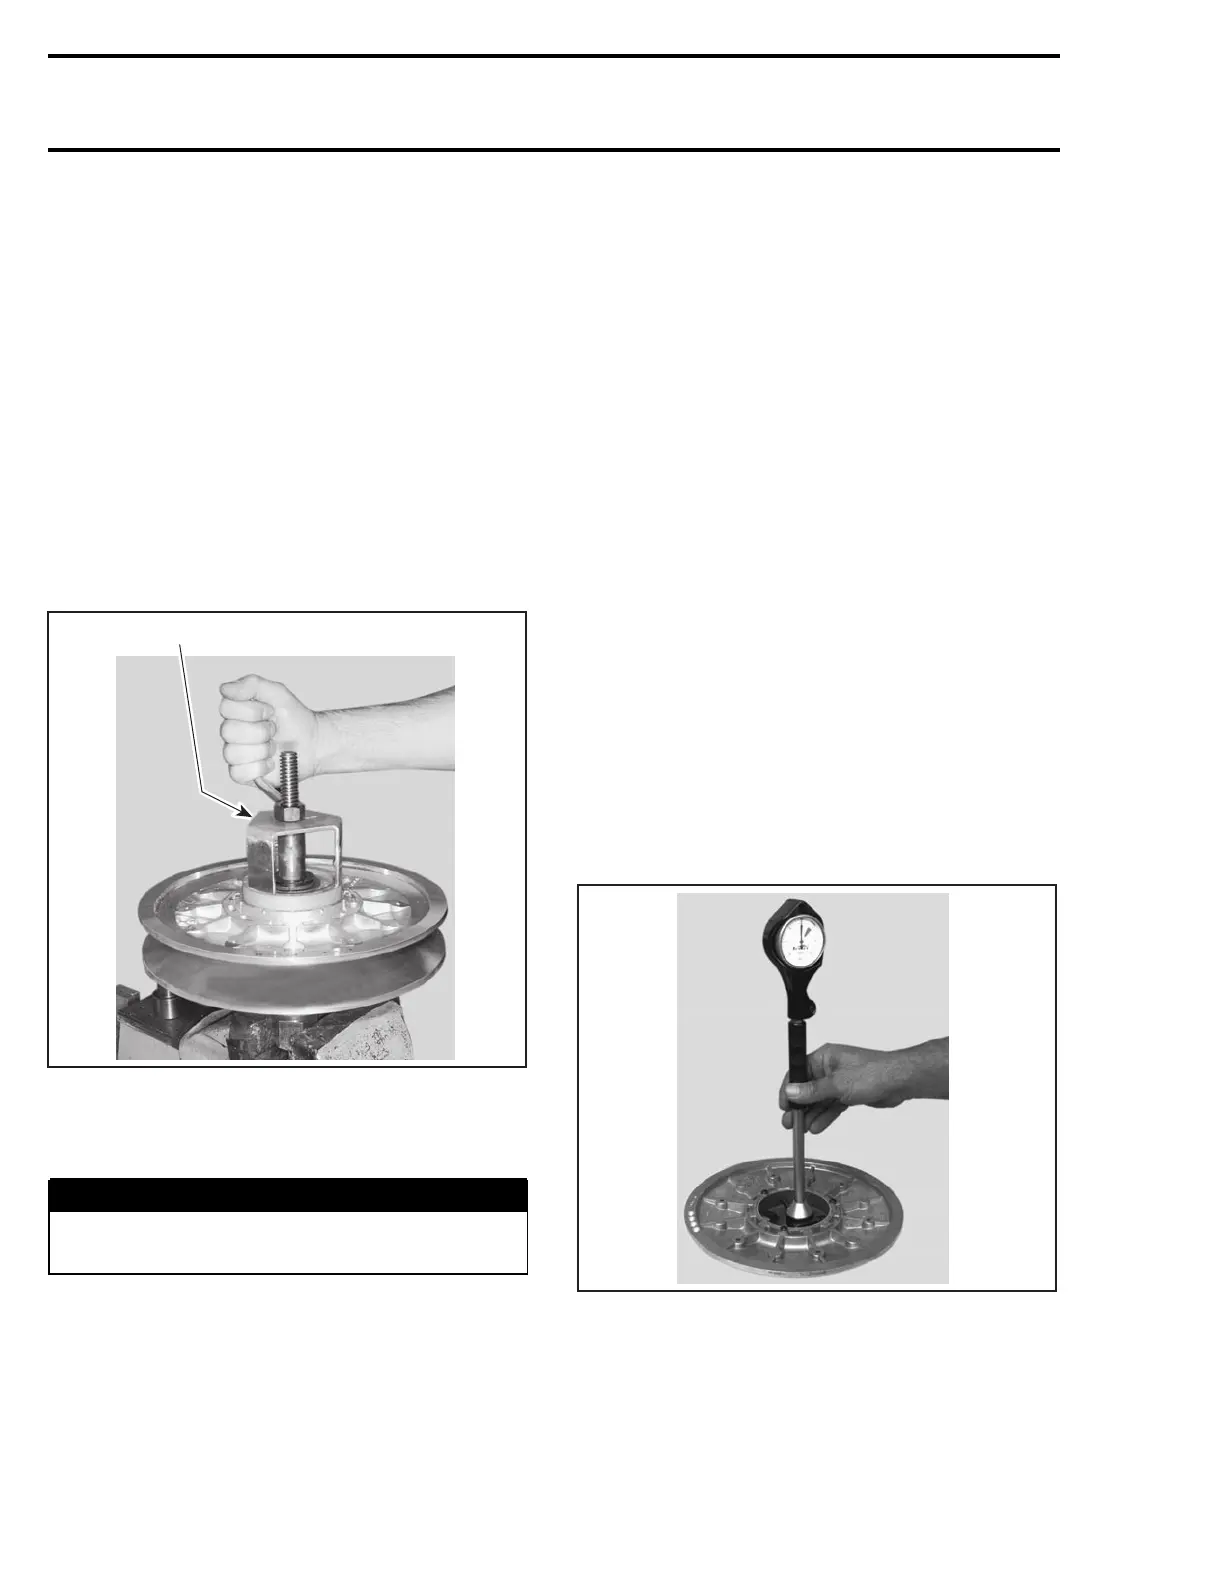
Use spring compressor (P/N 529 035 524).
529 035 524
A15D36B
TYPICAL
Remove circlip no. 3 and washer no. 4 to disas-
semble the outer cam and the 2 pulley halves.
WARNING
Driven pulley cam is spring loaded, use above
mentioned tool.
CLEANING
Large Bushing and Small Bushing
During break-in period (about 10 hours of use),
teflon from bushing no. 8 and no. 9 moves to cam
or shaft surface. A teflon over teflon running con-
dition occurs, leading to low friction. So it is nor-
mal to see gray teflon deposit on cam or shaft. Do
not remove that deposit, it is not dust.
When a dust deposit has to be removed from the
cam or the shaft, use dry cloth to avoid removing
transferred teflon.
Pulley Half Cleaning
Use pulley flange cleaner (P/N 413 711 809) to
clean pulley halves.
INSPECTION
Bushings
Check the bushings no. 8 and no. 9 for cracks,
scratch and for free movement when assembled
to fixed half.
Using a dial bore gauge measure bushing diame-
ter. Measuringpointmustbeatleast5mm(1/4in)
from bushing edge.
A03D1OA
Replace bushing(s) if worn more than specified.
228 mmr2004-Rev

 Loading...
