Section 08 REAR SUSPENSION
Subsection 04 (TRACK)
TRACK
TRACK TYPE APPLICATION
Refer to TECHNICAL DATA.
GENERAL
This section gives guidelines for track removal.
Some components require more detailed disas-
sembly procedures. In these particular cases, re-
fer to the pertaining section in this manual.
INSPECTION
Visually inspect track for:
– cuts and abnormal wear
– broken rods
– broken or missing track cleats.
If track is damaged or rods are broken, replace
track. For damaged or missing cleats, replace by
new ones, using cleat remover (P/N 529 028 700).
Use narrow-cleat installer (P/N 529 008 800).
WARNING
Do not operate a snowmobile with a cut, torn
or damaged track.
REMOVAL
Remove the following parts:
– rear suspension (refer to proper subsection)
– driveaxle(refertoDRIVEAXLE)
– track.
INSTALLATION
Reverse the removal procedure.
NOTE: When installing the track, respect rotation
direction indicated by an arrow on track thread.
Check sprocket/track alignment as described in
DRIVE AXLE.
ADJUSTMENT
Track Tension and Alignment
Track tension and alignment are inter-related. Do
not adjust one without checking the other. Track
tension procedure must be carried out prior to
track alignment.
Tension
NOTE: Ride the snowmobile in snow about 15 to
20 minutes prior to adjusting track tension.
Lift snowmobile by a rope, chain or lift strap
hooked to rear bumper.
Allow the rear suspension to fully extend and
check gap half-way between front and rear idler
wheels. Measure between slider shoe bottom
and inside of track. The gap should be as given
in SPECIFICATIONS. If the track tension is too
loose, track will have a tendency to thump.
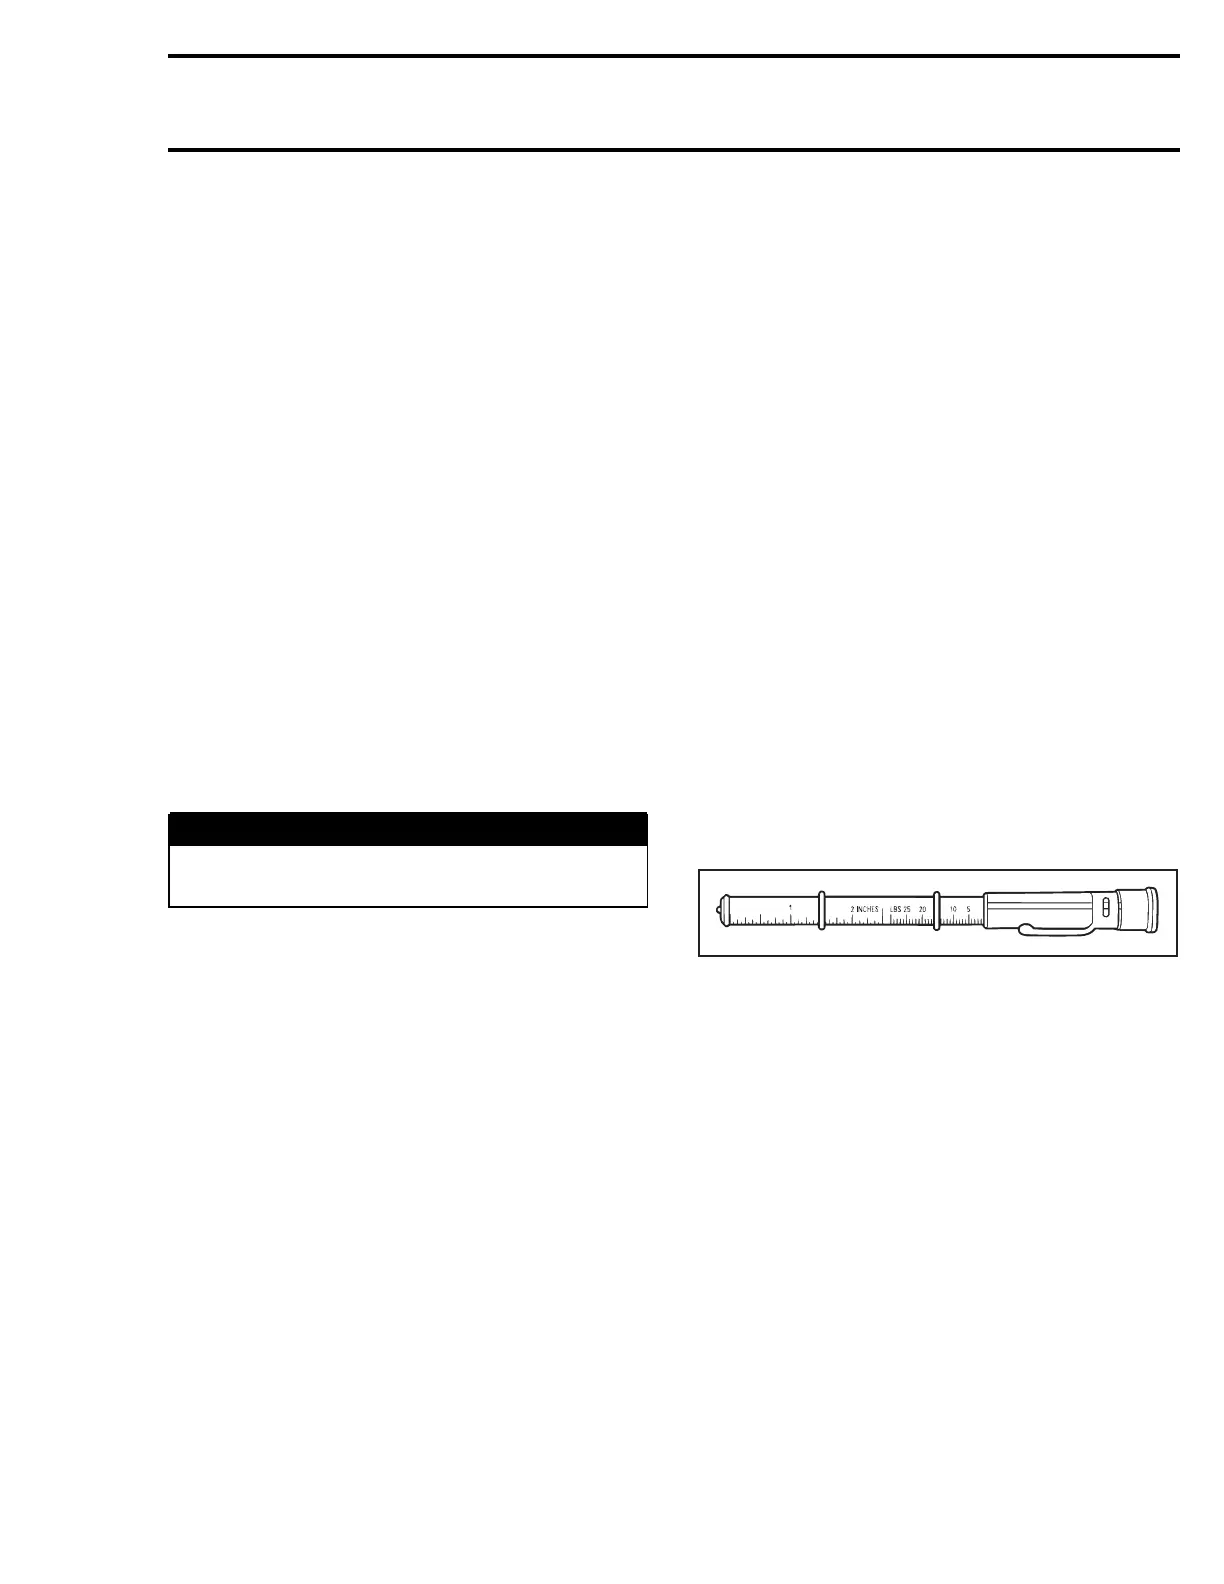
NOTE: A belt tension tester (P/N 414 348 200)
may be used to measure deflection as well as
force applied.
A00C07C
BELT TENSION TESTER
mmr2004-Rev 317

 Loading...
