Section04ENGINE
Subsection 02 (ENGINE LEAK TEST AND DIMENSION MEASUREMENT)
ENGINE LEAK TEST AND DIMENSION
MEASUREMENT
LEAK TEST
The following gives verification procedures for 593
and 793 types of engines.
PREPARATION
– Remove tuned pipe.
– Install plug over exhaust manifold.
– Remove carburetors/throttle body assembly (as
applicable).
– Unplug fuel inlet line from fuel rail.
– Insert plugs in intake rubber boots. Tighten
with existing clamps.
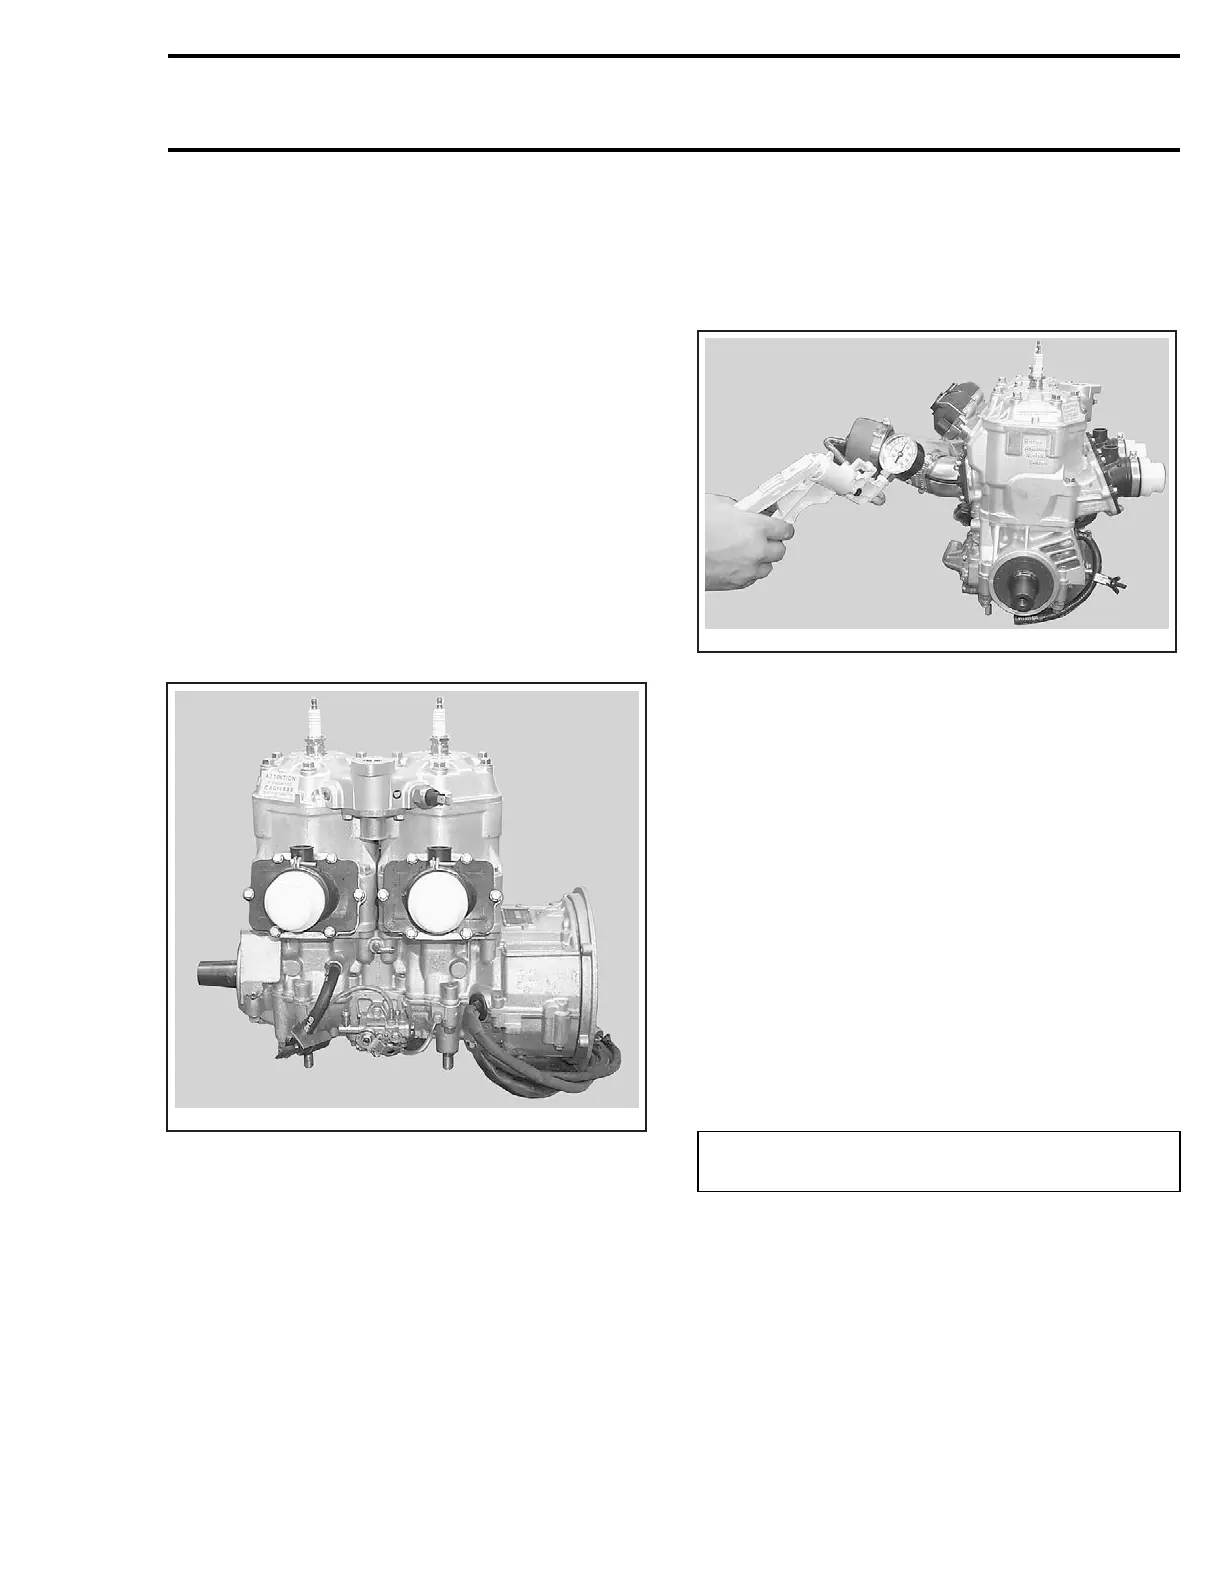
A33C19A
– Using a hose pincher (P/N 295 000 076), block
impulse hose.
– Install air pump on exhaust plug.
NOTE: If necessary, lubricate air pump piston with
mild soap.
CAUTION: Using hydrocarbon lubricant (such
as engine oil) will damage rubber seal of pump
piston.
A33C1AA
– Activate pump and pressurize engine to 34 kPa
(5 PSI). Do not exceed this pressure.
– Engine must stand this pressure during 3 min-
utes. If pressure drops before 3 minutes, check
tester kit by spraying a soapy solution on pump
cylinder, all plugs and fittings.
• If tester kit is leaking, bubbles will indicate
where leak comes from.
• If tester kit is not leaking, check engine as per
following procedure.
PROCEDURE
NOTE: A flow chart has been prepared as a visual
reference. See last page of this chapter.
Using flow chart and following text, pressurize
area to be tested and spray soapy solution at the
indicated location.
TEST PRESSURE: 34 kPa (5 PSI)
for 3 minutes
• If there is a leak at the tested location, it is
recommended to continue testing next items
before overhauling engine. There is a possi-
bility of more than one leak.
• If there is no leak at the tested location, con-
tinue pumping to maintain pressure and con-
tinue with next items until leak is found.
mmr2004-Rev 111

 Loading...
