108
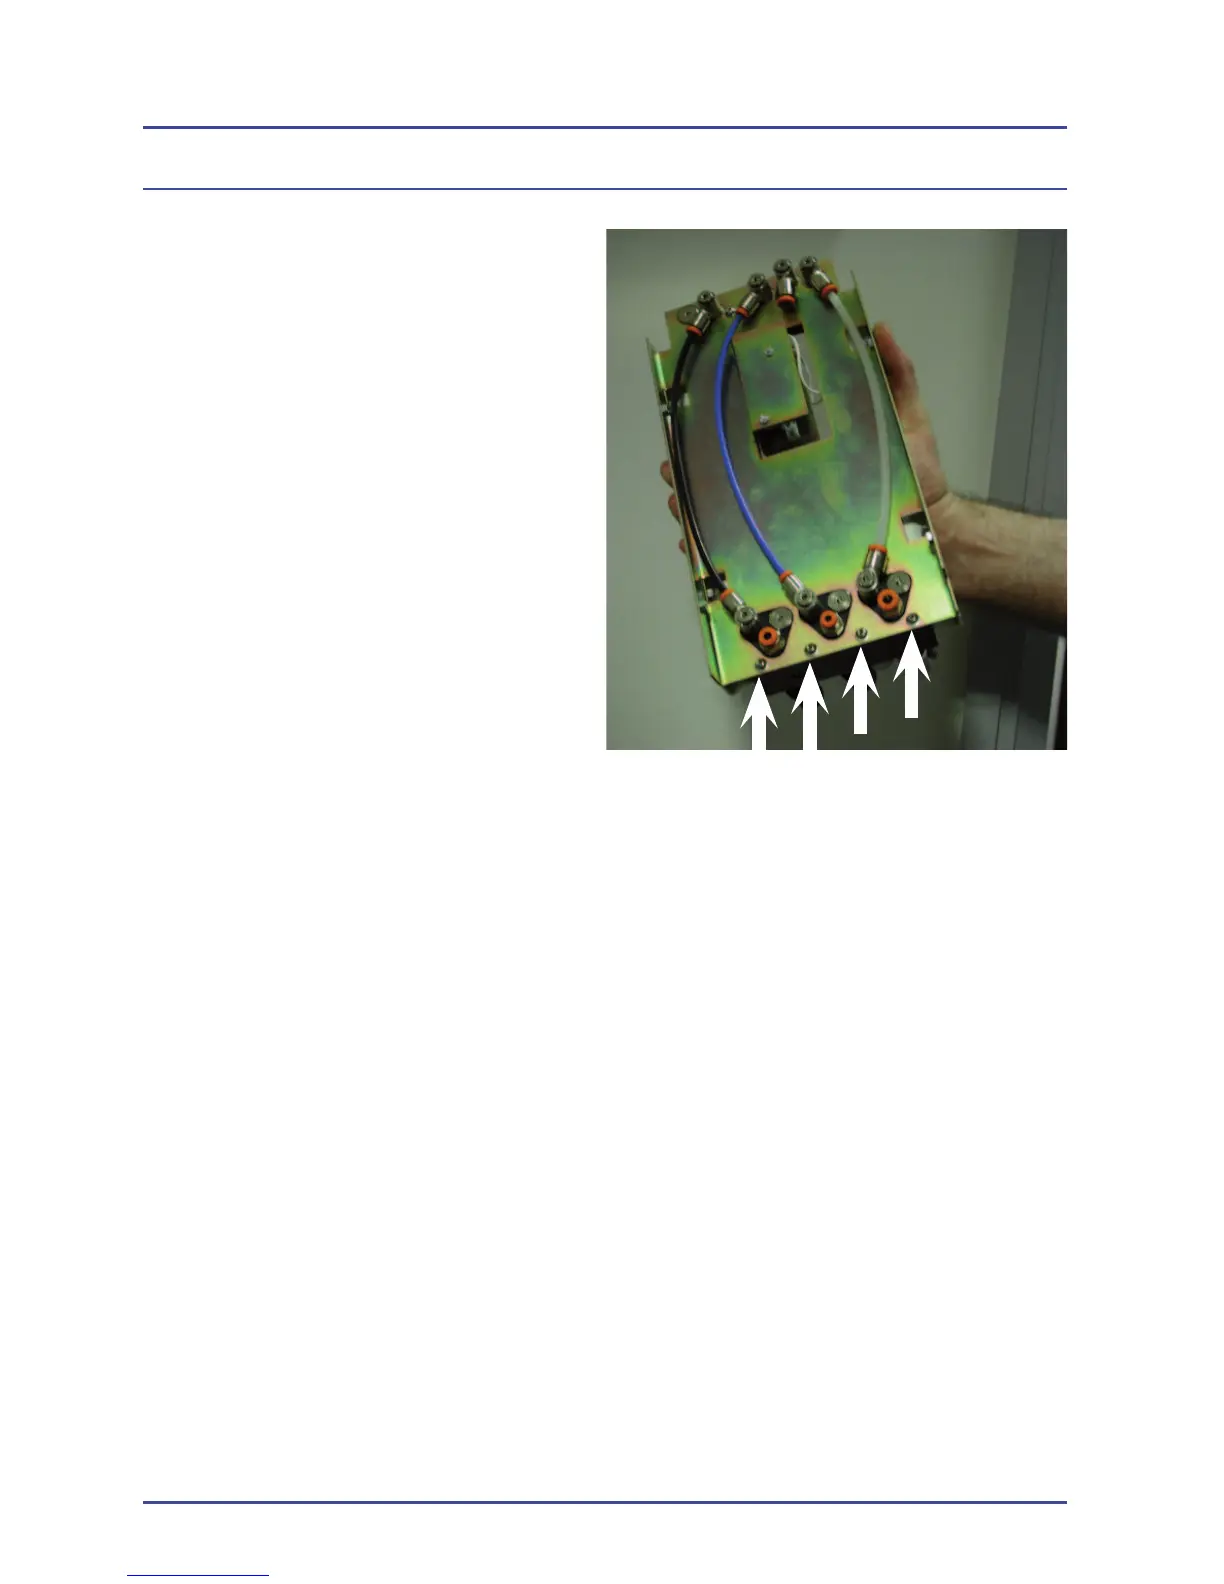
5. Remove the fi ttings on the back of
the Hypoxic Guard Block.
6. Remove the 4 screws
7. Replace the Hypoxic Guard block
and re-assemble.
8. The replacement Hypoxic Guard
Block (FR135025) will have a
test certifi cate with it, this will give
the pressure that the O
2
and N
2
O
pressure regulation will need to be
set to for the hypoxic guard block to
work correctly. (See section 6.5 for
regulator adjustment.)
9. The replacement hypoxic guard
block will also have the confi guration
details for Cascade or Simplex.
5.2.4 Calibration of Hypoxic Guard System
In normal use, the Hypoxic Guard unit requires only routine calibration checks.
Investigate any variations outside the specifi ed range by checking that the
nitrous oxide and air fl ow valves are shutting correctly (see Section 5.4) or by
setting the Basal Flow (see Section 5.3), depending on the nature of the fault.
If the calibration is faulty, the recommended course of action is to replace the
block with a calibrated replacement unit. It is possible to recalibrate the block
if the valves have not become damaged (the precision valves should never be
dismantled. Internal damage to the seat or needle will not be visible to the eye,
but can make the valve unusable).
If it is necessary to recalibrate the block, then use the following method. It should
be noted that this operation can take some time for the inexperienced engineer
to master and should only be used if a replacement block is not available. If it
proves impossible to achieve a satisfactory result, then the precision valves are
most likely to have become damaged and a new block is the only solution.
Detailed Repair Procedures
Figure 59 - Hypoxic Guard fi xing
screws