213
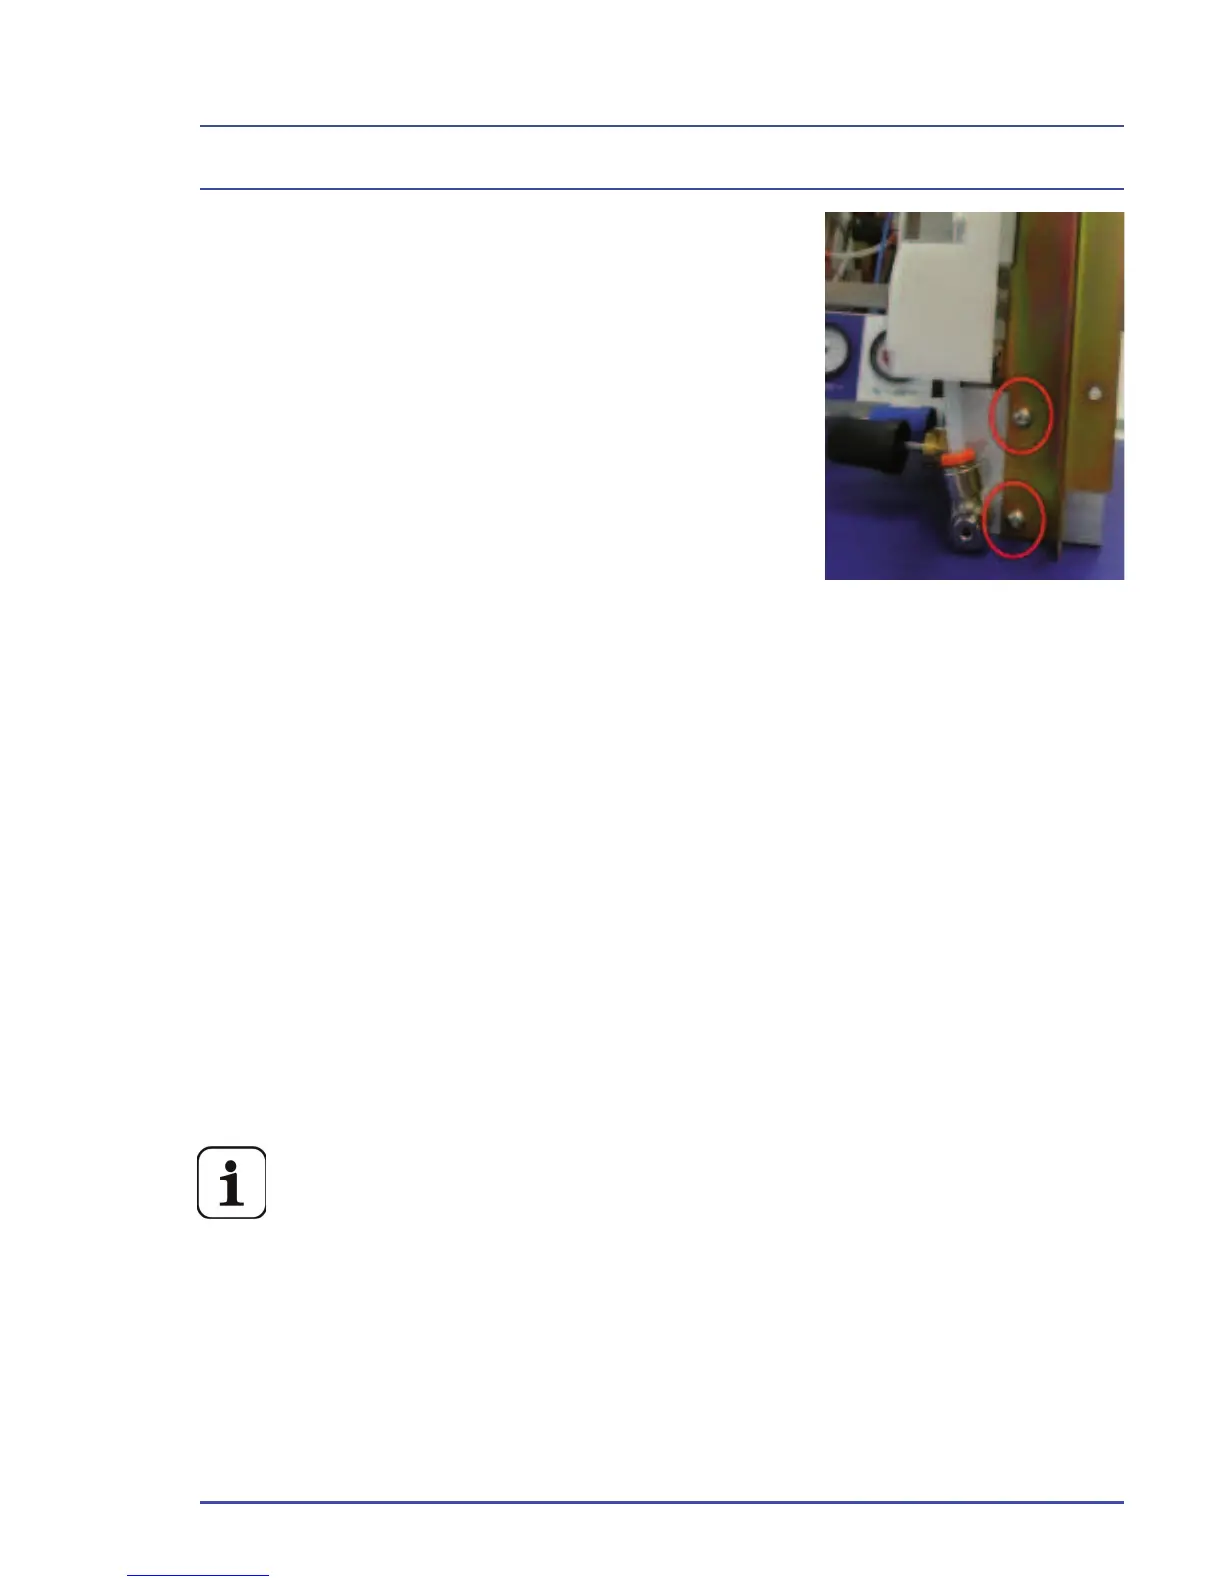
9. Using a 2.5mm hex key, remove the four
hex screws (two on each side) that secure
the hypoxic guard block to the EFM.
10. Remove the faulty hypoxic guard block and
discard it.
11. Position the replacement hypoxic guard
block on the EFM.
12. Attach the four hex screws (two on each
side) to secure the hypoxic guard block to
the EFM.
13. Connect the banjo fi tting to the side of the
hypoxic guard block with the 3mm hex key.
14. Install each fl ow sensor on the back of the
EFM. Attach the two hex screws to each sensor to secure them.
15. Connect the four gas fl ow tubes.
16. Connect the light pipe to the EFM circuit board.
17. Connect the ribbon cable and the power connector to the EFM.
18. Replace the EFM on the machine and secure it with the four hex screws
[two on each side] .
19. Replace the three system covers.
20. Set the secondary regulator pressure to the value specifi ed for the type of
hypoxic guard you installed. Refer to the specifi cation sheet included in
the hypoxic guard replacement kit.
The hypoxic guard is calibrated at the factory.
EFM Option
Figure 157 - Hypoxic Guard
Retaining Screws