154
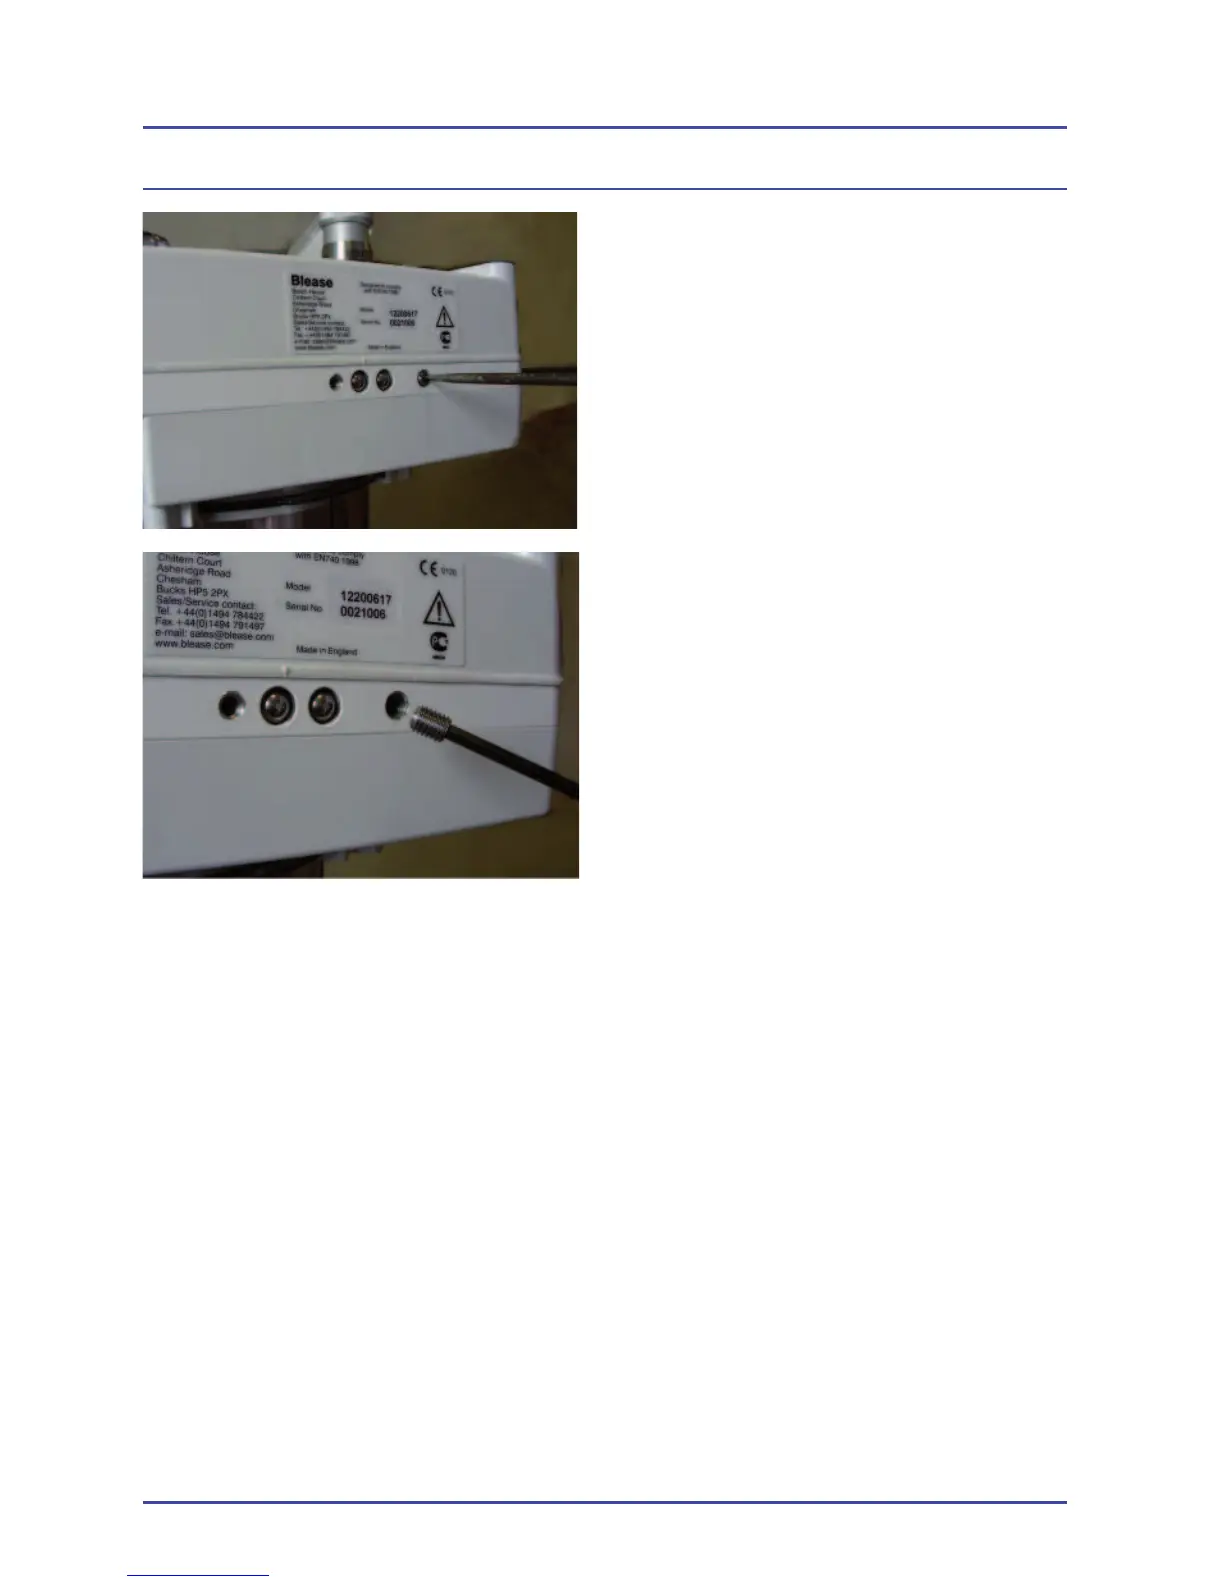
9. Screw in the ball catch until it stops
against the rod.
10. Back off half a turn.
11. With ball catch adjusted and rod
inserted, screw in the lock screw
until tight.
12. Remove the rod and check that
when the rod is inserted (pointed
end fi rst) that positive lock is
achieved on machine groove.
Figure 113 - Lock Screw Insertion
Detailed Repair Procedures