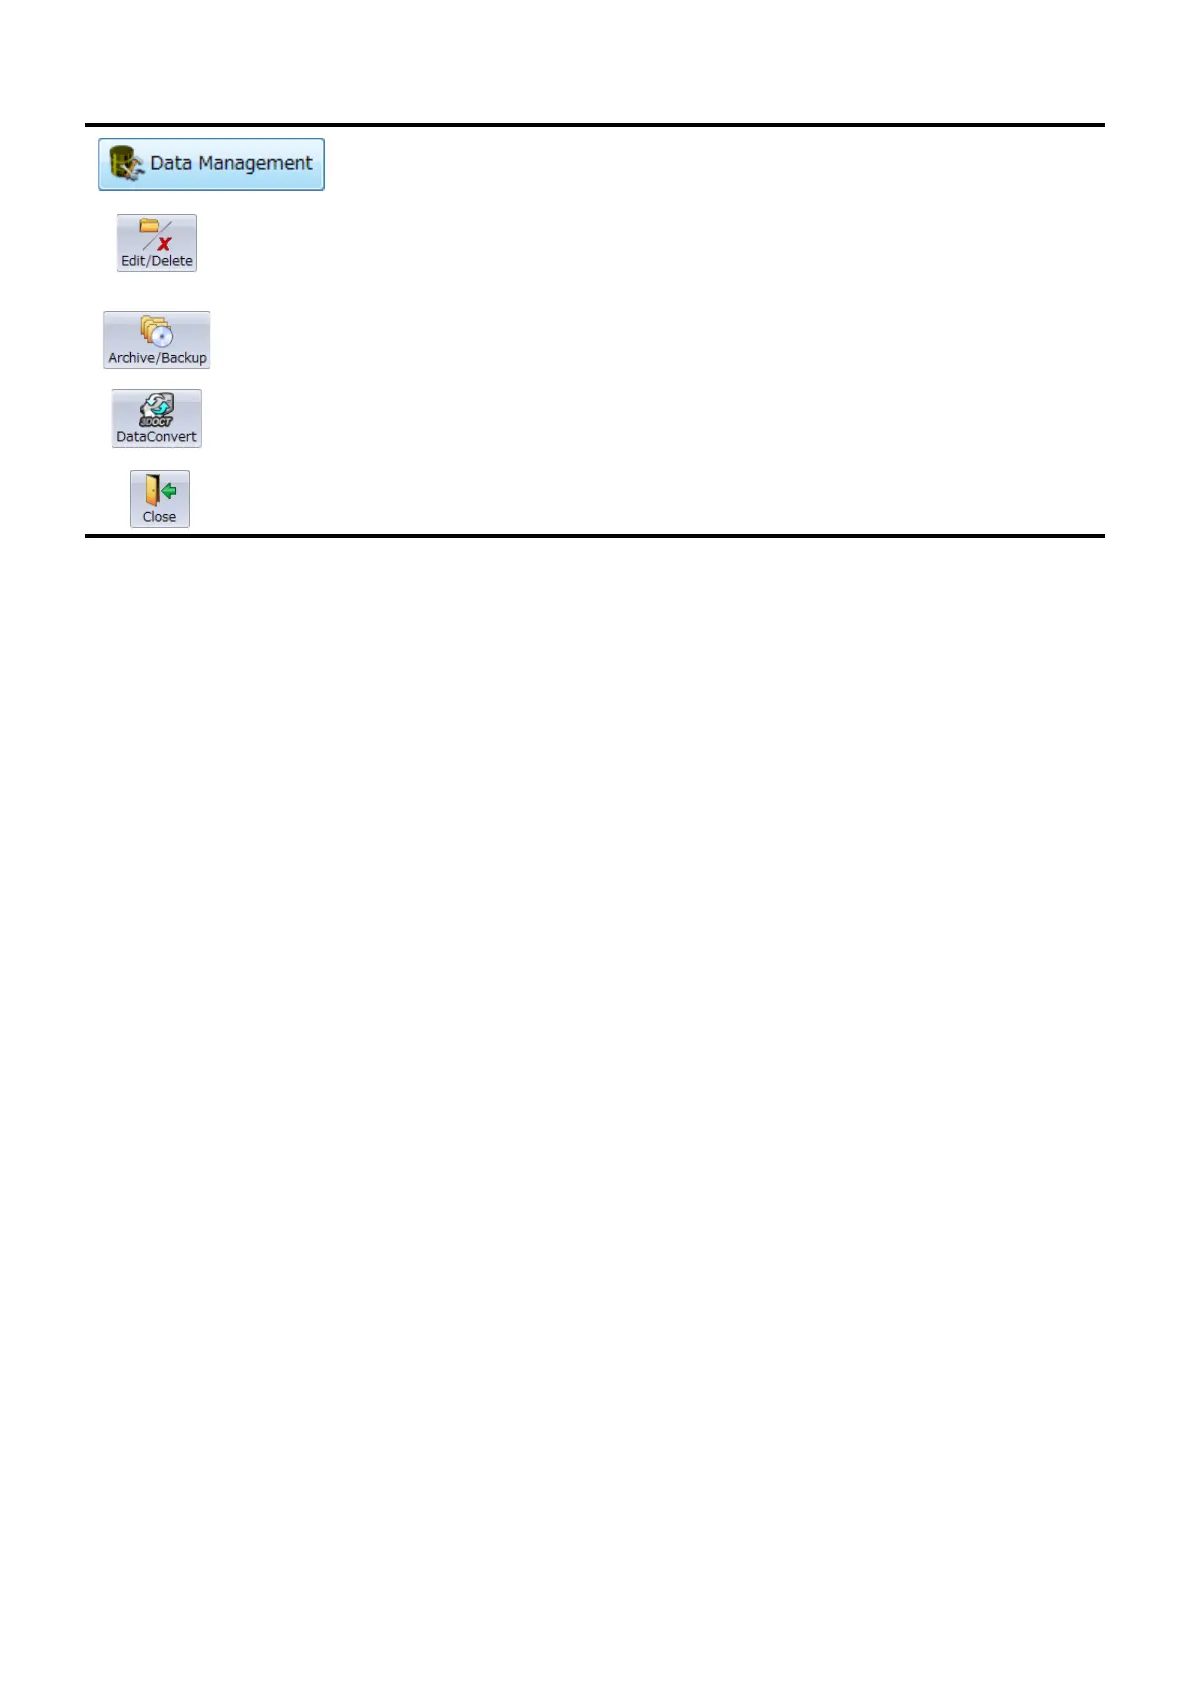
Home
Topcon
Medical Equipment
3D OCT-1
Topcon 3D OCT-1 User Manual
4
of 1
of 1 rating
236 pages
Give review
Manual
Specs
To Next Page
To Next Page
To Previous Page
To Previous Page
Loading...
14
STARTING
The user can manage dat
a.
Edit/Delete
Allows the user to modify p
atient demographic
information fields and to delete saved tomogram
data.
Archive/Backup
Archives tomogram data into juke-box-like
archive folders.
Data Convert
Shift
s to the data
conversion screen.
Close
Closes Data Mana
gement subcategory
.
15
17
Table of Contents
Introduction
3
Table of Contents
4
Displays for Safe Use
8
Safety Cautions
9
User Maintenance
12
Environment for Operation
12
The Necessary Capacity of Memory and Hard Disk Are Changed Depending
12
If the Number of "Thread" in CPU Is Beyond 4, the Processing May be
12
Delayed. Reduce the Number of "Thread" to Use this Software
12
Intended Patient Population
13
Intended User's Profile
13
Escape Clauses
13
1 Starting
14
Starting and Exiting the 3D OCT-1 Program
14
To Start the 3D OCT-2000 Program
14
To Exit the 3D OCT Program
14
Main Menu and Tool Bar Icons
15
Options Settings
17
When the Object to be Displayed Is Changed, Start this Software Again
20
2 Capturing Tomograms
24
Main Screen
25
Selecting the Patient
26
To Register a New Patient
27
When Entering the Patient ID through the 3D OCT-1, a Bar Code Reader, a
27
Space
27
When the Photography Data Is Displayed, "Normative Date" Is Displayed
29
When the Patient Is over 81 Years Old, "Normative Data" for the Age of
29
Is Displayed as Reference
29
Selecting the Photography Mode
30
When Clicking the [Capture] Button, Sometimes the Message "Ocular Optical
30
Photography Window
31
Patient Information Bar
32
Primary Tomogram Viewing Area: Window a
33
Fundus/Anterior Segment Image Viewing Area: Window B
34
Thumbnail View Panel
37
Scan Information Panel
37
Fundus Tomography Data Display
38
Radial Scan] Photography
38
Line] Photography
38
5Line Cross] Photography
39
Wide] Photography
39
Macula (V)] Photography
40
Macula] Photography
40
Optic Disc] Photography
41
Fundus Photography Data
43
Title Bar
43
Tool Bar
44
Photography Procedure/Screen Display Tab
45
Thumbnail Window
46
Fundus Image Display Area
47
Information Window
52
Photography Result Display List
52
Status Bar
53
Setting
54
Printing
59
Scan Pattern Specifications
62
Line Scan
62
Line Cross Scan
62
Scan
63
Radial Scan
63
Saving and Deleting Captured Tomograms
64
To Save a Tomogram
64
To Delete a Tomogram
64
Sometimes the Analysis Function Is Not Normally Finished. in this Case, the
64
Displaying Report of the Photographed Tomogram
65
Displaying and Printing the Report
65
3 Displaying Tomograms
67
Selection Mode Window
67
Grid Interface
68
Thumbnail Interface
73
Date Interface
74
Selecting and Retrieving the Patient
75
Selecting the Patient
75
Retrieving the Patient
75
Operating through Data List
78
Contents on Data List
78
History Data List Screen
80
Arranging Data Records
82
Comparing Data from the Data List
82
Analyzing Data from the Data List
82
Making Reports from the Data List
83
View Window
84
A-1: Thumbnail Area
85
A-2: Image Processing Controls Area
85
For "B-2: Filter", the Data of the Image Being Displayed Are Used and so You
85
A-3: Fundus/Anterior Segment Image Display Area
87
The Measure Image Function Is Based on the Theoretical Gullstrand Eye
92
Surement Results
92
When Modifying the Data in Optic Disc Analysis
96
A-4: Thickness Graph Area
99
A-5: Tomogram Display Area/Auxiliary Tomogram Display Area
100
A-6: 3D Tomogram Display Area
110
Volume
111
Cropping
111
Subvolume
111
Slicing
116
Ilm/Rpe/(Is/Os)/(Bm)
118
Bookmark and Right-Click Menu
120
Bookmark
120
Right-Click Menu
121
Pin-Point Registration
123
Shadowgram
123
Automatic Positioning
123
Manual Positioning
123
As the Result of Automatic Positioning, the Fundus Image Is Sometimes
123
After Analysis, the Images Are Automatically Positioned. if Sufficient Data
123
Pin-Point Registration
124
Reference Image
125
Blood Vessel Detection
129
How to Use
129
4 Analyzing Tomograms
131
Analyzing and Modifying Layers
131
When You Have Changed to the Original Tomogram after Changing to Two or
133
You Cannot Perform "Modify" for the Image Photographed by "Oversam
133
Analyzing the Optic Disc
134
In the Automatic Optic Disc Analysis, Sometimes Errors Occur Due to the Pho
140
Fundus Image Analysis
149
How to Analyze
149
A Variety of Measurement
150
Tool Bar
151
Red-Free Fundus Image Analysis
152
How to Analyze
152
A Variety of Measurement
153
Tool Bar
153
Trend Analysis
154
How to Use this Function
154
Explanation of Window
155
Data Replacement] Button
158
Outputting/Saving the Report
160
Glaucoma Analysis in the Macula
161
How to Use this Function
161
Outputting/Saving the Report
162
Drusen Analysis
164
How to Use this Function
164
When RPE was Not Detected Correctly
164
Explanation of Window
165
Outputting/Saving the Report
167
5 Comparing Analysis Results
168
Types of Comparison
168
Both Eyes Display
168
Selection of both Eyes from the OCT Data List
168
Changing One Eye Display to both Eyes Display
169
Comparison
171
Comparison: Advanced
172
Comparison
172
The Result of Registration Is as Follows: Double-Click an Optional Point on the
173
There Are Two Probable Causes
173
On "Compare Window", the Two "Shadowgram" Images Are Not Aligned
173
Compare ALL
174
Comparison of the Images with Different Scan Modes
174
Mosaic Comparison Results (3D Mosaic)
176
Mosaic Comparison Results
176
The Insufficient Memory Error May Occur When Selecting Ten Tomograms
177
Depending on the Environment
177
After Clicking [Run] in the "Register" Menu, Thickness Map Is Not Displayed
177
To Display Thickness Map, the same Layers in the Selected Image as those
177
Saving Analyzed Results
178
6 Outputting Results
179
Making / Saving Movies
180
Make Sure that no Other Windows or Images Are Blocking or Placed over the
180
Making Movies - Automatic
181
Making Movies - Manual
182
Exporting Images
183
When "File Save Dialog Box" Is Displayed in Export
183
When "File Save Dialog Box" Is Not Displayed in Export
183
When Batch Export of the Data Including "_" (Underbar) Is Performed for the
183
Printing Images
184
Making Reports
185
To Make a Report
185
List of Report Output Form
185
Patterns that Invalidate the Output Buttons
186
Example of Report
186
7 Macro Function
192
When the Analysis Has Failed, It Is Probable that the Instrument DID Not Take
192
8 Managing Data
194
Database Structure
194
System Database
194
Study Drive
194
Changing Database
194
Editing/Deleting Patient Records
195
Editing Patient Information
195
Copying Image Records
196
Deleting Image Records
196
Archive and Back up
199
Archiving Process
199
Copying Image Files
200
Data Convert
202
Main Menu
202
Reservation Setting Screen
203
Scan Length Compensation
205
9 Trouble Shooting
206
Messages During Operation
206
500 D Oct-1 Pc Software License Terms
207
OCT: Axial Length Compensation Range
214
11 Appendix 1
214
Changing/Adding Database
215
To Prevent Your Software from Being Infected with a Computer Virus through
216
A Variety of Setting
219
4
Based on 1 rating
Ask a question
Give review
Questions and Answers:
Need help?
Do you have a question about the Topcon 3D OCT-1 and is the answer not in the manual?
Ask a question
Topcon 3D OCT-1 Specifications
General
Brand
Topcon
Model
3D OCT-1
Category
Medical Equipment
Language
English
Related product manuals
Topcon 3D OCT-1 Maestro
12 pages
Topcon DRI OCT-1 Triton plus
132 pages
Topcon LC-300G
78 pages
Topcon KR-1
76 pages
Topcon CT-1P
132 pages
Topcon TRK-1P
177 pages
Topcon KR-8900
92 pages
Topcon CV-50000
42 pages
Topcon Maestro2
2 pages
Topcon TRC-NW8F
104 pages
Topcon DRI OCT Triton
19 pages
Topcon Compu-Vision CV-5000
232 pages