32
CAPTURING TOMOGRAMS
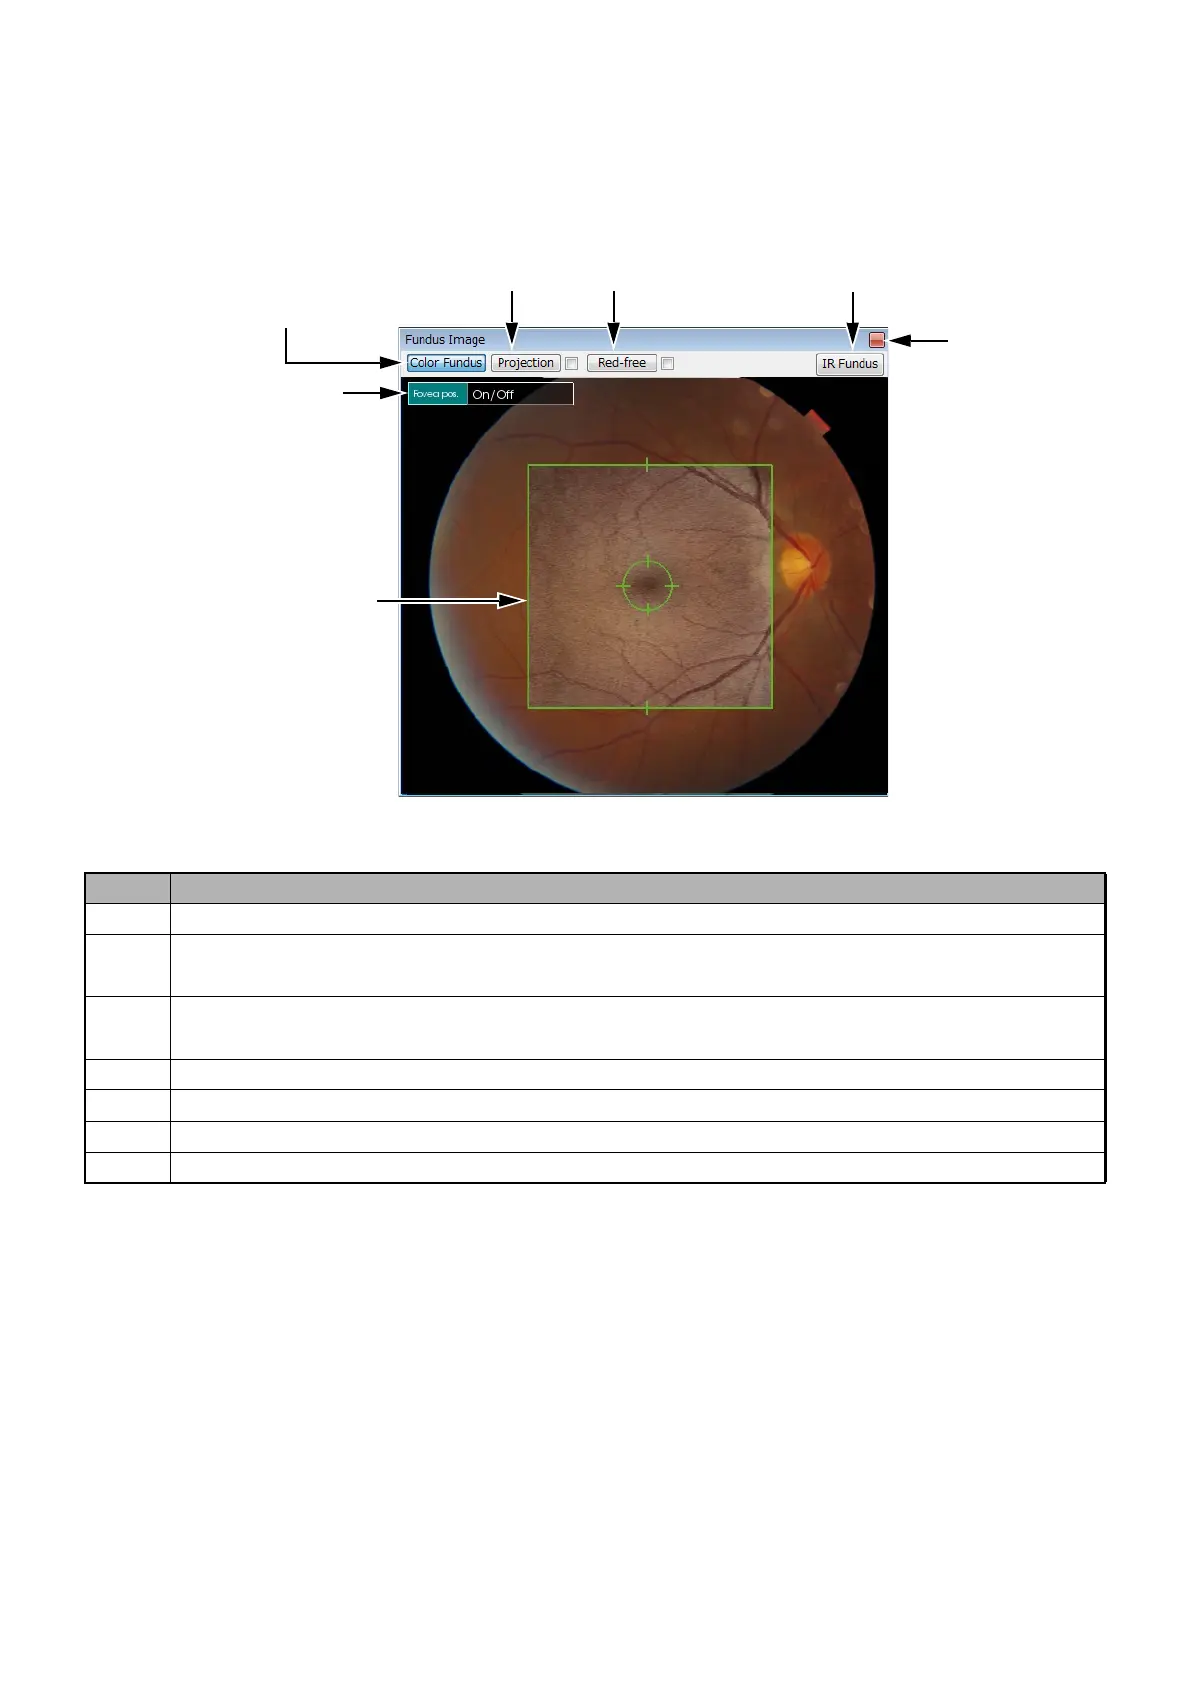
2.3.3. Fundus/Anterior Segment Image Viewing Area: Window B
The fundus/anterior segment image is displayed in this area. Before photographing, nothing is displayed
because there is no data. (Background: black)
The following example is the fundus image in 3D Scan.
Fovea. Pos. function
Set "On" for "Fovea pos." on the menu, and it is possible to edit the Fovea position. For details, refer to
"How to use the menu" on P.33.
Circle Pos. function
Set "On" for "Circle Pos." on the menu, and it is possible to edit the Disc center position. For details, refer
to "How to use the menu" on P.34.
ID Function
B-1 Color fundus image
B-2 Projection image of 3D tomogram data (only in 3D Scan) Place a mark in the check box, and
the Projection image is automatically displayed after analysis.
B-3 Changes to the red-free fundus image. Place a mark in the check box, and the Red-free fun-
dus image is automatically displayed after analysis.
B-4 B/W fundus image
B-5 Maximize Window B to the whole screen or return to its original size.
B-6 This is the menu to edit the Fovea position and Disc center position.
B-7 3D scanning area
B-1:
Color Fundus image
B-2:
Projection
B-4:
B/W fundus image
B-5:
Maximize
B-7:
3D scanning area
Window B
B-6:
Menu
B-3:
Red-free mode