Installing the 3–Point Hitch
1. Position the 3–point hitch on the machine aligning the mounting holes.
2. Install the six upper mounting bolts Figure 109, item 1.
3. Install the auxiliary coupler mounts Figure 109, item 2.
4. Install the lift cylinder mounting bolt Figure 109, item 3.
5. Install the four lower mounting bolts Figure 109, item 4.
6. Install the rear transaxle skid plate.
7. Install the left rear taillight.
Removing the Front / Rear Connector Link
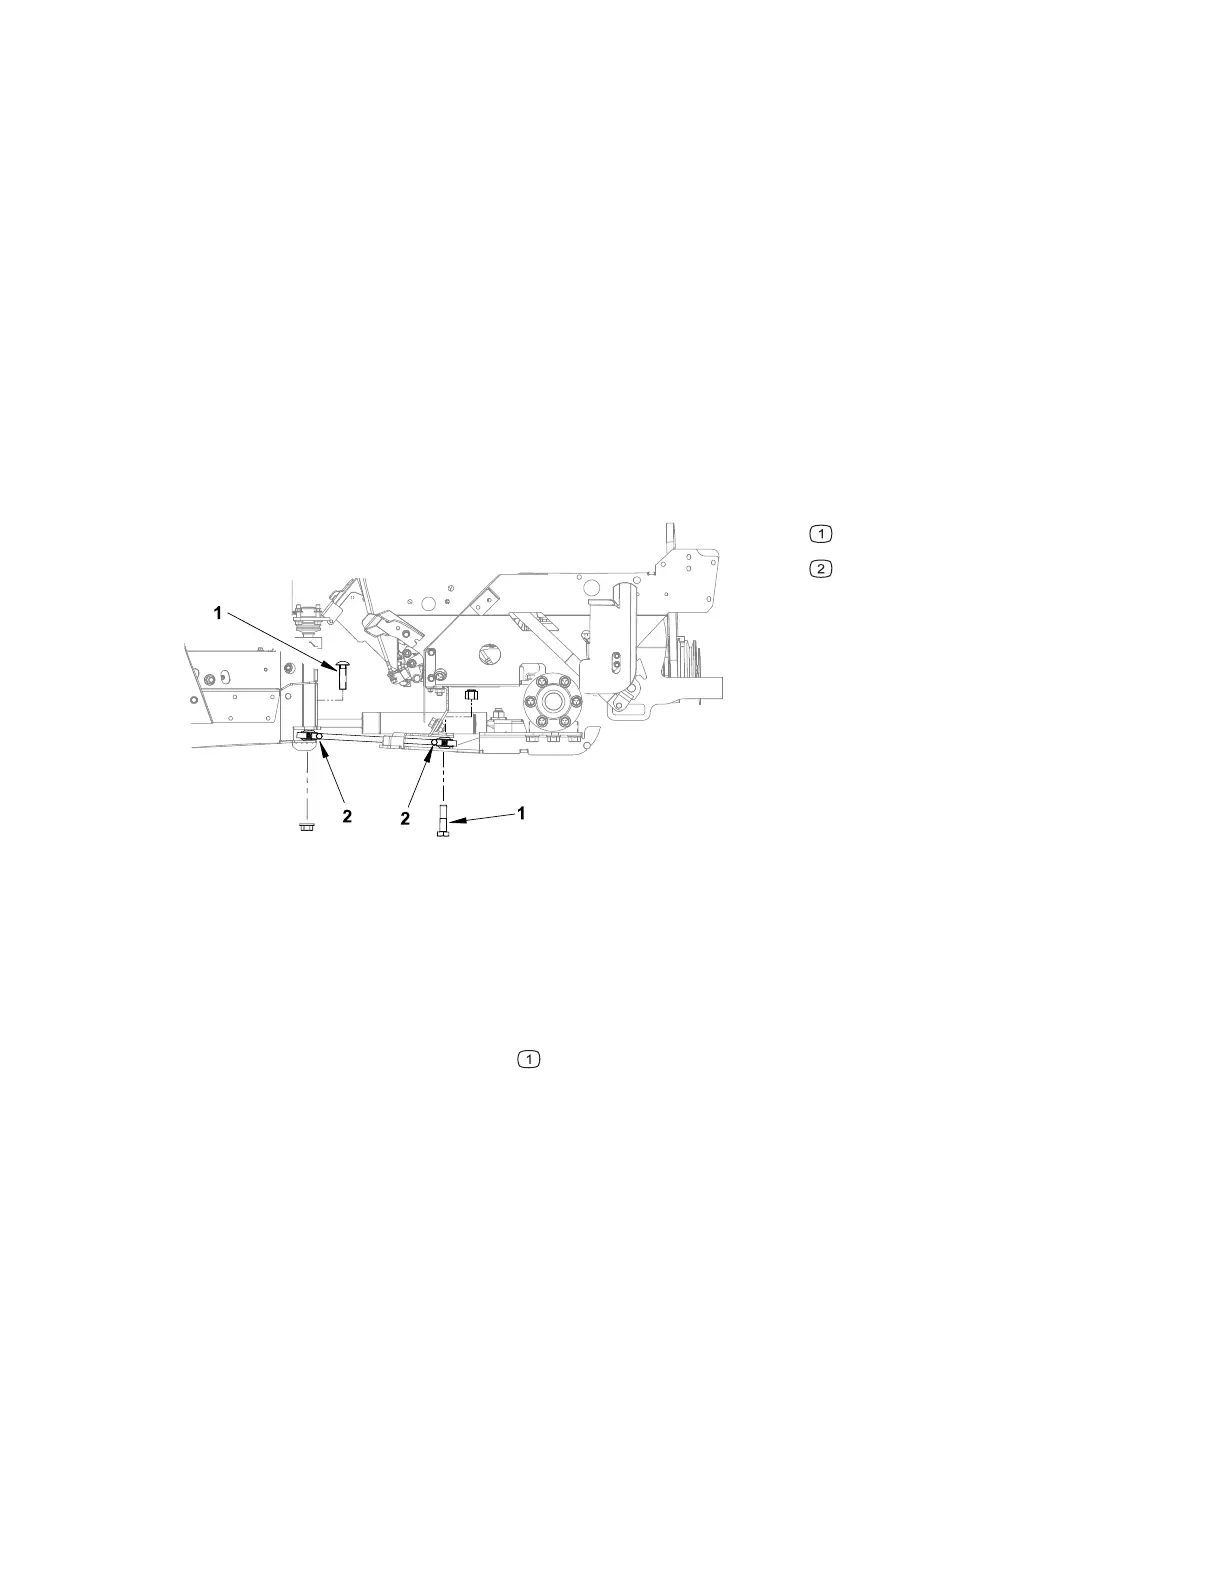
Figure 110
G444689
Mounting bolts
Pinch bolts
1. Remove any attachments from the machine, park the machine on a level surface,
engage the parking brake, remove the key from the ignition, and switch the circuit
breaker to the O
FF position.
2. Support the rear of the machine with a floor jack, do not lift the rear wheels off the
ground.
3. Remove the mounting bolts
. Slightly raising or lowering the floor jack can
remove tension from the mounting bolts.
4. Remove the connector link from the machine.
Installing the Front / Rear Connector Link
1. Install the front / rear connector link into the machine with the grease fittings to
the left side of the machine.
2. Apply red thread locker to the mounting bolt threads. Install the mounting bolts
Figure 110, item 1, Slightly raising or lowering the floor jack can remove tension
from the mounting bolts.
Chassis: Service and Repairs Page 7–46 4520P
09.40003Rev 00