Installing the Hydraulic Fittings (SAE Straight Thread
O-Ring Fittings)
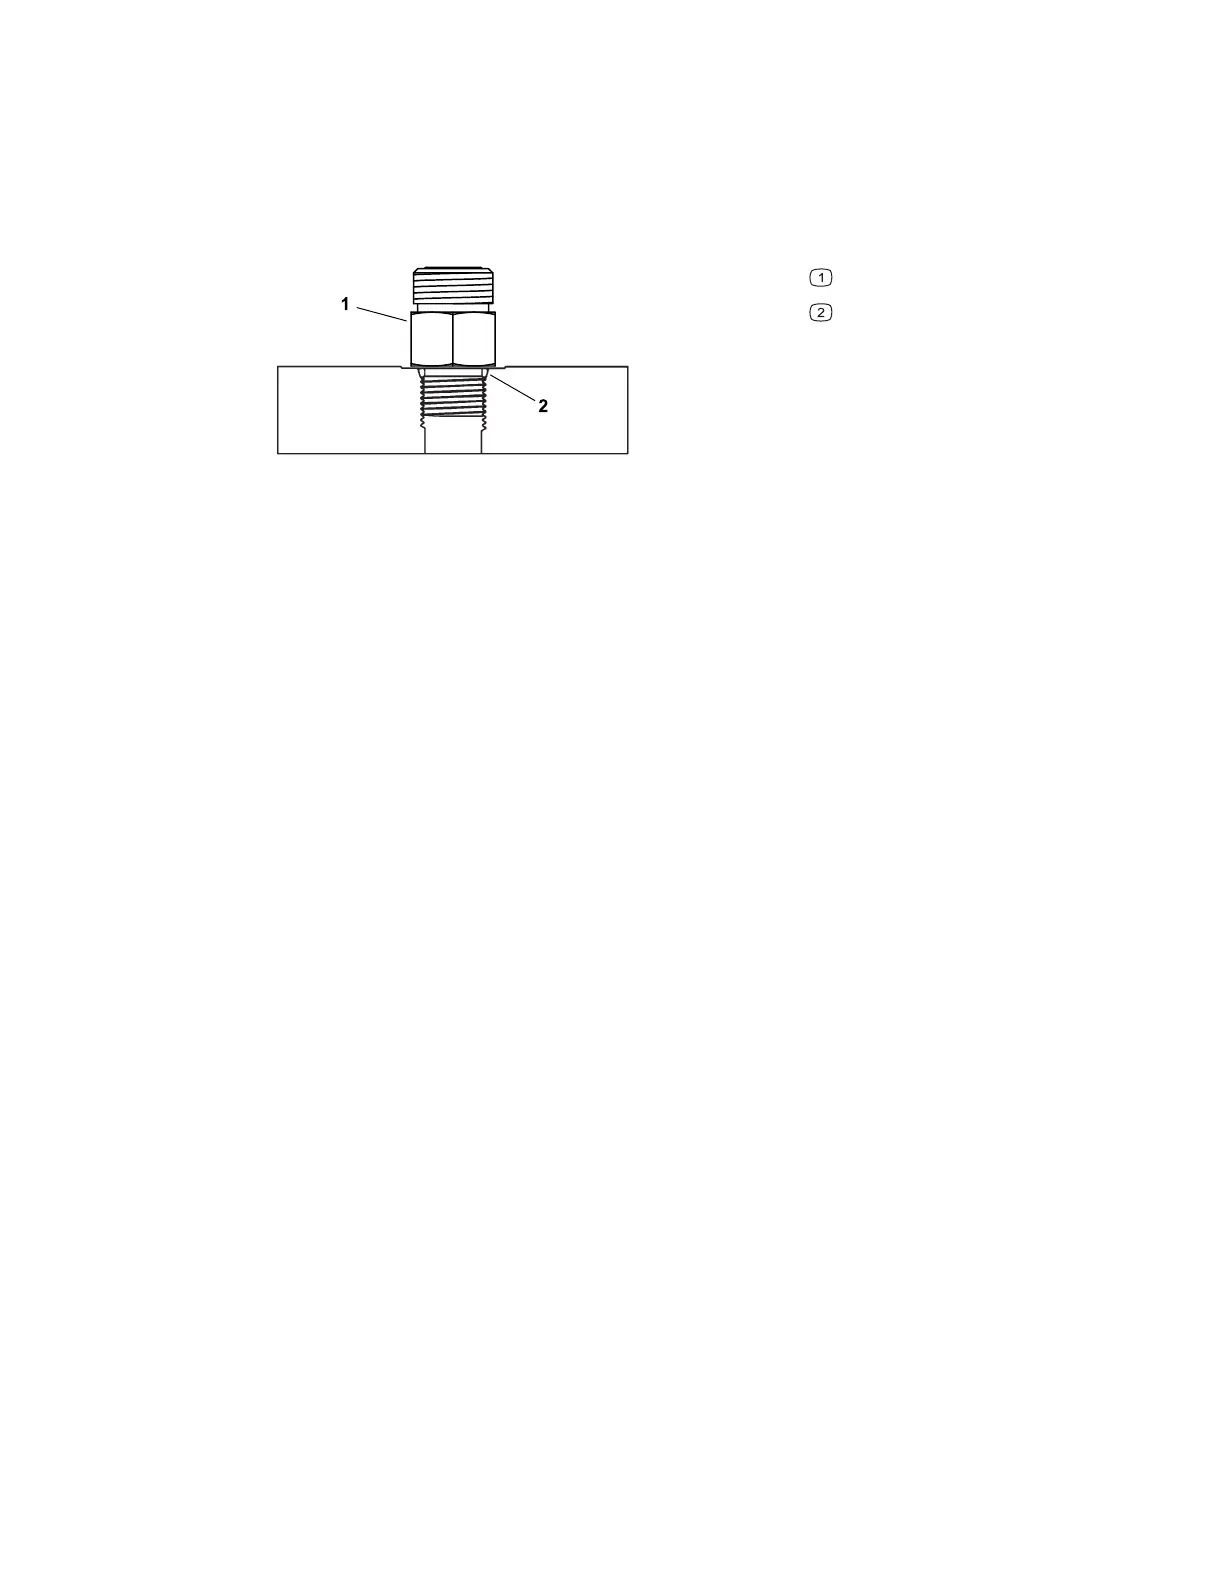
Installing a Non-Adjustable Fitting
Figure 24
G212226
Fitting
O-ring
1. Ensure that all the threads, the sealing surfaces of the fitting, and the component
port are free of burrs, nicks, scratches, or unwanted material.
2. To help prevent a hydraulic leak, replace the O-ring when you open the
connection.
3. Lightly lubricate the O-ring with clean hydraulic fluid. Ensure that the threads of
the fitting are clean with no lubricant applied.
Note: Before tightening the fitting, determine the material used for the port that the
fitting is to be installed. Installing a fitting into an aluminum port requires reducing the
installation torque.
4. Install the fitting into the port, then use a torque wrench and socket to tighten the
fitting to the recommended torque value within the specified range of torque
values; refer to the Fitting Installation Torque Table, page 5–15.
Note: It may be necessary to use a drive-adapter wrench (e.g., crowfoot wrench) to
install a hydraulic fitting; refer to Calculating the Torque Values When Using a Drive-
Adapter Wrench, page 2–5.
5. If a torque wrench is not available or if space at the port prevents the use of a
torque wrench, use the Flats From Finger Tight (FFFT) in the procedure below:
A. Install the fitting into the port and tighten the fitting down full length until
finger-tight.
B. If the port material is steel, tighten the fitting to the listed value; refer to the
Flats From Finger Tight (FFFT) Table, page 5–15.
C. If the port material is aluminum, tighten the fitting to 60% of the listed value;
refer to the Fitting Installation Torque Table, page 5–15.
Hydraulic System: Hydraulic Hoses Page 5–12 4520P
09.40003Rev 00