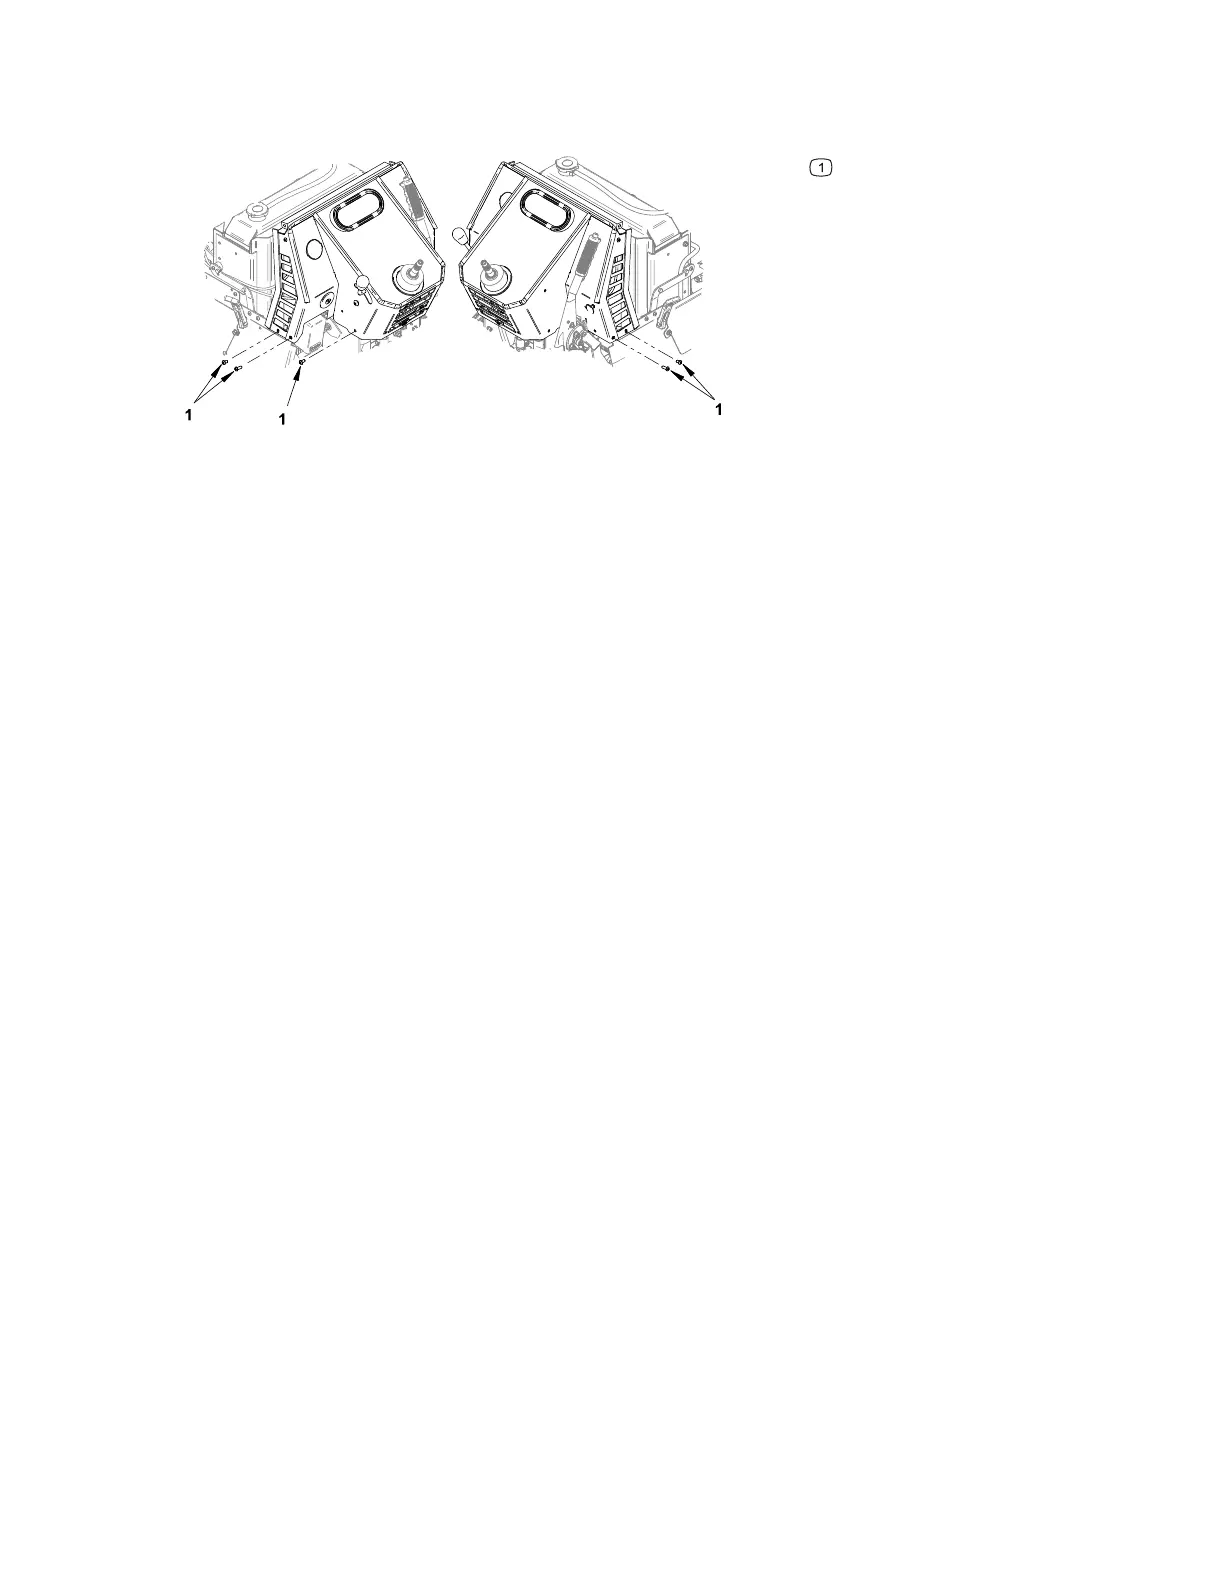
Installing the Dash
Figure 101
G435103
Mounting bolts
1. Position the dash on the machine aligning the mounting holes.
2. Install the mounting bolts.
3. Install the hydraulic fluid reservoir mounting bolts; refer to Removing and
Installing the Hydraulic Fluid Reservoir, page 5–37.
4. Install the steering valve mounting bolts; refer to Removing and Installing the
Steering Valve, page 5–30.
5. Connect the throttle cable to the engine; refer to Removing and Installing the
Throttle Cable, page 4–20.
6. Install the TCM or TCS; refer to Removing and Installing the TCM, page 6–20,
Removing and Installing the TCS, page 6–22.
7. Connect the warning alarm, info gauge, and key switch electrical connections.
8. Locate and connect the dash wiring harness electrical connection near the
parking brake.
9. Install the hydraulic pump cover; refer to Removing and Installing the Hydraulic
Pump Cover, page 7–15.
10. Install the parking brake cover; refer to Removing and Installing the Parking
Brake Cover, page 7–34.
11. Install the steering valve cover; refer to Removing and Installing the Steering
Valve Cover, page 7–33.
12. Install the steering wheel; refer to Removing and Installing the Steering Wheel,
page 7–32.
13. Close the hood.
14. Switch the main circuit breaker to the O
N position, to energize the electrical
system.
Chassis: Service and Repairs Page 7–36 4520P
09.40003Rev 00