Chapter 3 Installing a Robot Controller in a Rack or Panel
Adept MV Controller User’s Guide, Rev. B 71
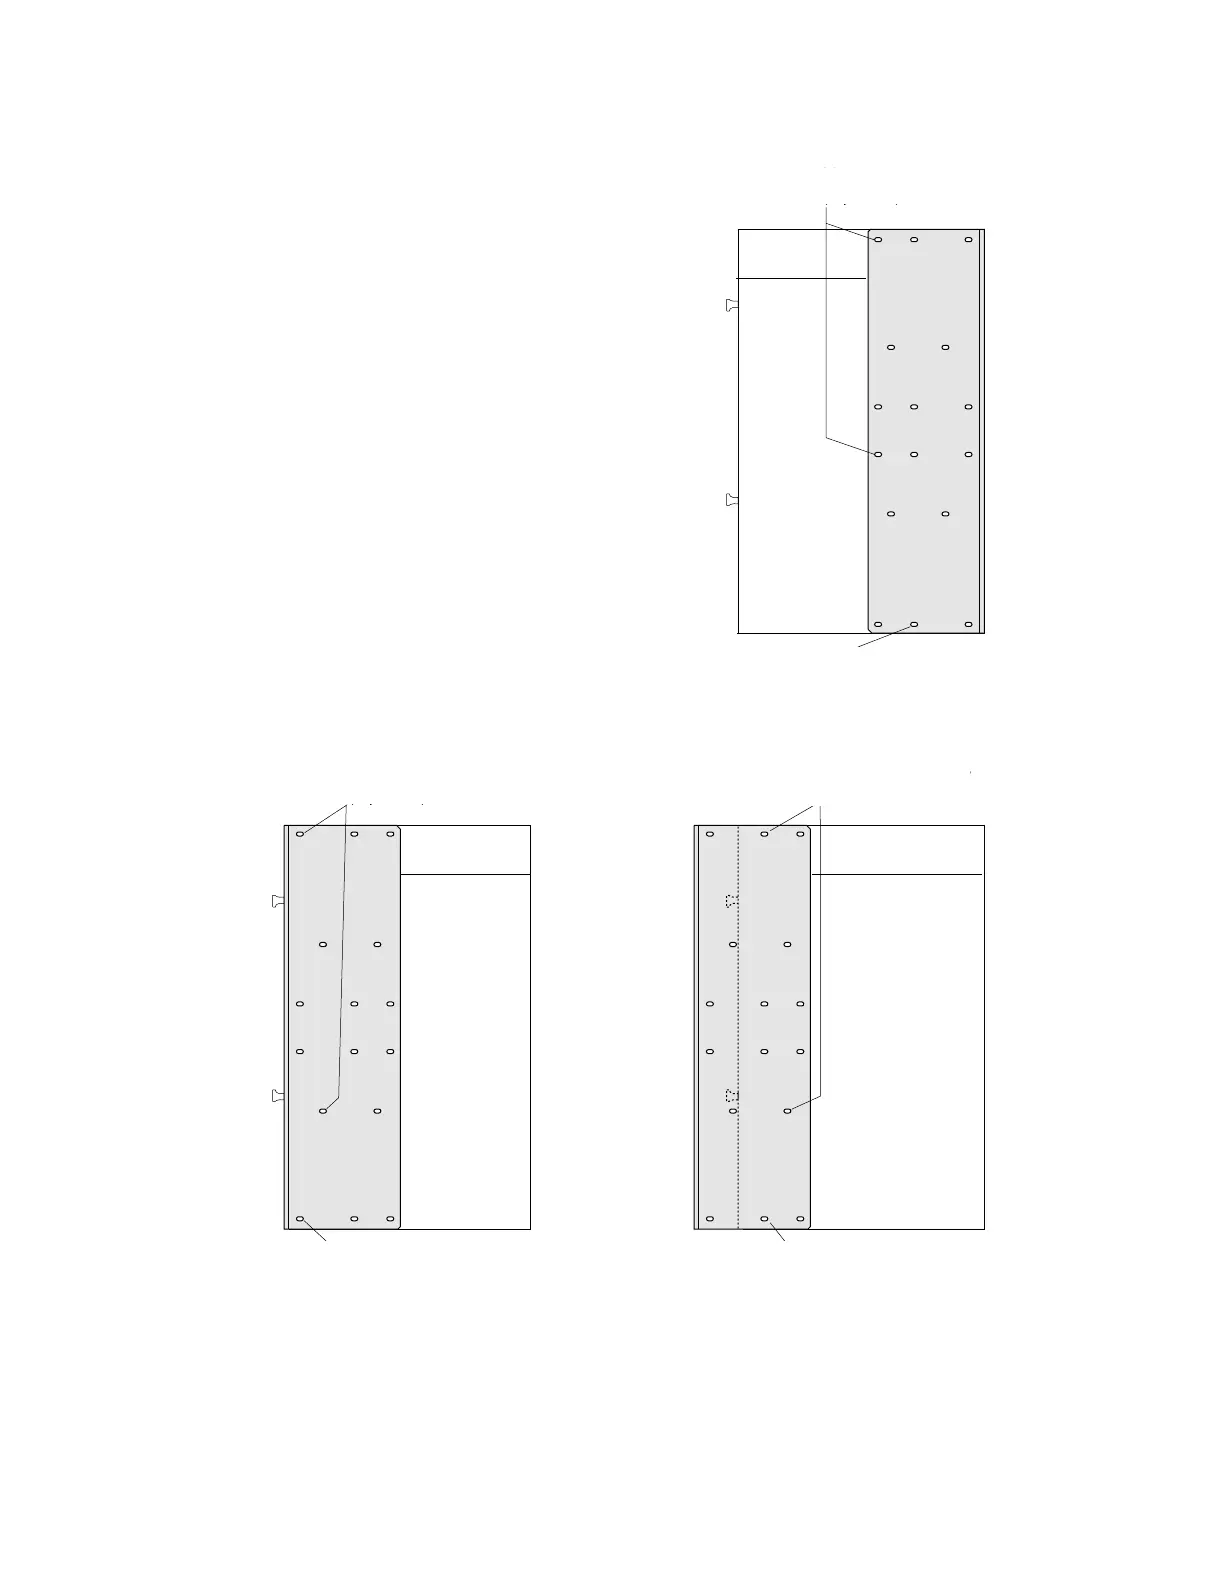
Figure 3-9. Installing Mounting Brackets on MV-5 and MV-10 Robot Controllers
M4 x 25mm screw
(2 places)
M4 x 10mm screw
M4 x 25mm screw
(2 places)
M4 x 10mm screw
M4 x 25mm screw
(2 places)
M4 x 10mm screw
Rack Mount – Flush
Rack Mount – Set-Back
Panel Mount
To Install Mounting Brackets on MV-5 or MV-10
Robot controllers:
• Remove (and discard) 3 existing countersunk
screws from side of chassis at locations shown
in drawing.
• Place bracket in desired position and secure
with indicated M4 screws and washers from
accessories kit.
• Repeat process for other side of controller.
Note: See Appendix A for dimensions of the
controller and mounting brackets.
To install mounting brackets on MV-5 or MV-10 robot
controllers:
• Remove and discard 3 existing countersunk
screws from side of chassis at locations shown
on drawing.
• Place bracket in desired position and secure with
indicated M4 screws and washers from
accessories kit.
• Repeat process for other side of controller.
Note: See
Appendix A for dimensions of the
controller and mounting brackets.
M4 x 25mm screw (2 places)
M4 x 10mm screw
M4 x 25mm screw
(2 places)
M4 x 25mm screw
(2 places)
M4 x 10mm screw M4 x 10mm screw
Panel Mount
Rack Mount - Flush Rack Mount - Set Back
Artisan Technology Group - Quality Instrumentation ... Guaranteed | (888) 88-SOURCE | www.artisantg.com