38477BA2B
7 – 686 25.5.09
4 Calibration with FOUNDATION
™
Fieldbus Volume 7
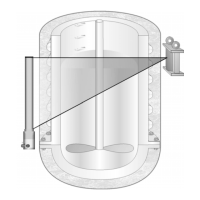
Second calibration point: Vessel filled up to 50%
The sequence of operation is the same as above and will be
described here in abbreviated form.
LE_TAB_ENTRY: Enter 2.
First subparameter
LE_TAB_X_Y_VALUE: Enter 50.
LE_START_STOP_READ_IN: Select Start read in.
At the end of the averaging time, transfer the pulse rate from
LE_READ_IN_SENSOR_VALUE to the second subparameter
LE_TAB_X_Y_VALUE.
In our example, the third calibration point is the last calibration
point. However, up to 10 calibration points can be measured.
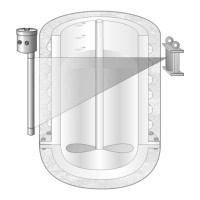
The tank is now filled “full”, i.e. up to 100%.
Typically, the last calibration point is recorded at 100% level. If the
vessel cannot be filled completely, you may also enter levels below
100%.
Please note: The higher the value is below 100%, the less accurate
will be the reading at 100% after calibration.
Last calibration point: Vessel 100% filled
Proceed as with the second calibration point However, enter
100% level value at
LE_TAB_X_Y_VALUE 100%.
The calibration points have been recorded.
4.5.3 Enable Calibration
The calibration values are only stored temporarily at first and still
have to be checked and then stored in the Uni-Probe.
Check calibration values
Select Sort and check TAB at LE_TAB_OPCODE to check the val-
ues.
• The result of the check is displayed in
LE_TAB_STATUS. If Suc-
cess is not displayed here, an error has occurred during the
measurement, e.g. the values are not available as a monoto-
nously rising function or the number of points defined has not
been measured. You can check the values by going through the
table value by value with
LE_TAB_ENTRY and check if false val-
ues have been indicated. Correct the values or repeat the mea-
surements.
 Loading...