221
Cooling System
Component Servicing
9
Component
Servicing
Temperature Sensor Servicing
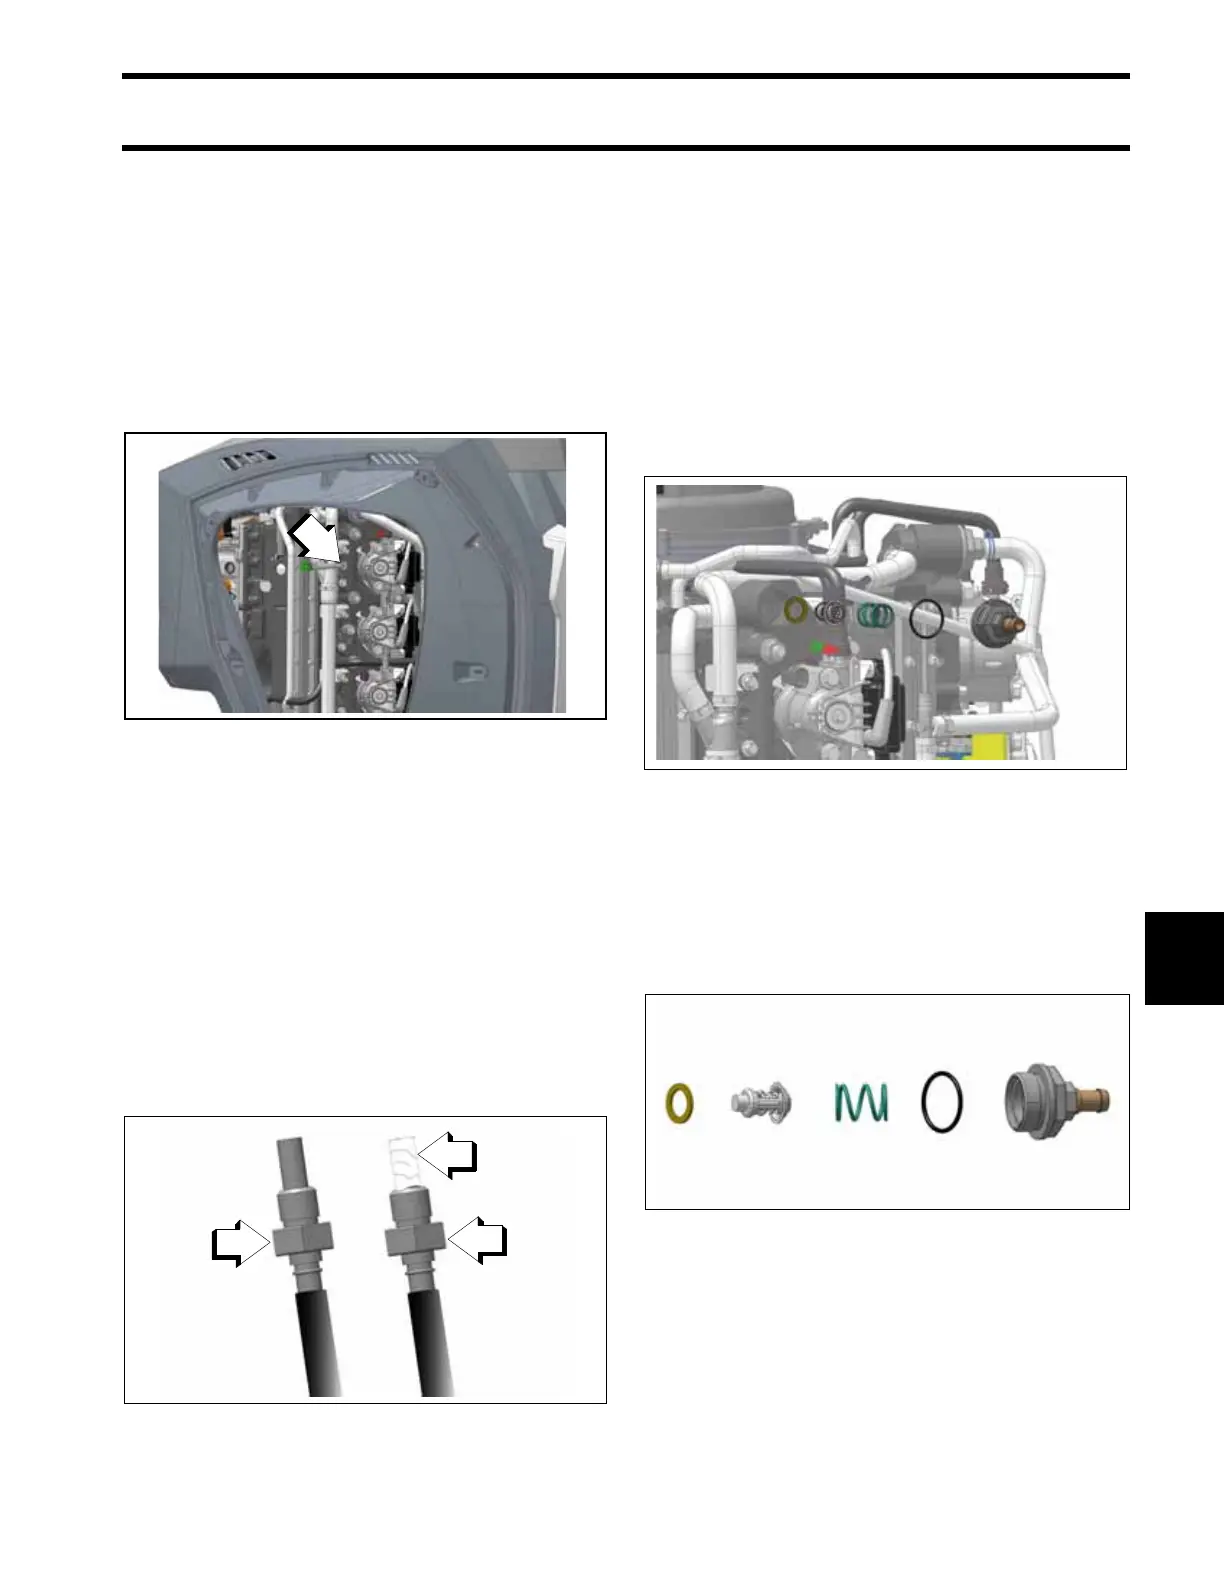
Removal
Loosen sensor and remove by hand. Use care to
avoid breaking threads.
Clean sensor threads, sensor, and sensor cavity.
Installation
Apply a small amount of Thermal Joint Com-
pound, P/N 322170, into the bottom of the sensor
cavity.
Install the sensor hand tight. Remove the sensor
and check thermal joint compound coverage on
the sensor probe.
Thermal joint compound should cover at least
75% of the length to the sensor probe.
SLOWLY tighten temperature sensor to a torque
of 12 to 18 in. lbs. (1.35 to 2.0 N·m). Wait 10 min-
utes for trapped air to bleed from cavity. Thermal
compound may seep past threads. Re tighten
sensor.
Thermostat Servicing
Disassembly
Remove the thermostat cover and O-ring from cyl-
inder head.
Remove spring, thermostat, and gasket.
Inspection
Inspect all parts for cracks, heat damage, or signs
of corrosion. Replace damaged parts. Clean
debris from housing and parts.
Assembly
Assembly is the reverse of disassembly. Pay
close attention when performing the following
additional tasks.
Coat threads of each cylinder head thermostat
cover with Gasket Sealing Compound. Install and
1. Temperature sensor
009265
1. Temperature sensor
2. Temperature sensor with thermal joint compound
3. Thermal joint compound
009266
009264
009267